Moss, wood slices, and small wood logs are the materials for this project, all of which can be purchased at most home and garden big box stores or online. There are many varieties of moss to choose from, but the most common and easiest to use is Sheet Moss. Rock Cap and Cushion are also great options. When shopping for moss, look for dried moss, it has already been preserved for artistic use and does not require watering.

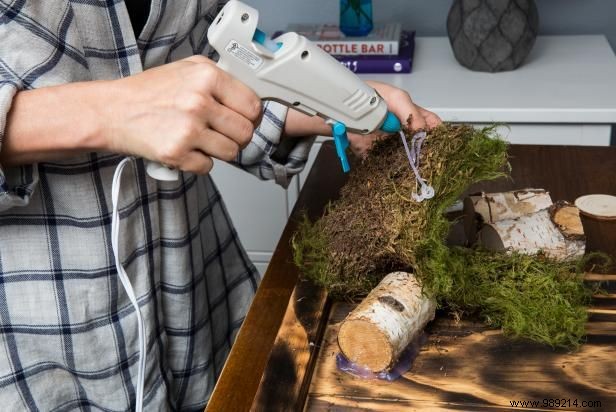
Start by putting a flat wooden tray on a table. Play around with the materials to create an interesting design, mimicking nature. Start by gluing a small log in the corner, this will allow you to create a hill effect by gluing moss on top of it. A 3-D effect on the artwork makes the project look more like a forest scene than if it had been glued on.

When you get to a design you like, use a hot glue gun to secure the moss in place. Since it's a somewhat brittle material, I found it helped to roll it out on the side From my tray, so any dust or bits and pieces fall off. This helped considerably in sticking the moss to the tray.

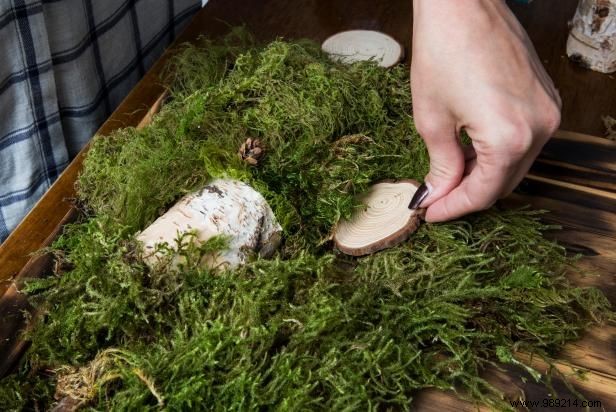
Add layers to give this piece more dimension. Tucking wood slices into the moss adds scale and charm. Use different sizes to create a more attractive and interesting design. A glue gun is the perfect way to adhere the wood slices, but be sure to use enough glue and hold it firmly in place for 30 seconds while setting.
Once all pieces are secure, dust off and stand tray upright for display.