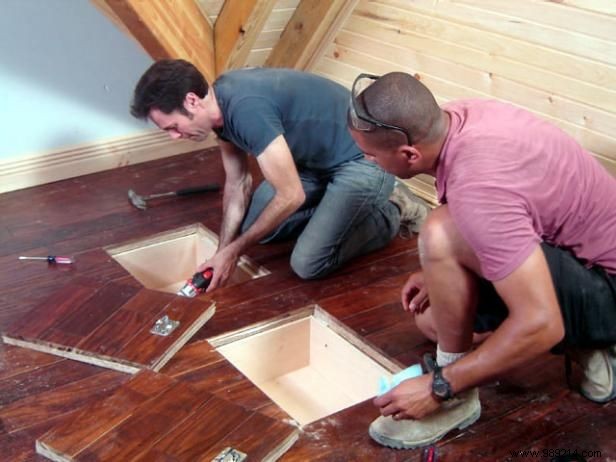
Choose a floor area free of any wiring or plumbing. Determine where the floor joists are and mark the section between two joists with painter's tape. Before making cuts, cover the shoe plate of a circular saw with painter's tape to help protect the hardwood floor from scratches.

Following the markings and cutting along the inside of the line, carefully begin cutting out the section of flooring for the storage bins. Use a circular saw to start the cut on each side of the compartment, starting with a plunge cut in the middle of the etched mark. Then use a hacksaw to finish off the corners, completing the square cutout. Be very careful not to damage the finished hardwood floor when making your cuts, and remember to save the cut sections to create the lids for the storage compartments.

Measure the openings to determine the dimensions of the box, making sure to account for space at the top so the lid sits flush with the floor. Assemble the box inserts with plywood, wood glue, and nails. Secure the box inserts at their corners using simple butt joints.

Following the manufacturer's instructions (included with the hardware), attach the hardware (recessed pulls) to the cutout sections that will form the caps. Use wood screws to attach the boxes to the floor joists so they sit at the proper height. Carefully put the caps back in place. These can be secured to the floor with hinges, if desired. In this case, the covers were left unattached so that they could be lifted off completely, if necessary.