Create unique signs for your next party with painted chalkboards
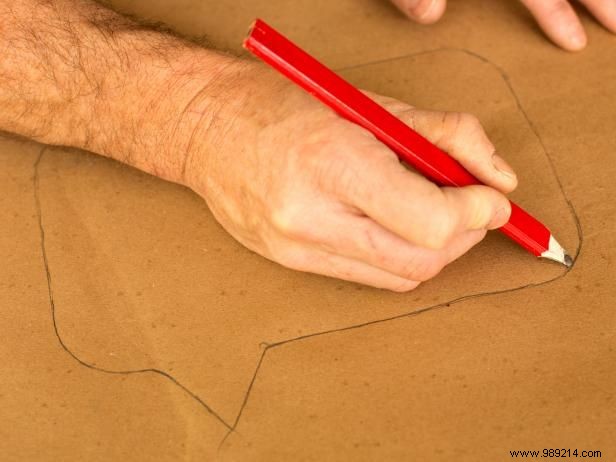
On a flat, level surface, draw a speech bubble shape on craft paper with a pencil or marker.
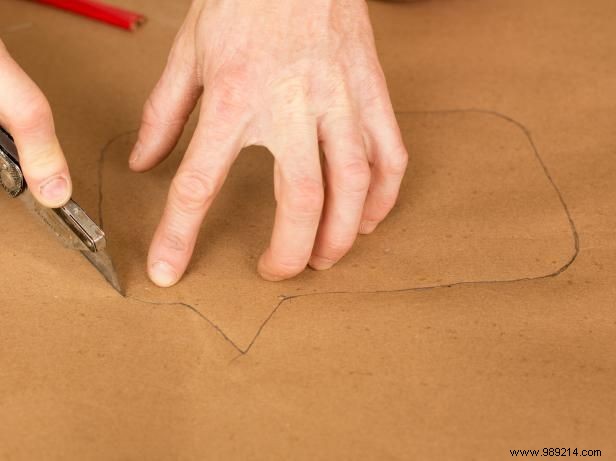
Use scissors or a knife to cut out the speech bubble shape.
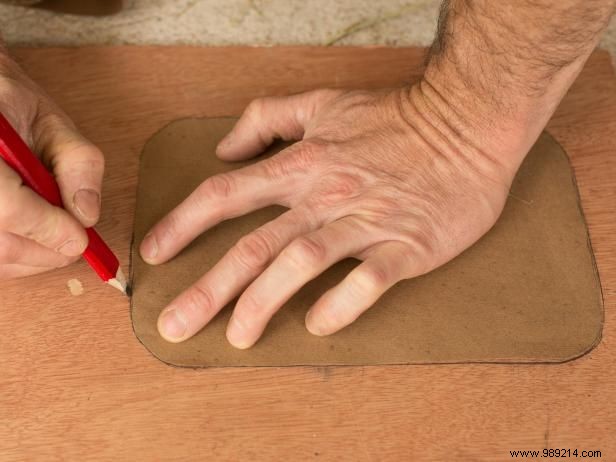
Trace the cut out template directly onto luan with a pencil or marker.
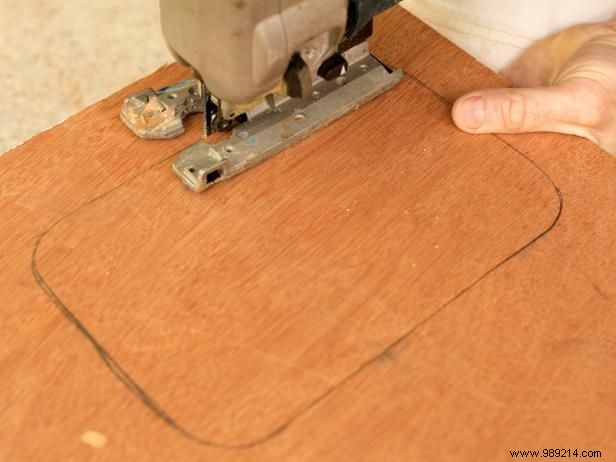
Use a saw to cut out the speech bubble.
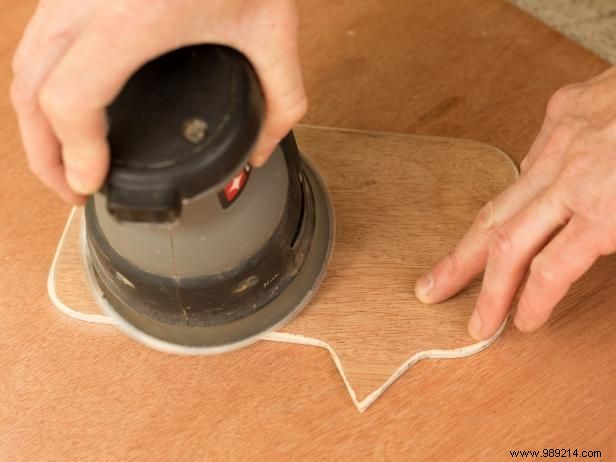
Use an orbital sander to smooth rough edges and the surface of the speech bubble.
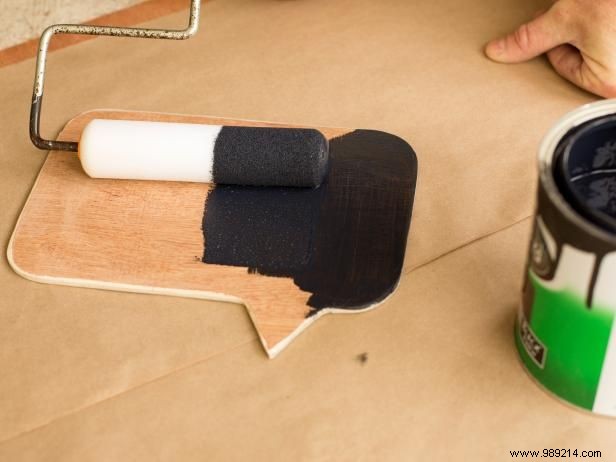
Apply two even coats of chalkboard paint to the surface and edges of the speech bubble and dowel.
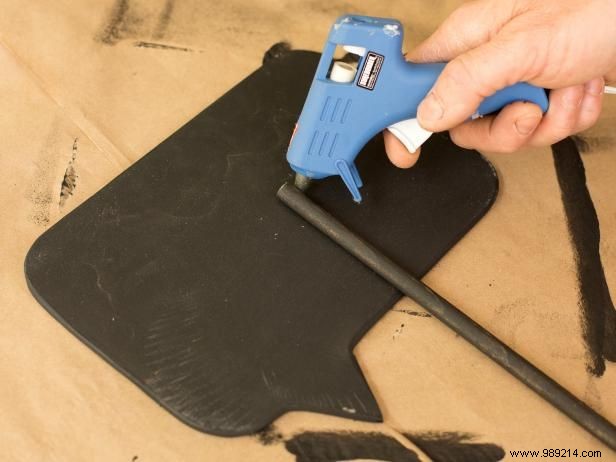
Use a glue gun to attach the dowel to the back of the speech bubble.
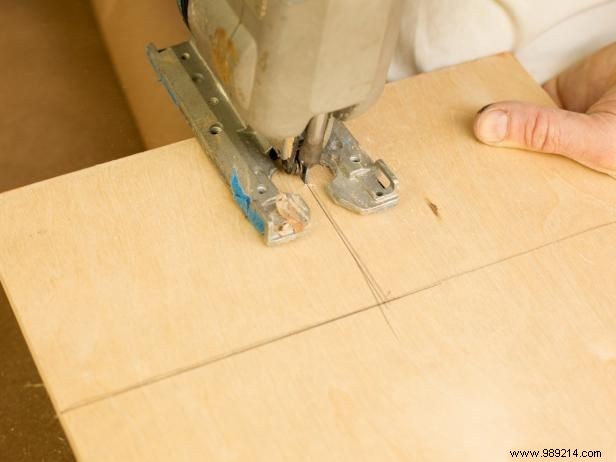
In order for the speech bubble to stand upright, you will need to create a support. There are two easy ways to create a stand; The first way is to make a wooden base. Cut a 1/2" thick piece of wood into a 3" to 4" square, then sand.
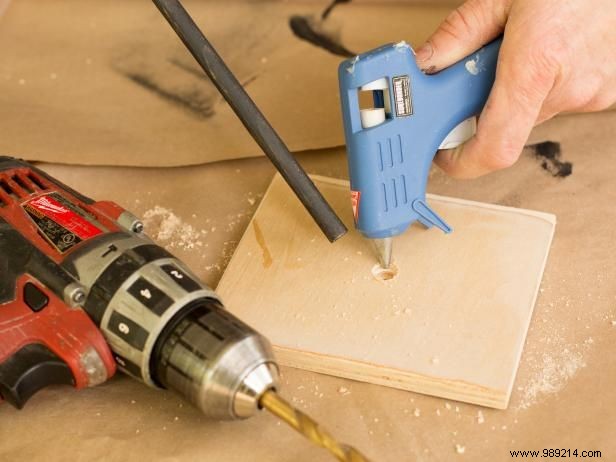
Use a 1/2" drill bit to create a hole in the center of the bracket. Insert the dowel and add a dab of hot glue to hold it in place.
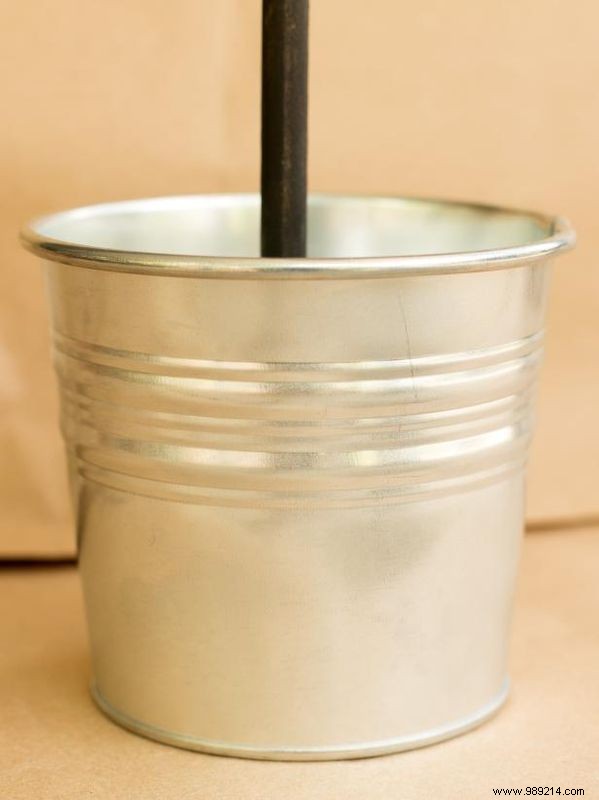
Another way to stand your thought bubble up is to insert it into a small container. Fill a 2" or 3" wide round container with floral foam, then insert the pin directly into the center.