We left the cans as is, but you can easily paint them, cover them with burlap, or even dazzle them. Stacked cans can also be made into a table lamp. You can also try this with books or other household items.
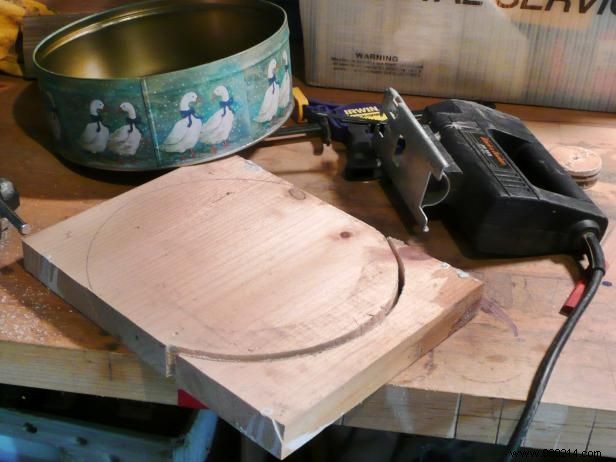
Place the bottom can upside down on the piece of pine wood. With a pencil, trace around the can. Use a hacksaw to cut out the shape. Cut a little inside the traced line, so that the piece of wood fits inside the can.
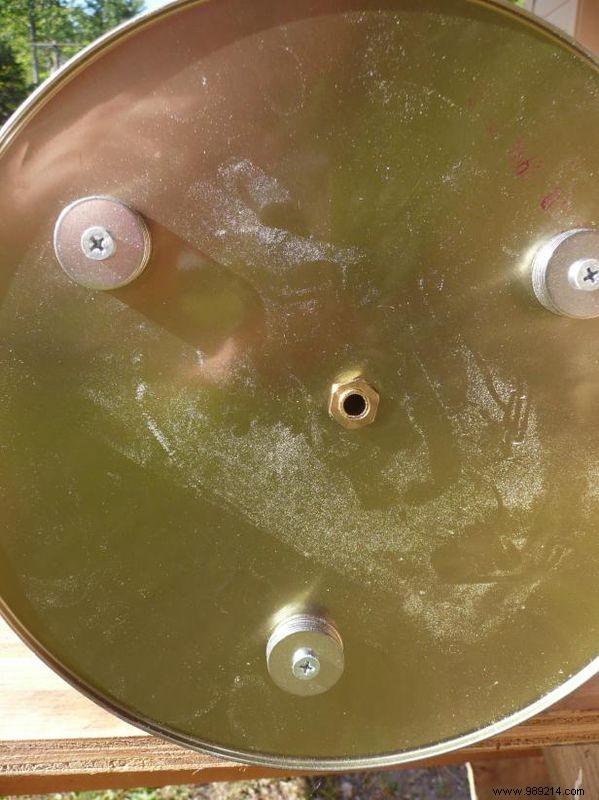
Drill three holes through the wood and the tin. This will hold the wood in place and create feet under the bottom of the can. Put several washers on each of the three screws, then insert the screw into each hole. You may want to place a felt tab over the screw so it doesn't scratch the floor. The stack of grommets will hold the lamp to the floor so the cord can fit underneath.
Drill a hole in the center of the tin and wood, this is for the threaded pipe and cable. Make sure to keep the hole vertical.
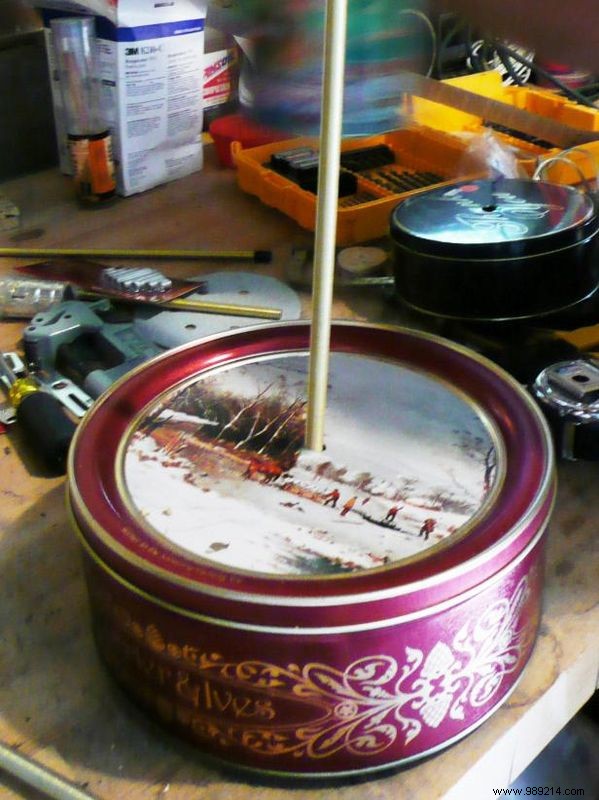
Punch a hole in the top and bottom of all the cans. Put the threaded tube through the bottom can, the base of the lamp.
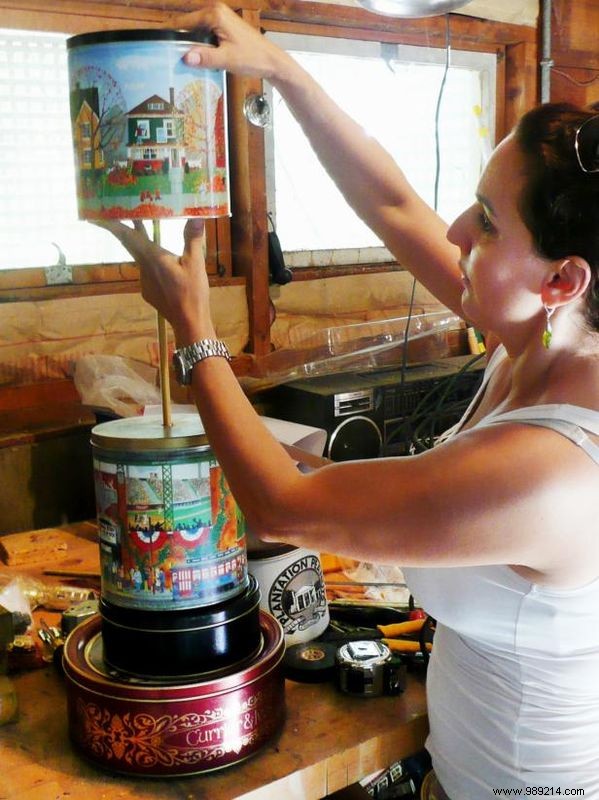
Add the nut to the bottom to secure it, then stack the rest of the cans onto the threaded tube.
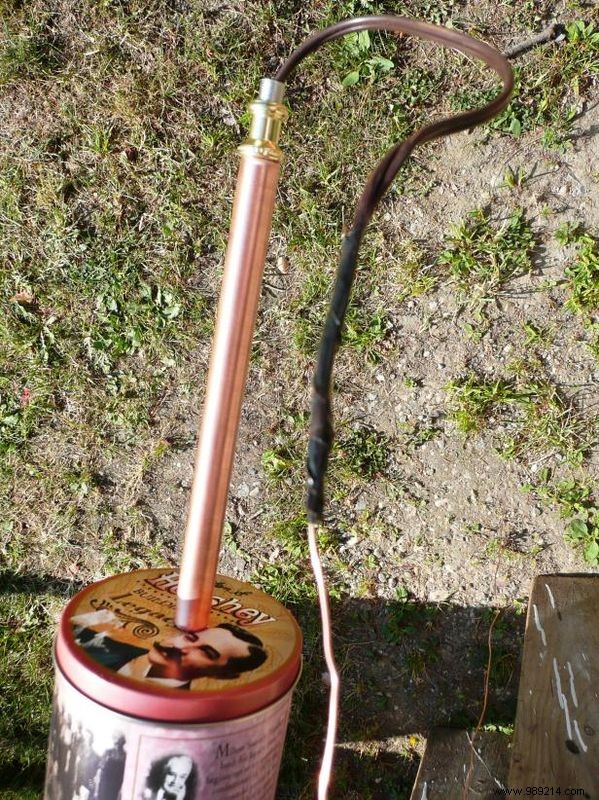
Cover the end of the threaded tube with the copper sleeve. Allow 1/2" of threaded tube for lamp kit connector. Connector threads on top of rod to compress entire assembly. Power cord (you may need to wrap electrical tape around end of cord to go through the pipe) from the bottom to the top of the pipe. Place it in the lamp harp. Insert the socket and connect the wiring according to the manufacturer's instructions. Add a bulb and a low shade consumption..