We modeled this headboard after one we saw in a popular home decor catalog. It's very simple to build:standard-size lumber is attached to a large piece of plywood, then the entire piece is painted white.

Cut all the pieces to size. (We're using king-size measurements for our project.) Lay out all the pieces to make sure they all fit together correctly.

Apply adhesive to the back of one of the side pieces (49" 1x4) and adhere to the left side of the MDF plywood. Repeat for the right side of the headboard.
Apply adhesive to the 73" 1x4 and adhere to the top of the MDF plywood - place between the side boards.

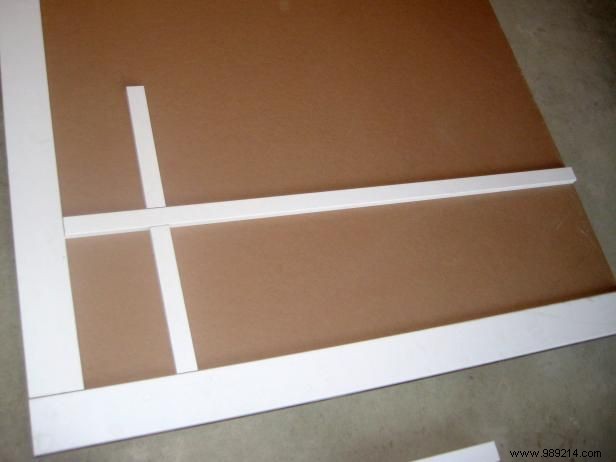
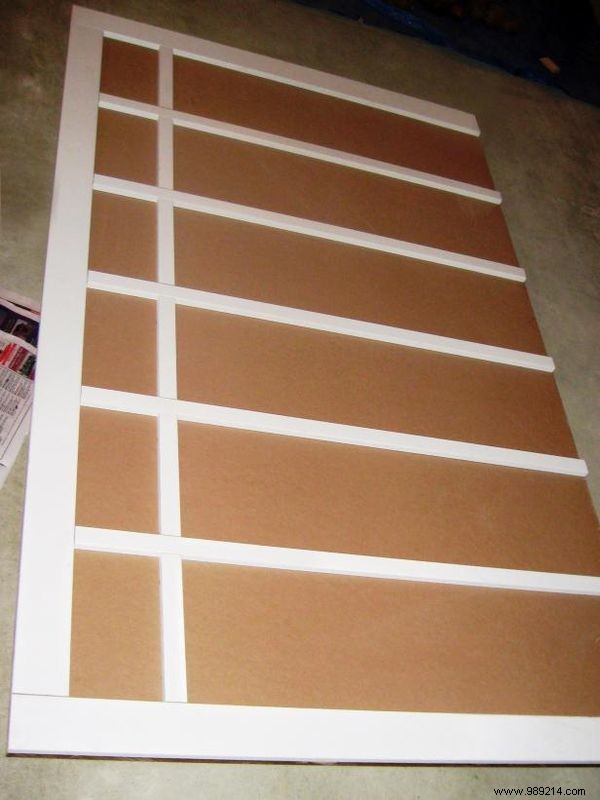
Apply the adhesive to the back of an interior horizontal board and then place it on the plywood along the appropriate pencil marks. Apply adhesive to the back of an interior vertical board, place it against the horizontal board on top, and match it with the pencil marks. Repeat the process until all the tables are placed.

After the adhesive has had time to set, fill in all gaps with wood filler (follow manufacturer's recommendations for dry time). When the filler has dried, sand all areas until smooth. Clean up all dust and debris. Prime and paint the headboard..

Measure the distance from the floor to the bolt holes in the bed frame and measure how far apart the holes should be placed in the headboard. Drill holes in the header large enough for the bolts to go through using the measurements. Attach the headboard to the bed frame with bolts, nuts, and washers, and tighten enough to secure.