Neckties come in a variety of patterns and colors, and you can find them at any used clothing store for very little money. This patchwork-style project is ideal for a beginning or intermediate seamstress. Give it a try!

Use brown kraft paper to make a pattern (ours is 12" x 15"). On the bottom, one of the 15-inch sides, place a coffee cup and use it to trace rounded edges on your pattern and cut those edges. This is to give the curved corners the edge..

Arrange the ties so that they cover the paper pattern. Once the tie pattern is decided, cut the ties at the top and bottom, keeping the ties slightly larger than the pattern. You will need approximately seven ties for the front and seven for the back. The width should end up being slightly wider than the pattern. Save two of the ends of the discarded shots to use as handles.

Sew the loops together with a zigzag stitch. Sew the loops in the order they were placed in the pattern so that the order is not mixed up.

The interface is fabric on one side and glue on the other. Trace the paper pattern onto the fabric side of the interfacing. Cut the interfacing 1/2" off the drawn line. Repeat for the second side (two are needed, one for each side of the bag). Place the interfacing glued side down on the back of each piece of fabric. Iron interfacing so it starts to melt into the back of the ties Start from the middle and work your way out so you don't have any bubbles Place the tie fabrics together, nice to nice, and stitch around the two sides and part bottom of the bag. When finished, turn it over.


Using your pattern as a guide, cut two pieces of the lining fabric. Sew the two lining pieces together at the bottom and two sides.

Use the ends of the leftover ties to make the handles by attaching each end, pretty to pretty, to the finished sides of the tie bag shell. Slide the entire outer shell into the liner. The right sides should be together, nice to nice; Make sure the handles are flat on the inside. (They should not stick out of the top of the bag at this point.)

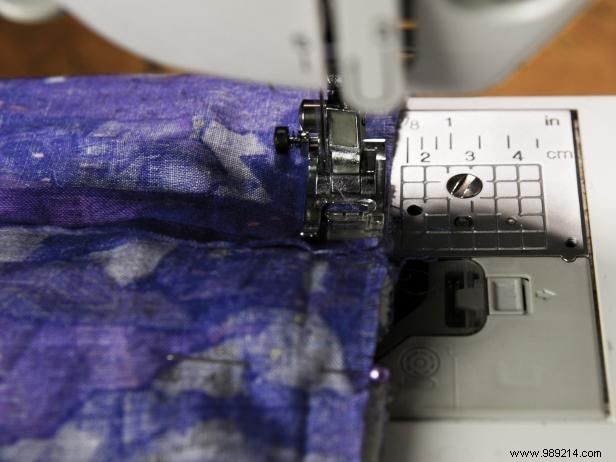
Sew the lining together, but instead of sewing the entire bottom, leave a 4-inch opening unsewn at the top. Don't turn to the pretty side. Align the top edge of the lining and the top edge of the tie fabric, then fit them in a circle. Sew around the edges of the gathering in a circle (do not sew directly on top or it won't work).

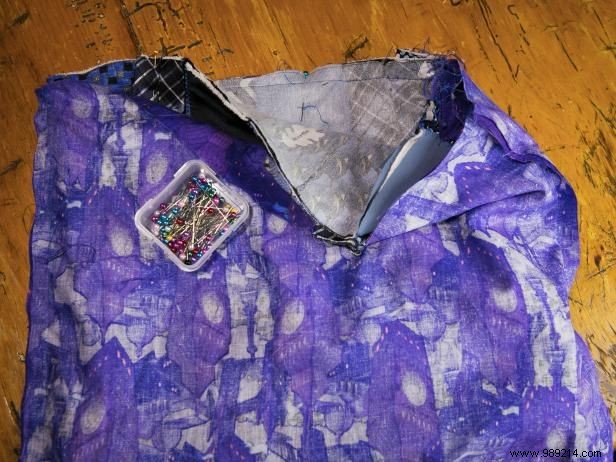
Invert the bag by pulling the entire 3" to 4" hole you left in the liner so that it is all right side out. Slide the hole in the lining and place it inside your bag.

Decide whether or not you want to sew the liner down 1” or let the liner look like a tie like the finished bags shown. Using your sewing machine, add a border stitch about an inch from the opening to make it look even more finished. To see more of Ariel's projects, check out Custom Catastrophes.