Learn how to build the frame to support a large plastic container and create a fun activity center for your backyard.
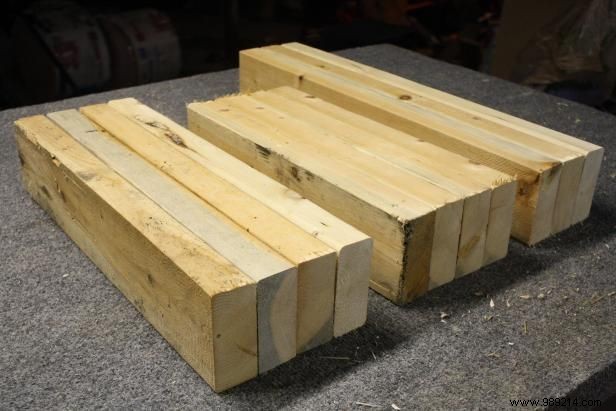
Measure the dimensions of your plastic bucket. Ours is a 32-quart measuring 23-5/8" x 16-3/8". To ensure that the rim of the container rests on top of the wood frame, use the dimensions of the base of the container, which is 22-1/2" x 15".
The entire frame for this toddler activity board can be cut into two 2x4 boards.
Develop a cut list. To fit our container specifications, our cut list is as follows:
• (3) 22-1/2” boards
• (4) 15” boards
• (4) 18” boards
The 10' board was cut into (3) 22-1/2" pieces, (2) 15" pieces, and (1) 18" piece. The 8' board was cut into (2) 15" pieces and (3) 18" pieces.


You don't need a template to pre-drill the pocket holes, but it makes the job easier and the holes are more precise. Add one pocket hole to each end of the 15" boards and two pocket holes to each end of the 22-1/2" boards.

Sanding along the surface and on the cut ends of each board helps smooth out any chipped pieces. Use a palm sander to make the process easier.

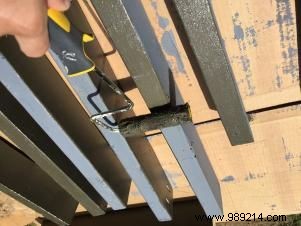
It is easier and quicker to paint, prime and paint all the boards before putting up the frame. Use a paint roller for fast, consistent coverage.
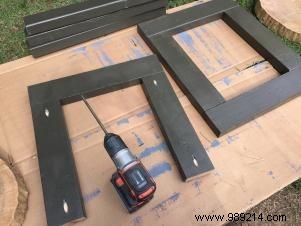

Assemble the two ends of the frame first by attaching the 15" vertical boards to the 18" horizontal boards.

The two ends of the frame will be joined using the 22-1/2” boards. To form the top of the frame that will hold the plastic container in place, spread two of the 22-1/2” boards between the corners.

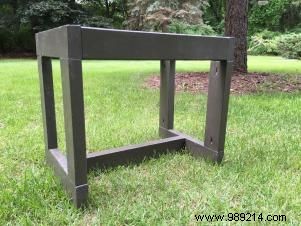
The third 22-1/2” board will fit along the base of the frame, promising to keep the table legs square to the ground, and the frame strong and wobble-free.
Overall frame size measures:25-1/2"L x 18"W x 22"H



At this point, your table frame is ready for use. Make sure the container you have slides into the top opening and sits snugly on the edge of the frame.
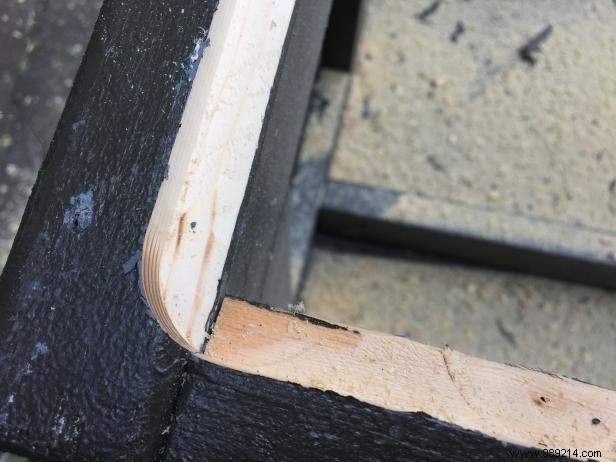
If you want the tray to be inserted into the table, this is the most efficient time to route the top edge of the table. Remove the bowl and cut a 1/2" x 1/2" overhang on the top inside surface of the table using a router bit and a router bit.

Sand the edges where the router chipped the wood, then use a brush to touch up the finished paint.
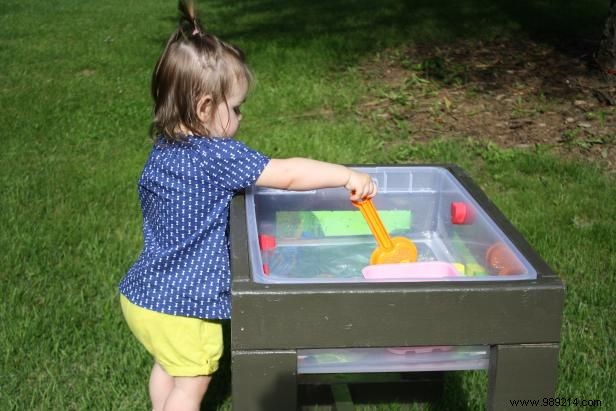
Fill the table with sand or water and toys and let your child play! The lid that came with your container will double as a cover to keep the litter clean. Empty any water and refresh between uses. The empty container can also be used for convenient toy storage.