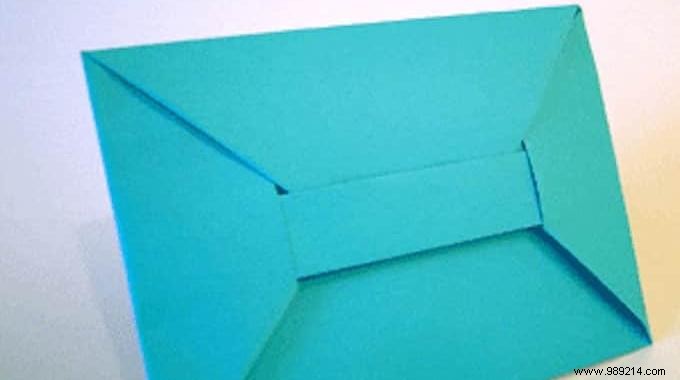
Do you know origami?
It is an art based on paper folding that comes to us from Japan.
He is best known for his paper animals like cranes.
But that's not the only thing you can do with origami!
Yes, there is a simple method to make an envelope from a single sheet of paper.
And this WITHOUT scissors or glue! I'm sure you and your kids will love it.
Ready to try? Follow the explanation in pictures:
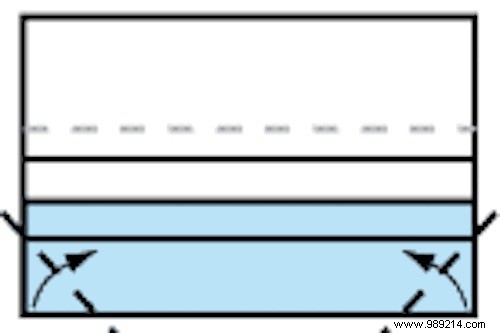
1. Fold an A4-type rectangular sheet of paper in half upwards, widthwise (bottom edge to top edge).

2. Fold the top flap in half, downwards.

3. Again, fold the top flap in half, upwards. Then, unfold it down to open it.

4. Fold the bottom edge of this flap in half, over the crease you just made. Then fold it up again.

5. Fold the top edge of the bottom flap over the crease indicated by the dot below (this is the crease closest to the bottom, just above the bottom edge). Then, unfold upwards.

6. Fold the two bottom corners to the crease closest to the bottom, as in the image below.
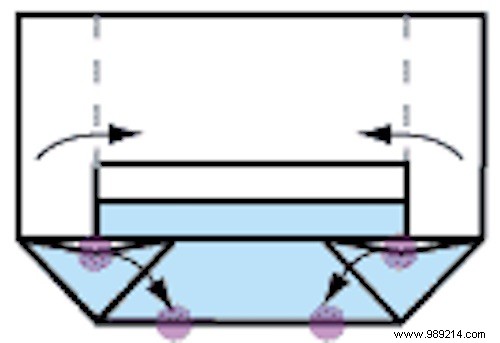
7. Fold the right and left sides inward, using the crease in the triangles as a guide. Then fold them outwards.

8. Use these creases as guidelines for making a diagonal crease in the rectangles shown below. If you have trouble, use a ruler to bend them better.

9. Unfold the bottom corner triangles and fold the crease closest to the bottom side up. Your fold should now look like the image below.

10. Use the existing creases to fold the sides of the top flap inward. Flatten the bottom triangles as in the image below.

11. Fold the top portion of the top flap down, along the existing crease.

12. Fold the right and left sides inward. Make sure the bottom corner triangles unfold outward and downward, like in the image below.
13. Lift and fold the tip of the triangles from the bottom corners inward, so that they fold over themselves.
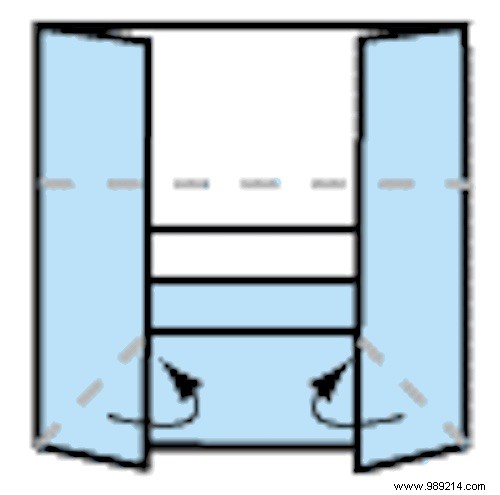
14. Make creases like in the picture below:fold the top corners along the creases. Then unfold the corners.
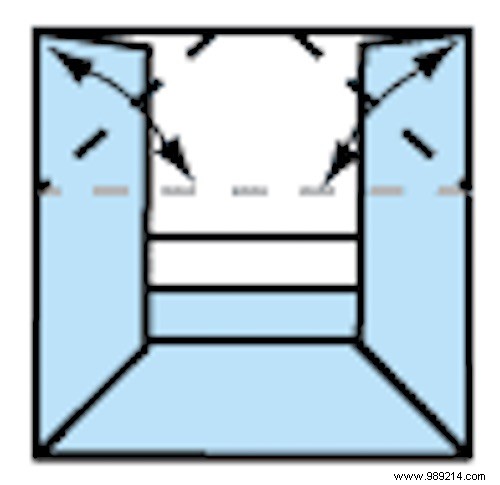
15. Fold the points shown in the image below down and towards the inside of the envelope. The folds should point you in the right direction. Flatten the model.

16. Fold the top part down along the crease closest to the top side of the model. To close the envelope, slide the upper part into the rectangle.

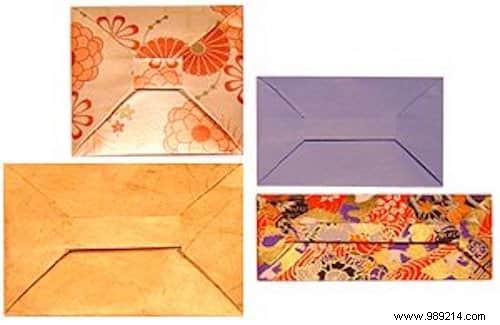
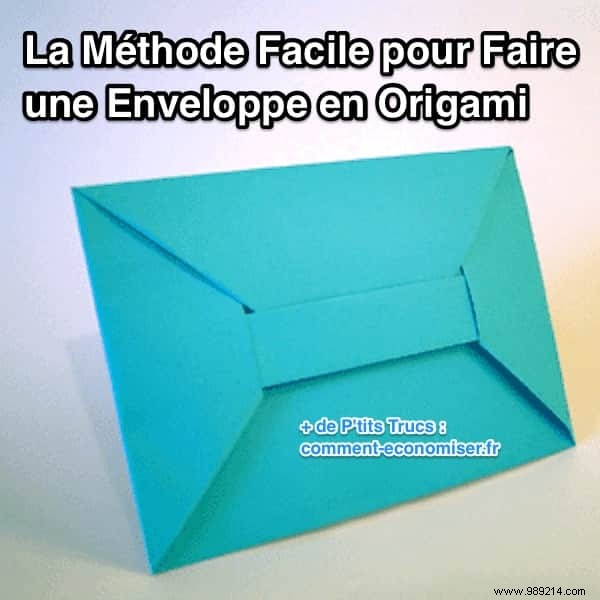
There you go, your origami envelope is already ready :-)
To personalize and create original envelopes, use colored sheets of paper.
These homemade envelopes are very practical when you want to attach a note to your gifts!
The many possibilities of using origami envelopes are only limited by your imagination.