The much-loved narrow tray with watercolor paint ovals is a part of the growth. Turn this classic children's toy into a colorful costume. It doesn't cost much to make and there is very little sewing involved.

The dress pattern creates a dress that is 24" long, 13-1/2" wide at the base of the armholes, and 20" wide at the bottom. Be sure to "try on" the printed pattern and make adjustments as necessary. before Next, adjust the paint colors, paint wells, and paint tray sizes as appropriate.Place the pattern on the yellow drop cloth and cut to size.

Cut eight 4-1/2" x 5-1/2" pieces of HeatnBond UltraHold and iron onto the back of each color (red, orange, yellow, green, blue, purple, brown, black) following the instructions on the package. Trace the oval template onto the paper backing and cut out the paints.
If you have sized the pattern up or down, adjust the paint color and paint the well patterns as needed.
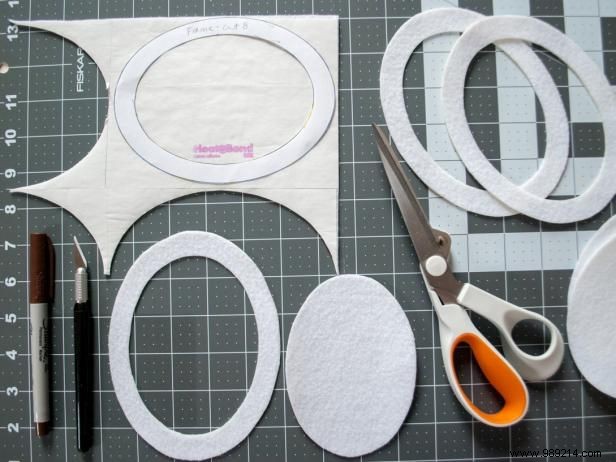
Cut eight 6-1/2" x 5" pieces of HeatnBond UltraHold and iron onto white felt backing following package directions. Trace the oval paint pit template onto the paper backing and cut it out. Use a craft knife to cut out the center oval and save for a future project.
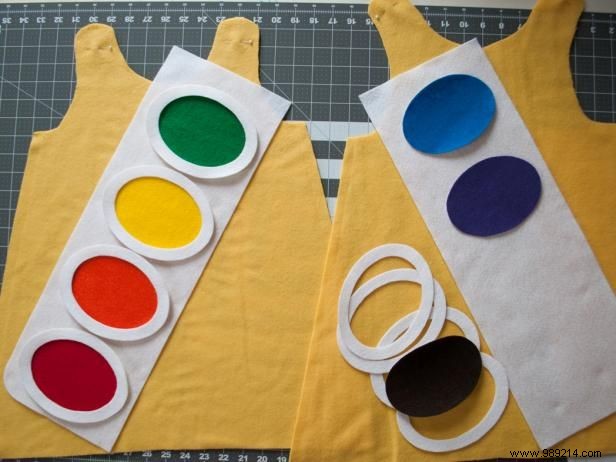
Cut two 18-1/2" x 7" rectangles to fit in front and back of suit; if you have adjusted the pattern up or down, adjust this size as needed. Round one corner on each rectangle to make it look like an inside Paint Box Tray. Separate paint colors and paint wells to fit.
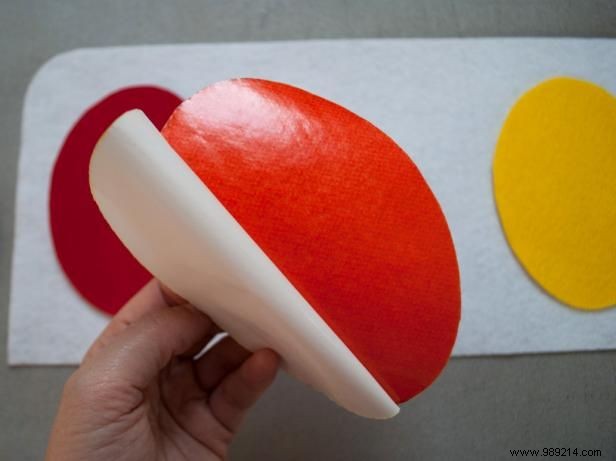
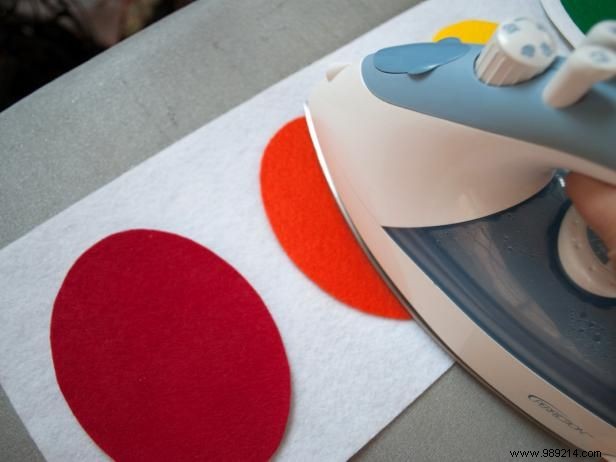
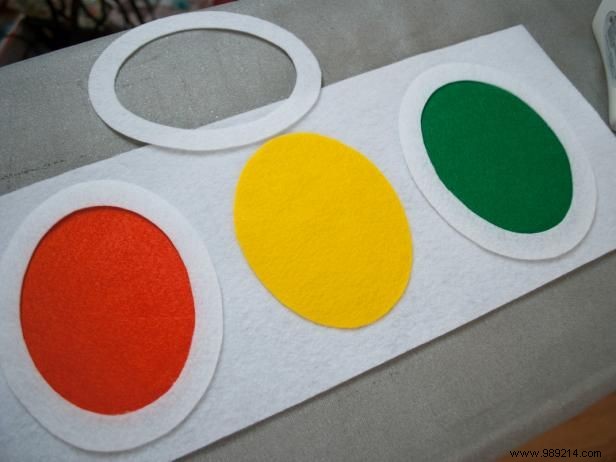
Carefully lift the tray out of the paint box and place it on the ironing board. Peel off the paper liners for each color. Iron each paint color on the paint box tray.
Repeat with the cut paint wells. For each paint well, remove the paper backing and the iron on the paint box tray. The wells should slightly overlap the paint colors below.
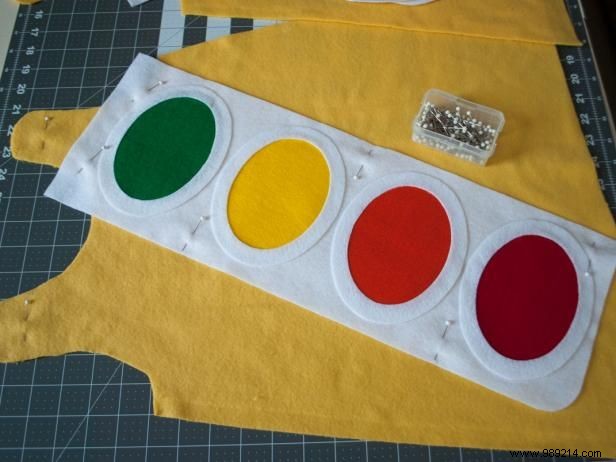
Place the paint box on the front of the dress diagonally across the left shoulder.
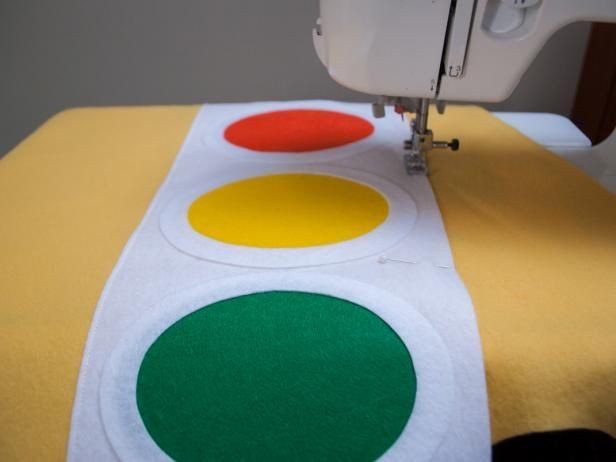
Sew the paint box to the front of the dress. Repeat on the back side, placing the paint tray diagonally so both pieces meet at one shoulder.
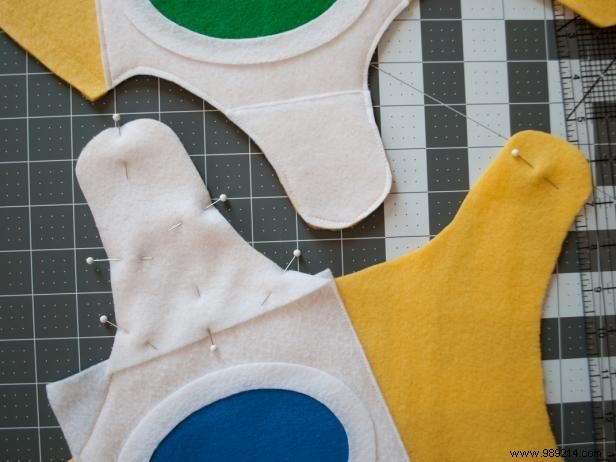
Cut a piece of white felt to cover the straps and sew. Trim off any protruding pieces.
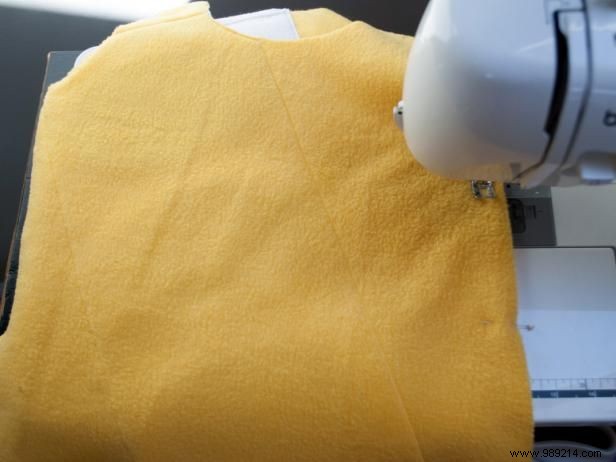
Sew the side seams of the dress together with a 1/2” seam allowance. There is no need to fold the bottom or sew the straps (hooray for fleece).
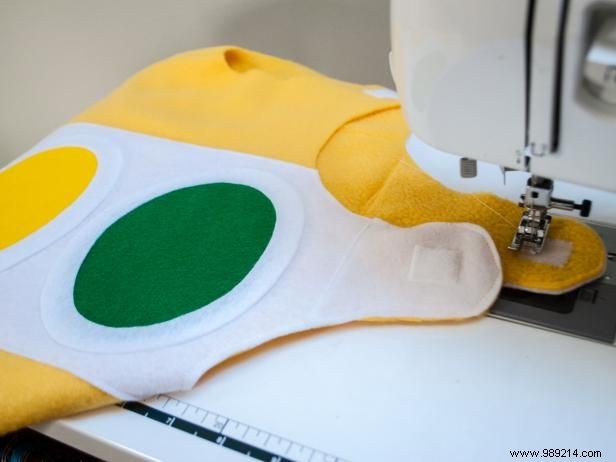
Try the dress on the carrier, mark where to place the hook-and-loop fasteners on the straps, and sew in place.
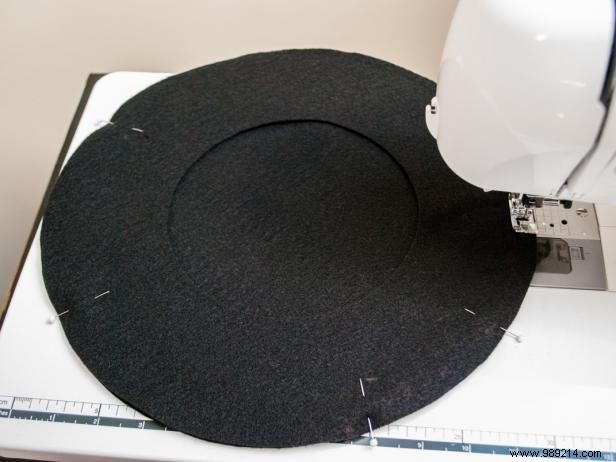
Cut out two circles with the hat pattern. The pattern is sized to fit a 20" head. Cut the donut out of a circle and stack them on top of each other. Sew the outside of the two circles together, wrong sides together, using a 1/4" seam. /P>
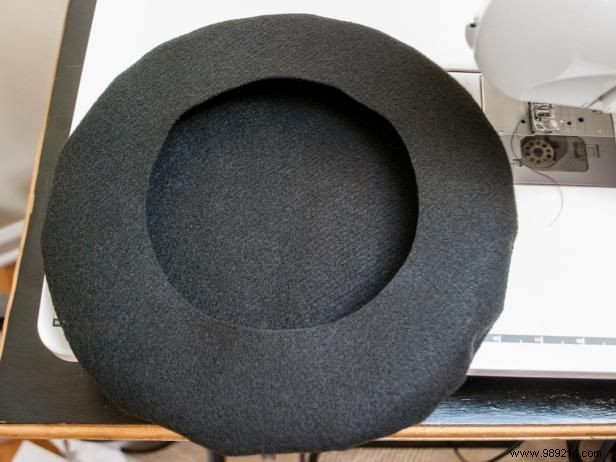
Turn to the right and press the seams with your fingers so they look like an inflated circle.
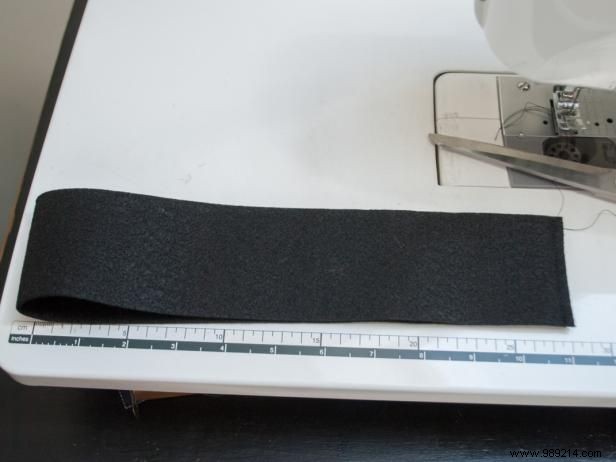
Cut a 23" x 2-1/2" strip of felt and sew the short side with a 1/4" seam.
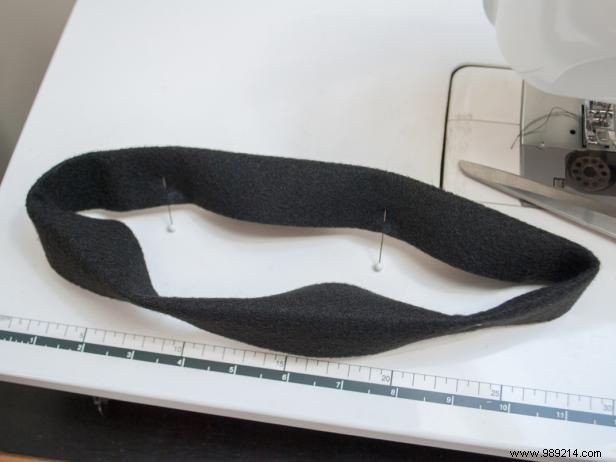
Fold the strip in half lengthwise, wrong sides together.

Pin the brim to the inner donut circle with the raw seams blended together.
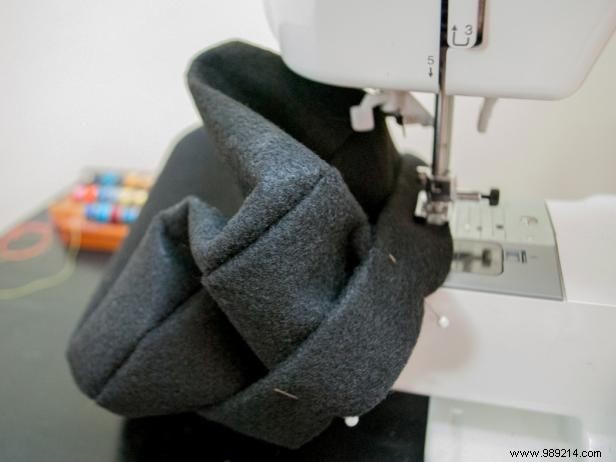
Sew the brim onto the hat with a 1/4" seam. Remove pins before sewing.
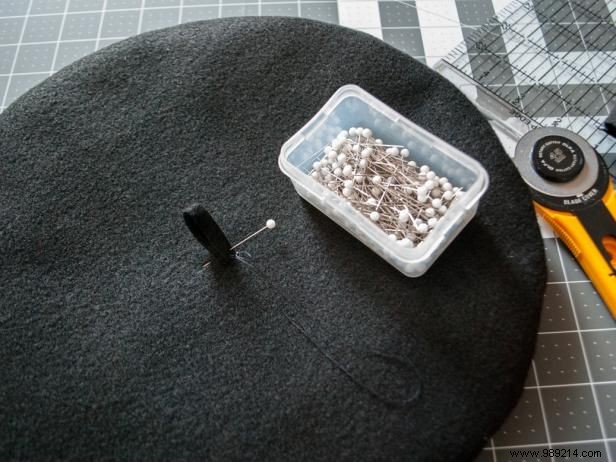
Cut a small 2-1/2” x 1/4” rectangle, fold it in half and hand sew it to the top of the hat. You can stuff the hat with tissue paper to help keep its shape while trick-or-treating.
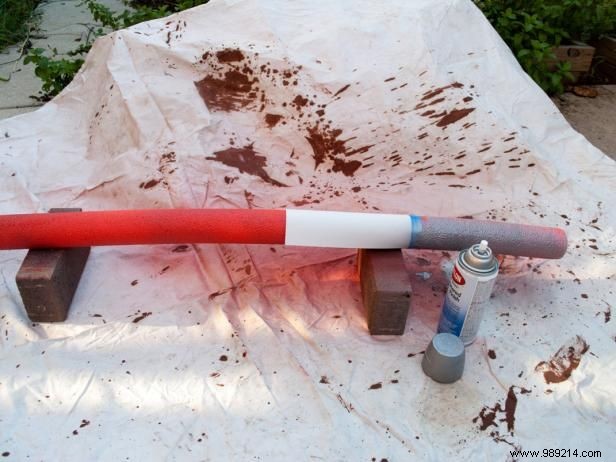
Spray paint the noodles red and let dry. Place painter's tape and a piece of paper where you'd like the silver to start; Ours was 10” from the top. Spray paint the tops of the noodles silver and let dry. Peel off the paper.
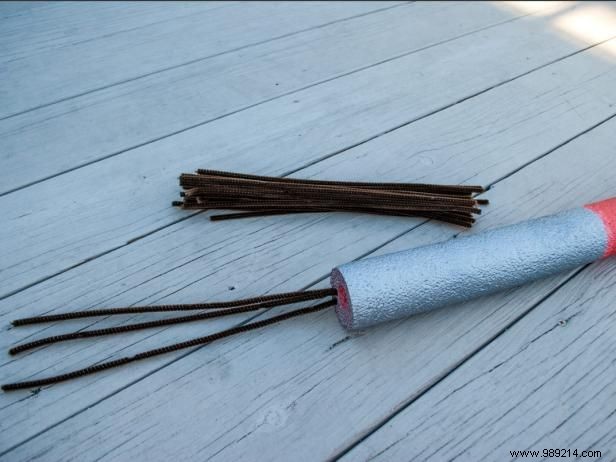
Stick pipe cleaners on top of the noodles. Use as many as you like to create a full looking brush.
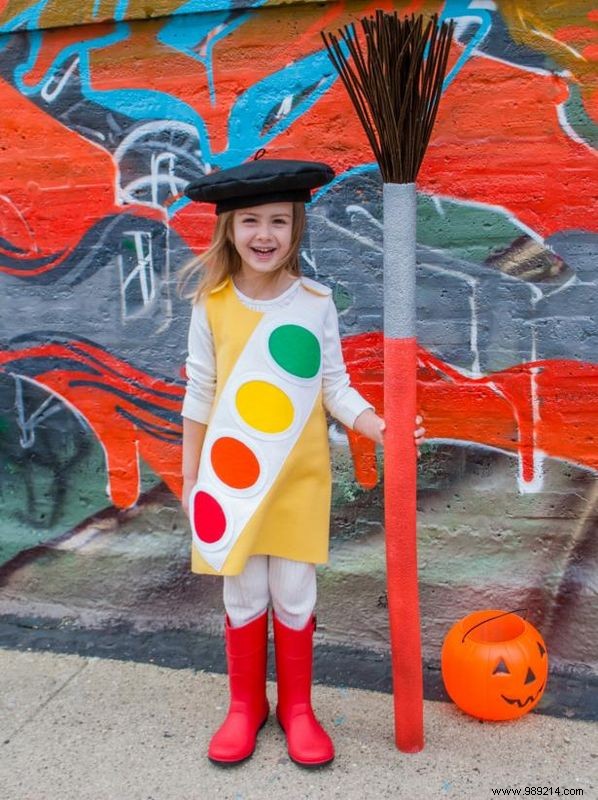
If necessary, trim the red end of the noodles to the proper height.