Bring your child's imagination to life with this dinosaur hat and tail that will have them roaring in no time! This costume is perfect for Halloween, birthday parties, or just everyday wear.

Image 1

Image 2
Measure the circumference of your child's head (Image 1). For the tail length, measure from the middle of your child's head, down the back to where you want the dinosaur's tail to end (Image 2).

Image 1
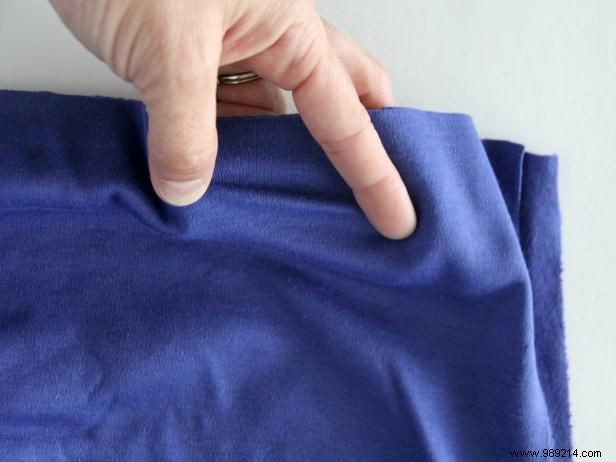
Image 2
Stretching from left to right, cut out four hat-shaped pattern pieces (middle ovals). The bottom straight edge should be the same width as the circumference of your child's head divided by two. The top center of your hat should be approximately 10" long from top to bottom, arching down on both sides (Image 1).
Make sure the stretch in the knit is from left to right, not up and down. To resolve this, simply pull the fabric gently to see which way it stretches (Image 2).

Cut four tail pattern pieces that are the same length as the tail length measurement, with a long, straight edge and a curvy outer edge.
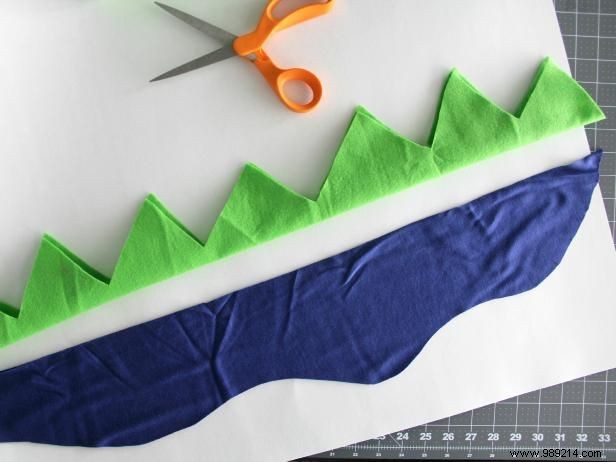
Image 1

Image 2
To make the spikes for your dinosaur tail, cut a strip of felt the same length as the length of your tail by 10" wide. Fold the strip in half lengthwise so it is 5" wide. Cut out several triangle shapes along the top of the felt strip, making sure to hold it together at the bottom. Cut two or three of these felt strips, depending on how many spikes you want to stick out (Image 1). Next, cut out some triangles from the felt to make them into spikes just for the hat (Image 2).
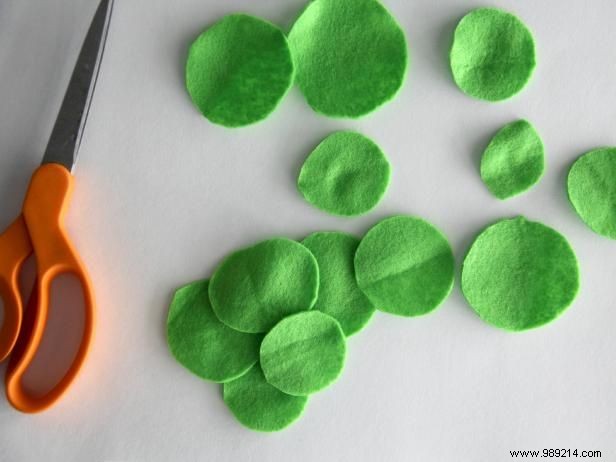
Image 1
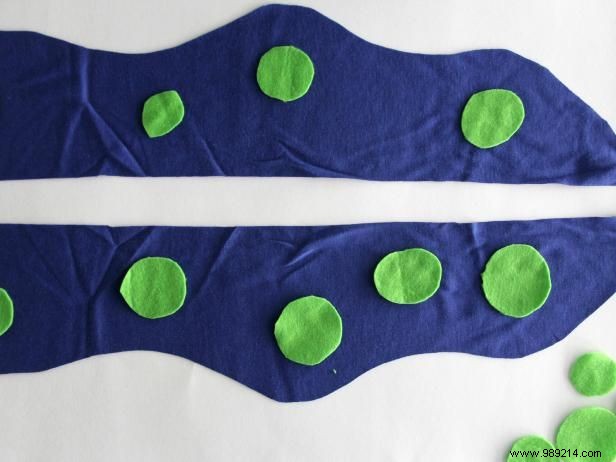
Image 2

Image 3
For additional dinosaur decoration, cut felt circles in various sizes (Image 1). Place the felt circles on top of the two pieces of fabric for the tail and pin. Adhere the circles with fabric glue or sew a curved line around each circle (Image 2). Then attach the circles to the two hat pieces (Image 3).

Attach the felt triangle pieces to the curved edge of one of your hat pieces. Pin in place, and sew a line around the outside edge to secure.

Image 1
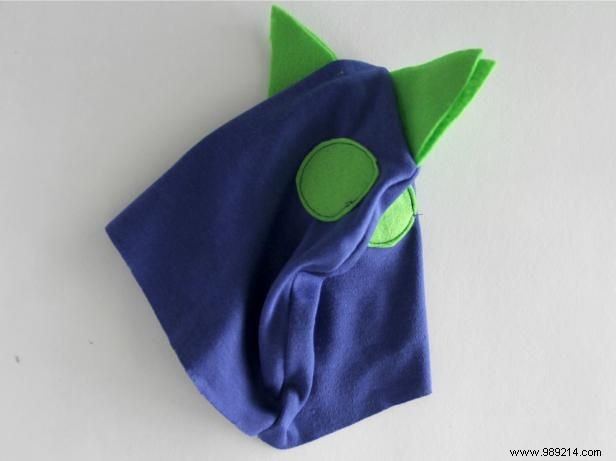
Image 2
Place another hat pattern piece to the right along with the triangle felt hat piece, sandwiching the spikes in the center. Pin around the outer curved edge and sew (Image 1). Turn the hat to the right (Image 2). Repeat for the other two hat pattern pieces, placing the right sides together and sewing the outer curved edge. (The second set will be the hat liner.) Set aside all the hat pieces for now.
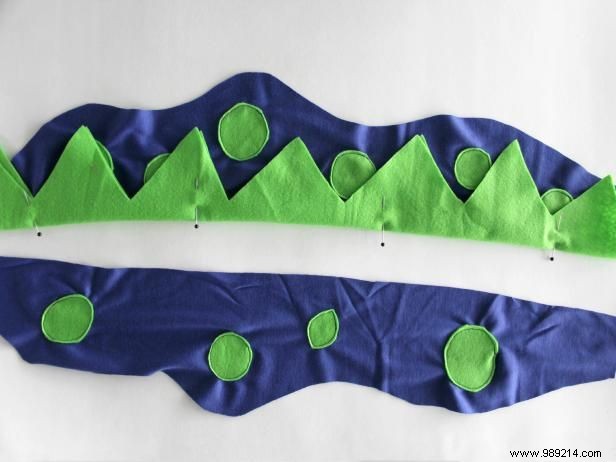
Place the long felt triangular strip along one of the straight edges of the decorated tail pattern piece. Pin in place and sew to secure.
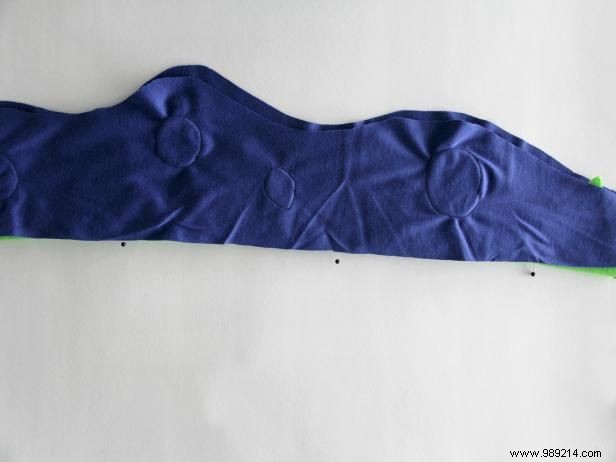
Image 1

Image 2
Place the other decorated tail pattern piece on top of the felt herringbone tail pattern, right sides together, snapping the points in the center. Pull along the long straight edge and sew to secure (Image 1). Unfold and you should now have this (Image 2). Place the other two tail pattern pieces together and sew along the long, straight edge. These will be the bottom of the tail.
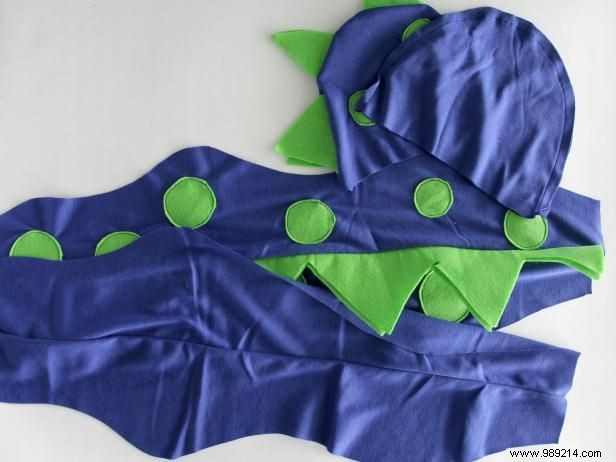
These are the pieces you should have by now. Now it's time to sew them all together.
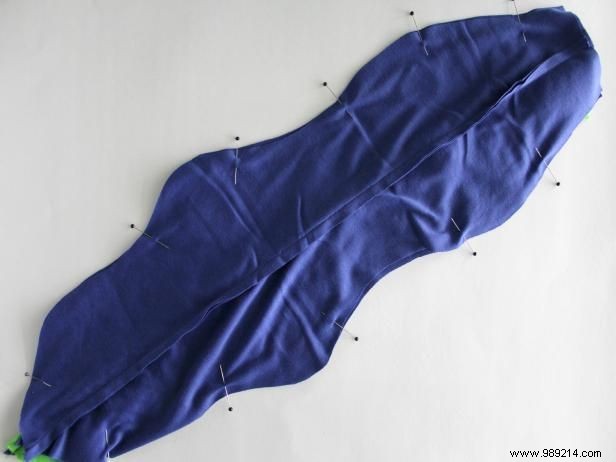
Image 1

Image 2
Attach the two tail pieces to either side, joining the spikes once more in the middle. Pin around the sides and bottom, leaving the top open (Image 1). Sew around Turn the right side of the tail out through the open top edge and press (Image 2).
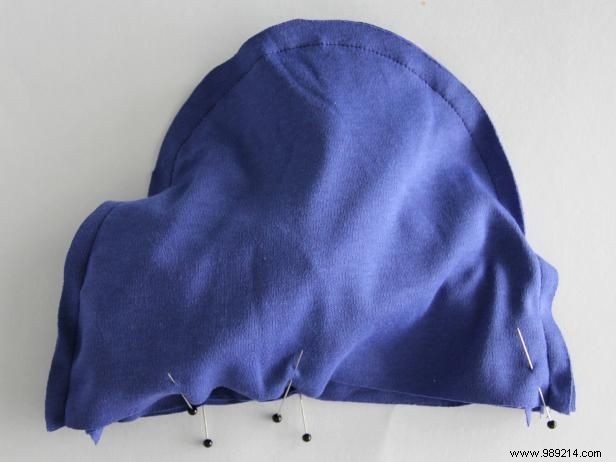
Image 1

Image 2
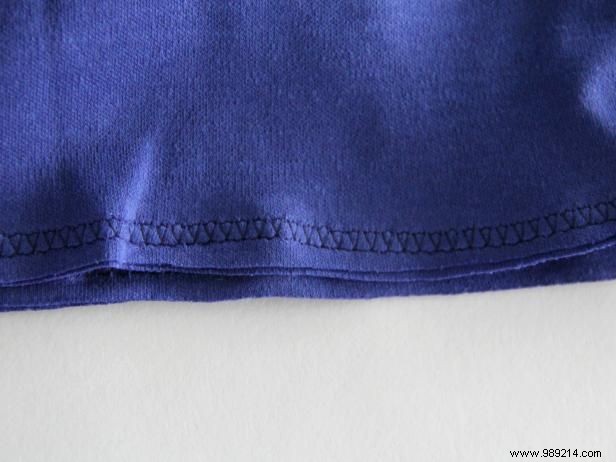
Image 3
Place the hat liner inside the decorated hat, right sides together by matching the side seams. Pin around the bottom straight edge, leaving a 4-inch opening to turn (Image 1). Sew around, using a stretch stitch, serger, or zigzag stitch when sewing. This will ensure that your hat will still have the stretch it needs to go on and off your child's head. Turn the hat clockwise through the 4-inch opening (Image 2).
Image 3 shows a close-up of a stretch stitch. Most sewing machines have a selection of stitches that allow stretching, check your manual. If you're not sure, a basic zigzag stitch will always work. Essentially, a stretch stitch allows the threads to separate and pull, unlike a basic straight stitch.

Image 1
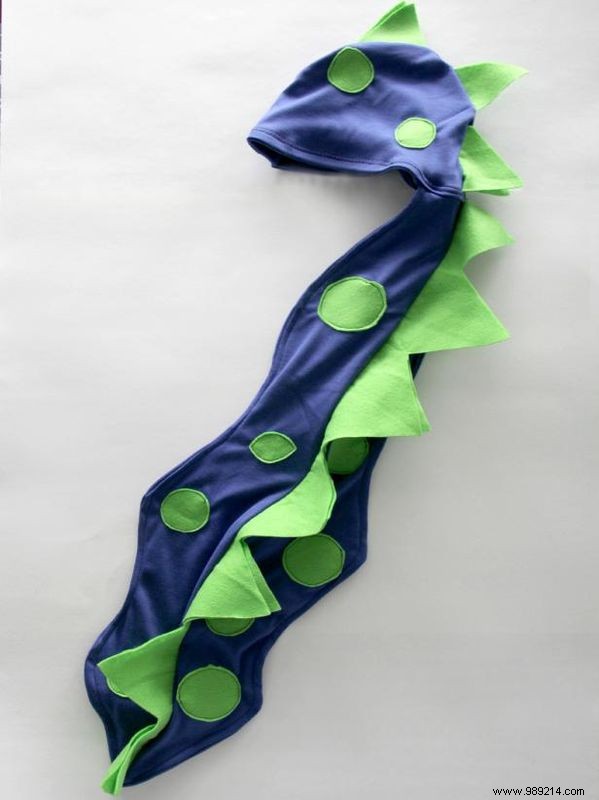
Image 2
Slide the top edge of the tail into the 4-inch opening and snap on (Image 1). Sew around the bottom edge of the hat one more time to secure. Once again, use a stretch point. Take out your dinosaur hat and voila! (Image 2)
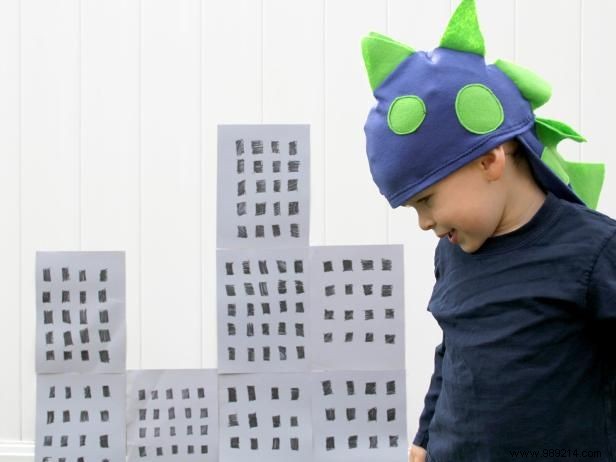
Place the dinosaur hat on your child's head and watch as they happily stomp on everyone.