These instructions are for a 3-foot tree, so it's a great option for a table or small space.

Wade Works Creative

Wade Works Creative
Rip (14) ¼" thick strips from the 2x4s with a table saw.

Wade Works Creative

Wade Works Creative
Cut 40 pieces at 16" and 40 pieces at 12".

Wade Works Creative
Mark the center line of all the pieces with a straight edge and a pencil.

Wade Works Creative

Wade Works Creative
Drill out the center of each wood slat using a drill or drill and a 1/2" Forstner bit.
Use a close guide for the most consistent results.

Wade Works Creative

Wade Works Creative

Wade Works Creative
Coat the rod with soap (Image 1), and slide it over all the wooden slats with all the similar pieces (Images 2 and 3).

Wade Works Creative
Cut the pieces to the dimensions shown using the extra 2x4 lumber and the 2" thick piece of lumber for the 6" circle.

Wade Works Creative
Drill a ½" hole, 1" deep in the large rectangle and circle. Drill a hole through the smaller rectangular piece.

Wade Works Creative
Smooth out the top edge of the circle (on the perforated side) using a router and twist bit.

Wade Works Creative
Place the small rectangle on the large slat side of the tree, leaving four inches of dowel hanging below it. Cut the top of the dowel 3/4" above the small wooden slats with a handsaw.

Wade Works Creative
Place the remaining rectangular piece on top of the dowel, and press all of the wooden slats together with a long clamp. Draw the desired tree shape with a marker and a straight edge.

Wade Works Creative
Cut the profile with a band saw or circular saw.

Wade Works Creative
Sand all the pieces.


Wade Works Creative

Wade Works Creative
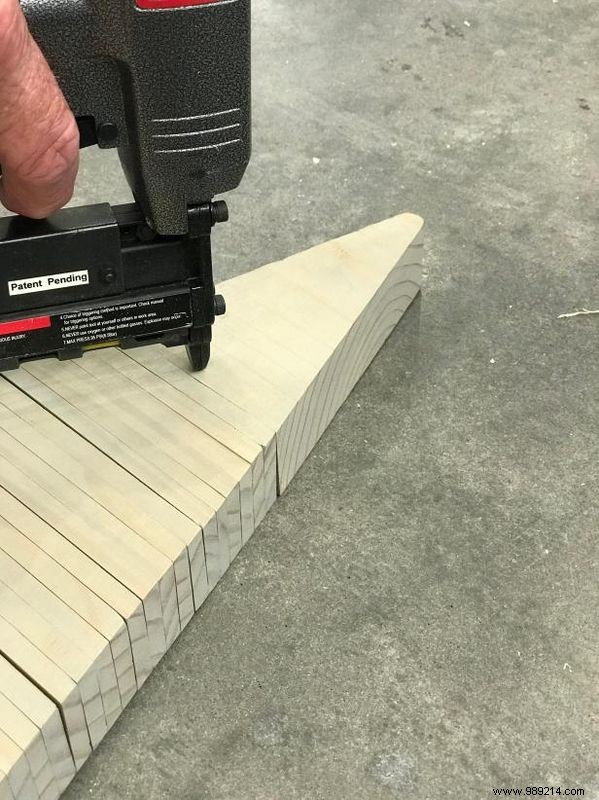
Disassemble all parts and finish as desired (Image 1). Reassemble and fix the upper triangle (Image 2), the lower stop (Image 3) and the circular base with a micro pinner.
Avoid putting any finish on the dowel rod as this will affect re-installation of the slats.

Wade Works Creative