
For the sides of the trees:two 3/4" x 15" x 16" pieces
For the berries:80 pieces at 5/8" x 1/2"


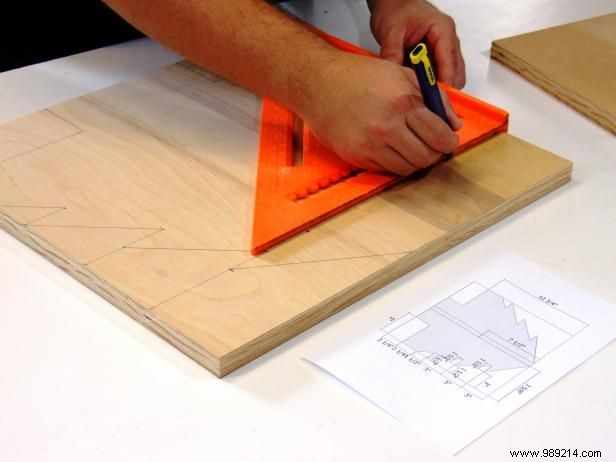
Cut the two blanks for the sides of the tree per the cut list and Image 1. To help prevent tearing along the edge, apply tape or masking to the cut line.
Use the layout in Image 2 as a guide to mark the sides of the trees. A square is useful to mark the diagonal lines. Take care when marking the lines in the center of the tree. This 3/4-inch-wide center area is the slot where the two sides of the trees will intersect.
Use a hacksaw to cut off any excess areas on the sides and center slots (Image 3).
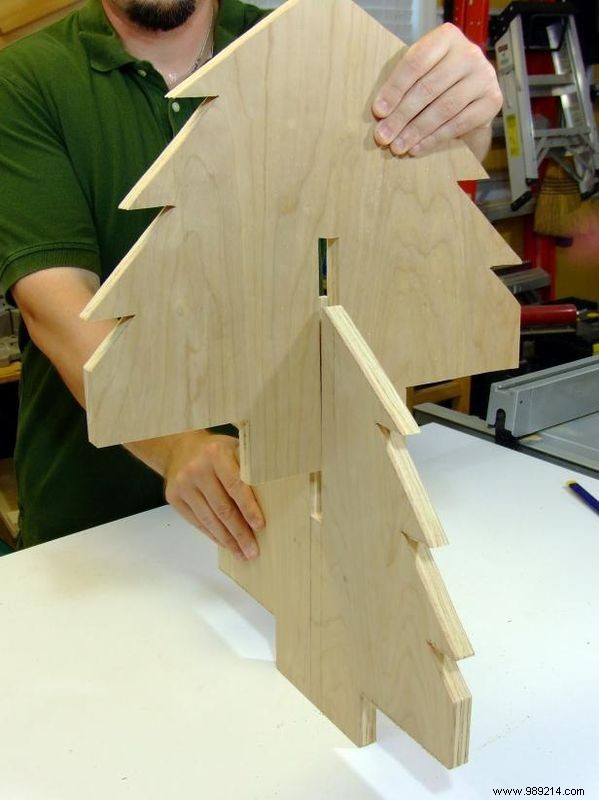
Fit test the sides of the tree (Image 4). If the two parts are too tight, sand the inner edges of the grooves. Sand all the edges and corners. Paint the top area of the tree's sides with dark green paint, the bottom "trunk" area of the tree's sides with brown paint.


From a 3/8-inch dowel, cut 80 berries, each 1/2-inch long. Use a handsaw with a miter box or a miter saw to cut the pieces.
On each of the tree sides, randomly mark 20 spots for berries and drill 3/8-inch-deep holes with a 3/8-inch Forstner bit (Image 1).
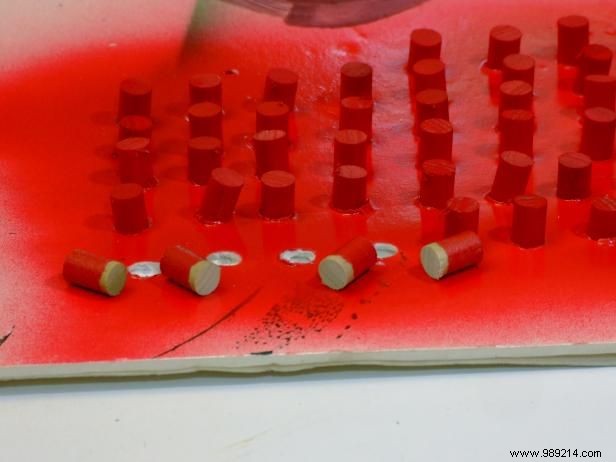
Paint the berries with red spray paint (Image 2). To make it easier, insert the berries into a foam board so they stand up in place. Drill holes into the foam core board or use the 3/8-inch Forstner bit to drill holes.
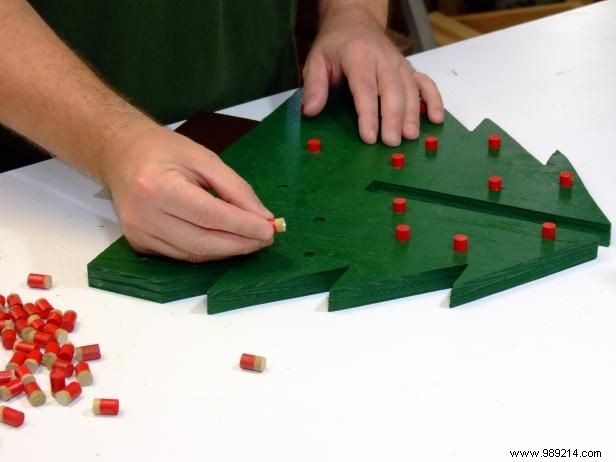
Apply some glue to the bottom of the berries and insert it into the holes on the sides of the trees as shown in Picture 3. Use a wooden or rubber mallet to tap the berries into place if necessary.

You can apply self-adhesive felt pads to the bottom of the tree's sides to prevent the tree from scratching a table top.