Creating a personalized piñata is easier than you think. Some heavy paper, tissue paper, glue, and some candy are the key items. Before you know it, you'll be creating one-of-a-kind piñata masterpieces for every occasion!
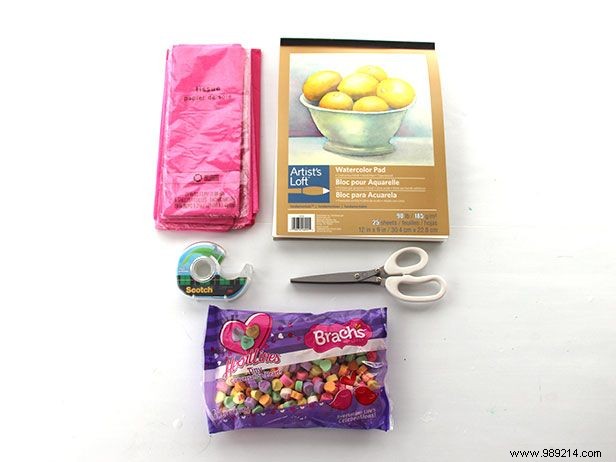
First of all, grab your supplies. I used some heavy watercolor paper that I had on hand. I wanted it to be heavy enough to hold the weight of the candy, but it tore easily with a light hit from a bat. A bag of sweet conversation hearts (or try making your own!), tissue paper, tape, scissors, and voila!
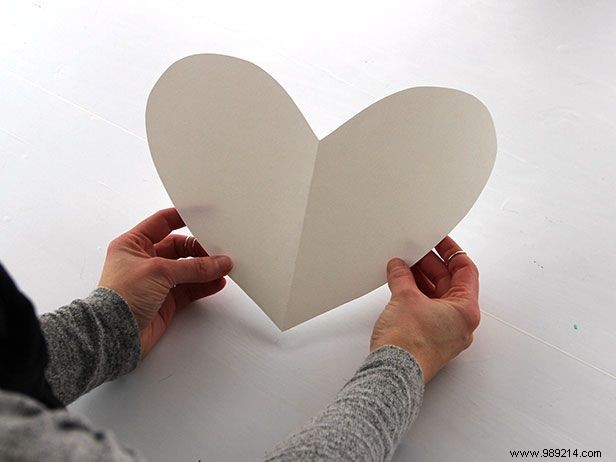
I used the second grade method to cut out my first heart:fold the paper in half and cut out about half of a heart shape. A few refinements, and I was satisfied.
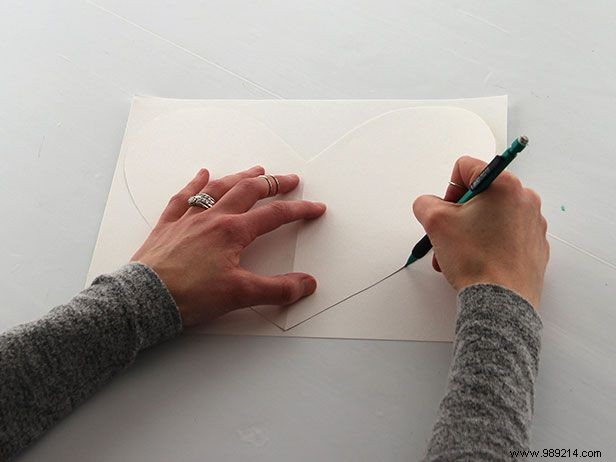
Use the first heart to trace an identical one on a second sheet of paper and cut it out.
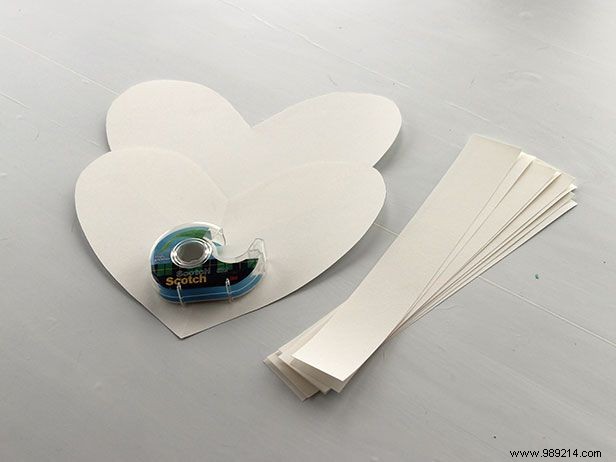
Next, cut 2-3 inch strips from the same thick paper to form the sides of the piñata.

Using tape, tape the paper strips to the edges of one of the paper hearts.
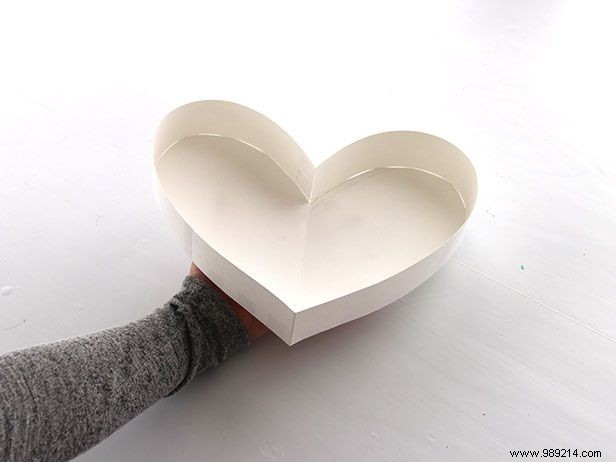
Attach the sides around everything.
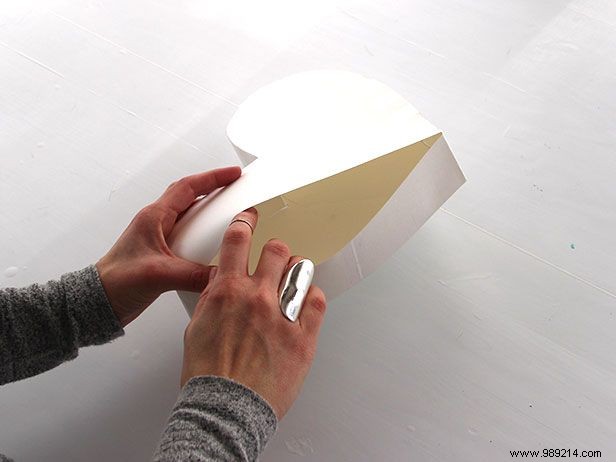
Now attach the second heart, leaving a small section unattached. This is where you'll place the candy when you're ready.

Using scissors, cut strips of tissue paper at the fringe by folding a 4-inch strip in half lengthwise and cutting toward the folded edge, leaving an uncut half-inch strip at the folded edge.
If you want a short cut, grab a pair of fringing scissors from your local craft store.

When you're ready to apply the fringe, start at the bottom and layer your way up.
A glue stick can be used to apply the tissue paper fringe, but a glue roller is a no-fuss time-saving tool.

Leave the fringe a bit unruly, or trim the edges for a neater look.

At this point, fill the heart with candy and seal the opening.

Use a few strips of tissue paper to cover the sides, or small sections of fringe.

Thread some string or yarn across the top of the heart to hang, and let the game begin!