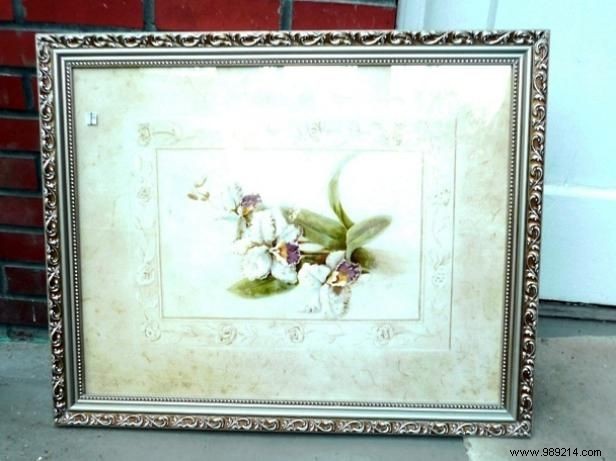
Decorative chalkboards and wall organizers can cost a lot of money at popular stores, but you can make them for just a few dollars. We found a couple of $10 picture frames at a thrift store, bought a can of chalkboard paint for less than $5, and got the chalk for another $2. This project takes little time and is easy enough for kids to use. help..

Find a large picture frame with a solid piece of backing board. If your frame doesn't have a good backing board, get a thin piece of laminated plywood to use on your surface.

Use a flathead screwdriver to pry up the metal brackets on the back of the frame. Take out the artwork and save the support table.
Spray or brush some primer onto the surface and let it dry. Then apply a coat of chalkboard paint. Let dry and add a second coat if necessary. Follow the manufacturer's instructions for drying times. If you are not changing the wording on your project, you can use black paint with white paint for the letters.

Create your message on paper, make sure you have enough space. Measure a start point and an approximate end point. Remember that the borders will be below the frame.
Carefully start adding your words with the chalk (or white brush paint). Use a T-square if necessary to help keep your lines straight.

Clean both sides of the glass and then put the whiteboard back in the frame. If you'll be changing your message frequently, you may want to leave out the glass. Carefully readjust the frame's metal fastener pieces with a flathead screwdriver.