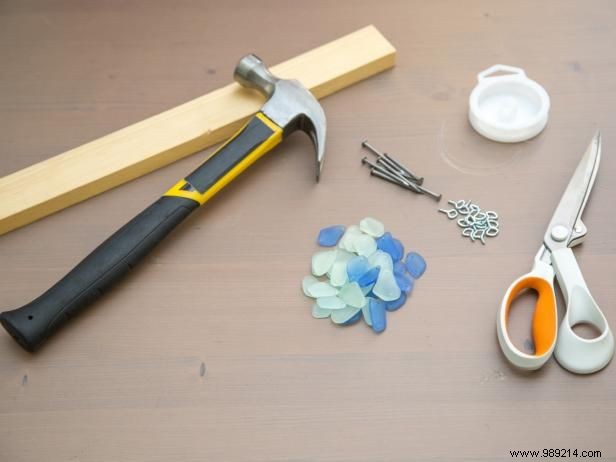
Making a sea glass shadow box is a captivating yet simple DIY project to bring home a little bit of beach color and charm.
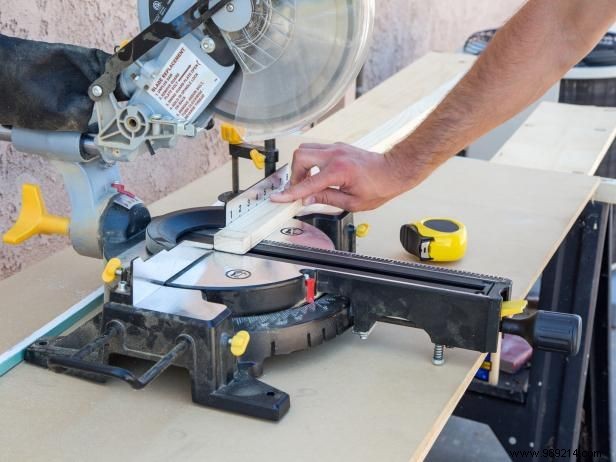
For your frame, measure the 1x3 board and cut it into four pieces to the desired size.

Align one of the pieces of wood on top of the other and hammer two nails into the corners. Do this again to form a perfect rectangle. Make sure all four corners are nailed down properly.
Tip:You can paint your frame at this point if you want. I chose to leave the wood bare in this shadow box to complement the tones of the sea.
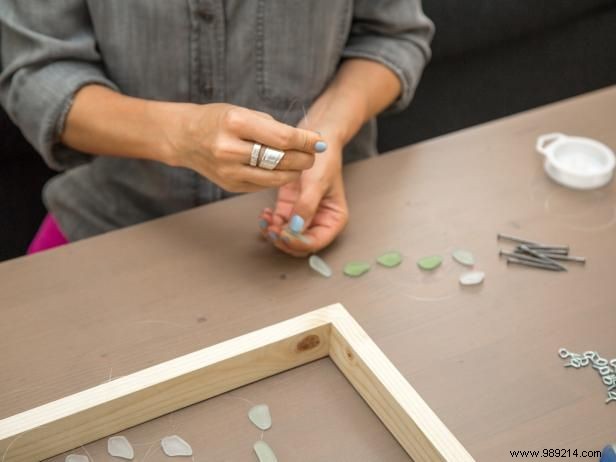
Put the sea glass inside the frame to see how many pieces and how many columns you want in the shadow box. You will also be able to see how the different shades of sea glass will look when hung. Once you've decided where each piece will go, thread the clear thread through each piece of sea glass accordingly.
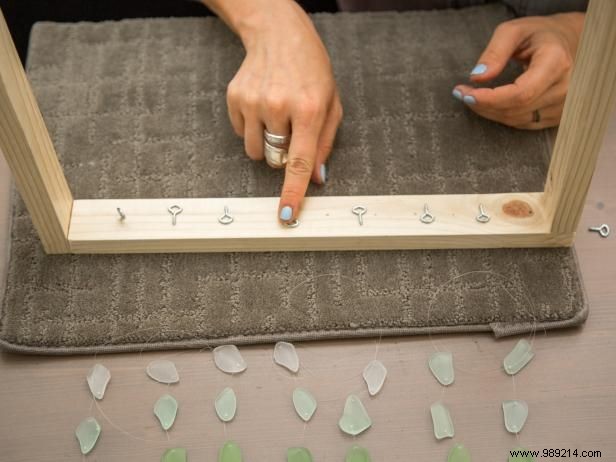
The hooks go on the top inside. and The inner bottom of the frame. To make sure your columns are straight and even, measure and lightly mark where you want each eye to insert. Twist the eye hooks into place.
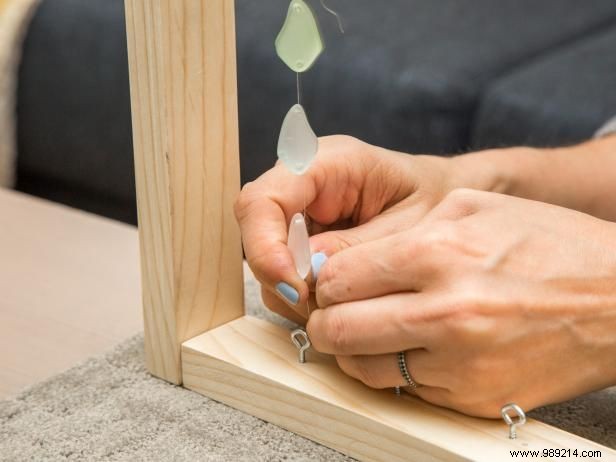
Tie the ends of the sea glass strings to the eye hooks at the top and bottom of the frame to form your columns. When you are using a fishing line, it helps to double or triple your lines to keep them safe. Once all strands are securely fastened, cut off any excess strands.
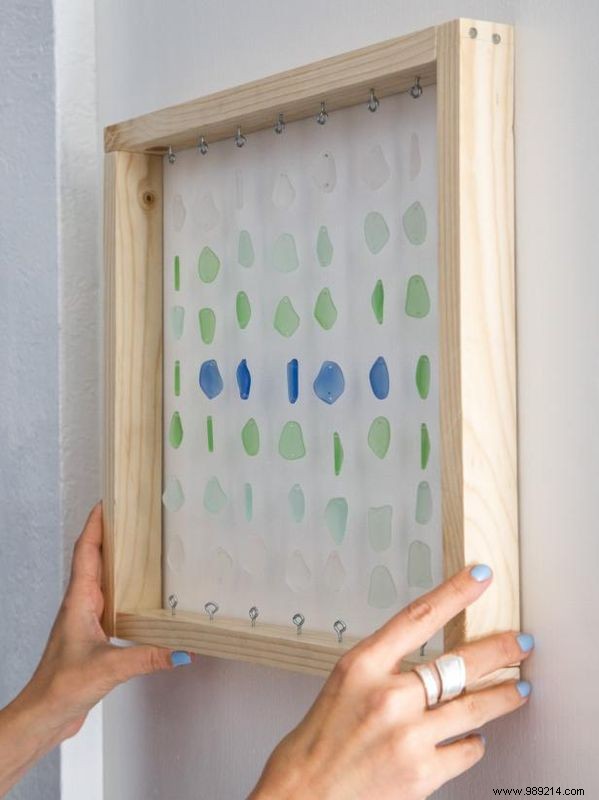
One of the best things about shadow boxes is that they can be placed anywhere. Hang your shadow box on the wall, place it on the counter or shelf, or even on the windowsill, where it can catch the light.
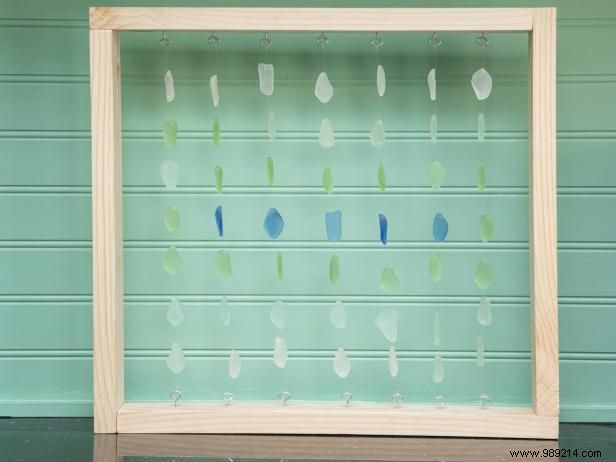
A sea glass Shadowbox is a colorful and creative summer DIY project that can be done in less than an hour, but will bring you long-lasting coastal happiness.