Susan Teare, Joanne Palmisano
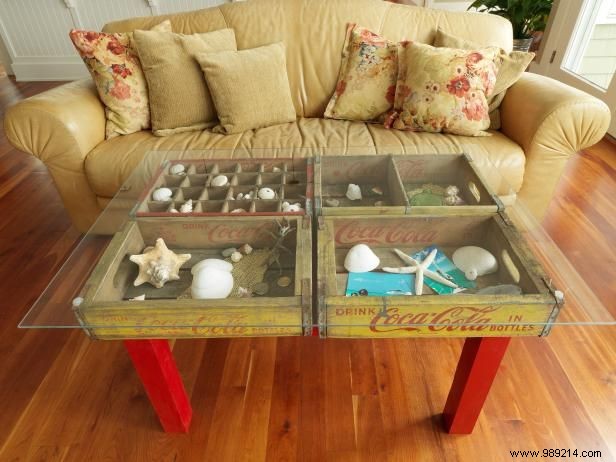
We found four wooden boxes at a resale store, attached them, and then added a table base. The boxes were filled with trinkets and keepsakes, then topped with tempered glass.
drill and 1/8" for counter sinking and a Phillips bit
chop saw
jigsaw or circular
measuring tape
tweezers (small and large)
level
square
(4) vintage wooden soda crates (same height, width, and length)
piece of plywood
(4) 2x2s for the legs (hardwood)
(4) 2x4s for table.
wood screws (2", 1" and 1/2")
red paint and brush
tempered glass top
Transparent pads for between glass and wooden boxes.
scrap wooden parts for fastening
Place the wooden boxes together and measure to determine the exact size of the table. Cut a piece of plywood that is 1 inch shorter (on all sides) than the boxes.

Using the 1/2" screws, attach the plywood to the bottom of the wooden boxes. They may stick out a bit inside the boxes, but you can cover them later. Do not screw into the corners where the legs and skirt will rest.

Cut the 2x2s to the desired height for the legs. Hold them in place at the corners of the plywood to measure the length of the skirt (which goes between the legs). Cut the skirt pieces (2x4s) to size. Sand, prime and paint all the pieces..
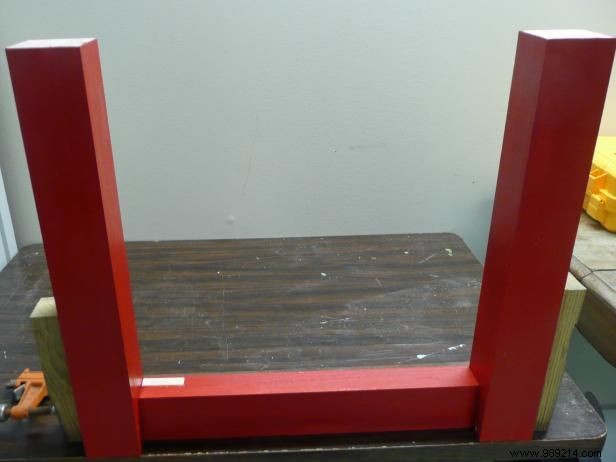
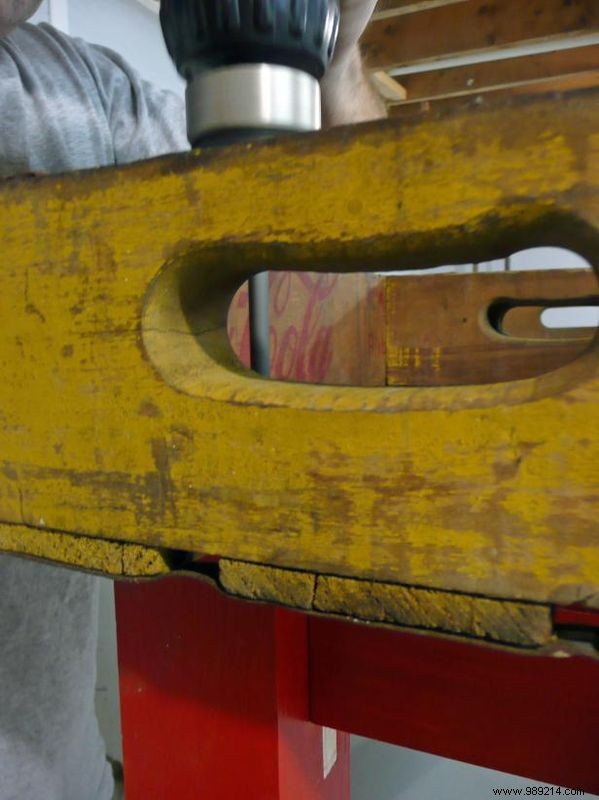
Pin the legs to the skirt, with the legs sticking out 1/4" to 1/2" from the skirt pieces (Image 1). Pre-drill holes at an angle from the skirt to the leg from the top and bottom of the skirt (Image 2). Drill two holes at the bottom and one at the top, slightly offset so that the screws do not interfere with each other (Image 3). Then glue and screw the pieces together.


Fill nail holes with wood filler, then sand lightly and touch up paint if necessary.
Place wooden boxes on the table frame and screw from the inside of the wooden boxes to the skirts. Add your memories in boxes and cover them with a tempered glass lid.

Joanne Palmisano is the author of Salvage Secrets (W.W. Norton, September 2011). Visit her blog, also called Salvage Secrets ..