You can decorate these adorable table numbers any way you like, adding your special craft flair to your big day.
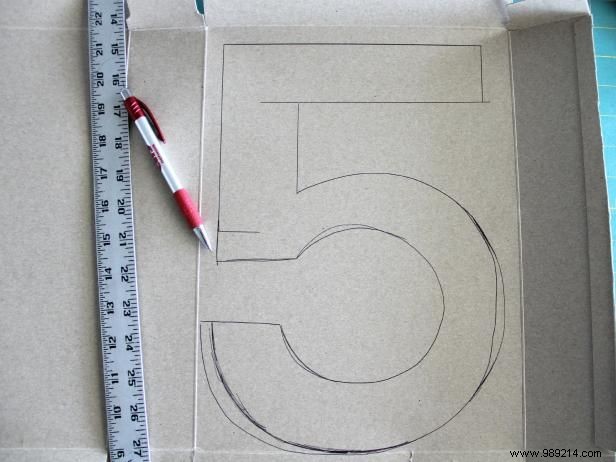
Draw an outlined number directly on the inside of the cardboard cereal box. Use a ruler and protractor to get nice straight lines and curves.

Fold the box in half and cut out two mirror images of the number.

Now you should have this.

With the rest of the cereal box, cut a bunch of 1-inch-wide cardboard strips.
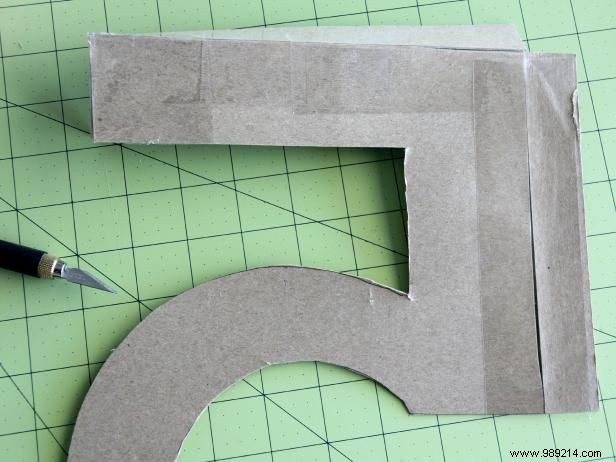
Match the 1-inch strips along the side edges of the number; cut them to size.
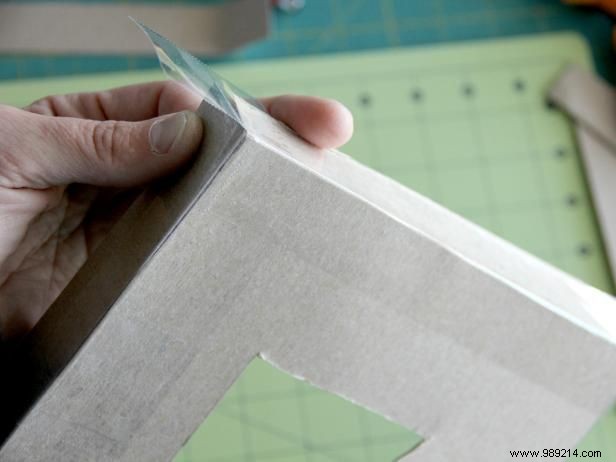
Bend the 1-inch strip so it forms a 90-degree angle to the number. Glue the side strips to the front of the number.

You should now have something that looks like this:a number with all sides and a flat mirror number.

Fill the number with the sides in half with rice. This will add a weight to the number, so it won't be easily knocked down.

Lay the number flat directly on top of the rice filled number and glue around the entire edge to secure.
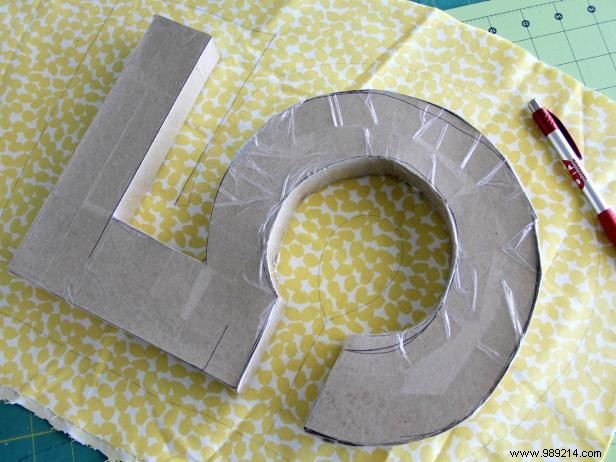
To cover the number with the fabric, fold the fabric in half and place the number directly on the fabric. Trace the number with a pen, giving it a nice 1-inch border around all sides.

Cut out the traced number from the fabric. You should have two mirror images of the number on cloth.

Use a brush to apply Mod Mod to the back of the cardboard number. Press the flat cardboard number directly on the wrong side of the fabric number, in the center.
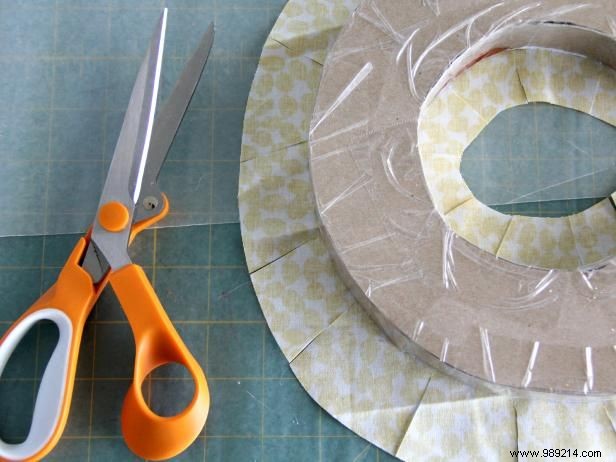
Cut notches in the 1-inch edge of the fabric around all of the curved edges of the number. This will help ease the fabric around curves.
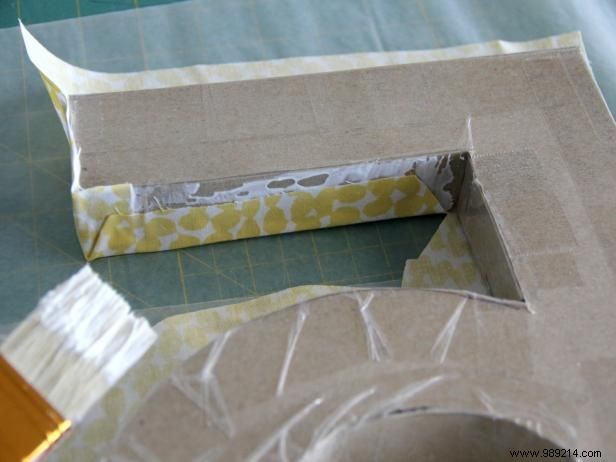
Use a brush to apply Mod Podge to the sides of the cardboard number. Fold the fabric up on the sides so it sticks to the Mod Podge.
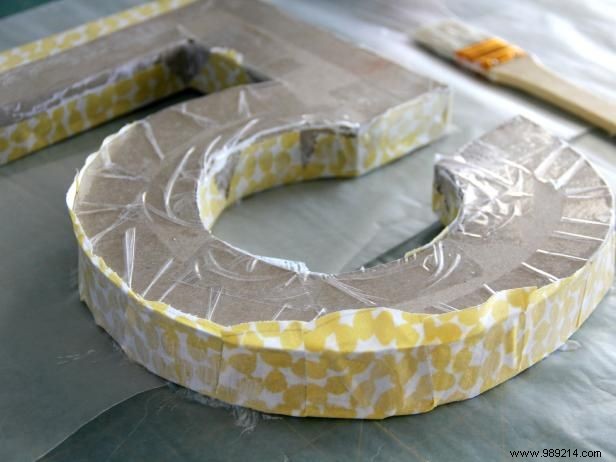
Continue all the way around the whole number.

Repeat these steps for the other side of the number. Cut 2-inch-wide strips from the rest of the fabric. Apply Mod Podge to one end of the strip to the number and wrap the fabric around the number. When you get to the end of the fabric strip, apply Mod Podge to the end to glue it down. Repeat this until your number has the final look you want.
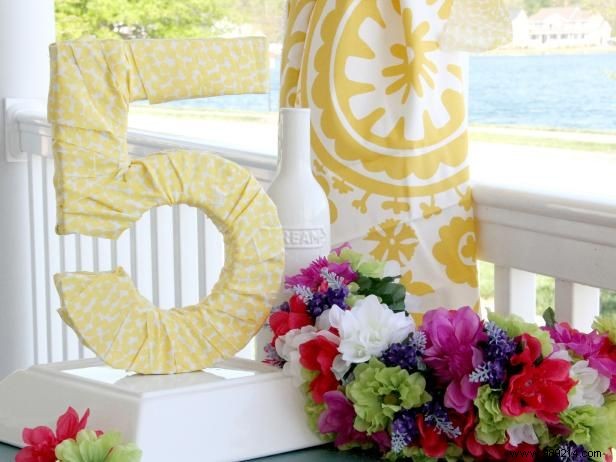
A beautiful fabric covered number that makes the perfect centerpiece for the wedding table. Add flowers, rhinestone appliques, drape pearls over it, anything to add instant glam to your number.