Most children and even adults love miniature furniture and fairy garden items. The idea of a small world is intriguing, like the Lilliputians, and fun to play with.
To make this pumpkin town, handcrafted pumpkins were used to make the project last longer.

Craft pumpkins are very easy to carve with a utility or craft knife. Draw a pencil around the outline of the windows and then use a sharp blade on a utility or hand knife to cut out the shape.

Trace the shape of the door with a pencil on the pumpkin. We used store bought doors because we couldn't find pieces of wood in the right shape. Because of the curve of the door and the curve of the pumpkin, it was easier to raise the door a few inches from the bottom of the pumpkin, and design-wise, it gave us the opportunity to add porches to the pumpkins.

For the windows, cut the twigs to the correct size and place them on the windows. Make them as snug as possible and add some hot glue to keep them in place.


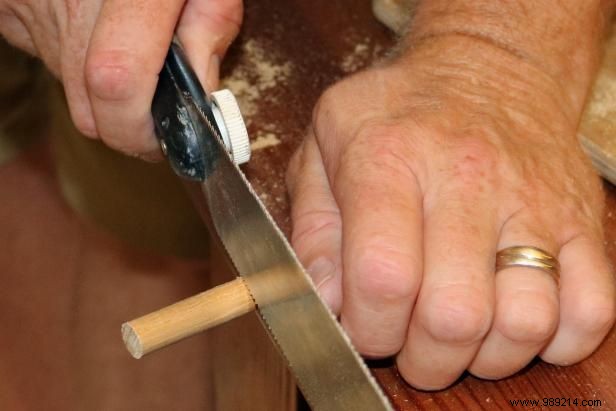
To make the porches, cut the dowels to the correct height. Then cut the balsa wood to size. Cut the back of the wood to mimic the curve of the pumpkin. Use hot glue to attach the dowels to the wood and then to the surface of the gourd and the ground.

Choose a material to use for the stairs leading up to the porch. Broken terra cotta tile was a nice proportion for this pumpkin porch.
Make your pumpkin village green with plants and moss (real or fake). Then add some life to your village with fairies, gnomes, and flamingos.

To make a fire pit, you will need a walnut shell and some yellow, orange, or red feathers. If you have yellow feathers, dip them in red and orange craft paint. If you have red feathers, use yellow and orange paint and so on, just to get a color variation for the flames. When the paint has dried, add some hot glue to the tips and insert them into the holes in the walnut shell.