When selecting a vintage post, make sure there is a flat section on the post so you can lay the neck against it. Also, when selecting the label, make sure that it has a right angle of 90 degrees. Some corbels are sloped for porch roofs.

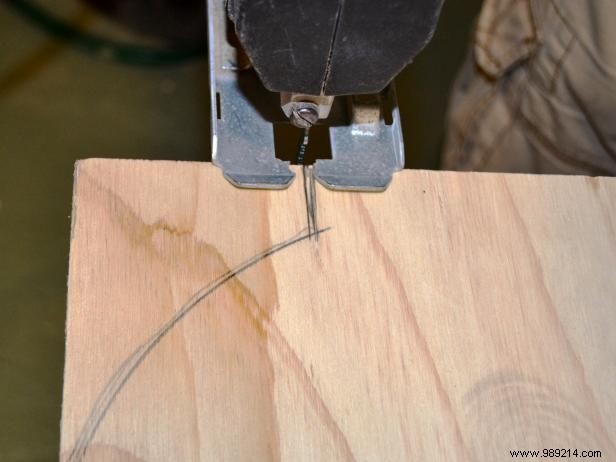
Cut one of the plywood pieces in two, one at 12" x 11" and the other at 3" x 12". The larger piece is for the name of the inn, and the smaller one is for the "vacant" portion of the sign. Sand the edges of each piece smooth. Create curved corners on top of the 12" x 15" piece of plywood. We use a plate and a ruler to draw two equal curves; You could also use a compass or protractor.

Use a hacksaw to cut the decorative corners, then lightly sand the edges.

Pre-drill holes in the bracket so it can be easily attached to the side of the post. Use wood screws to attach the corbel to the post.

Support the post on bricks or scrap wood to place the plywood base (the piece you didn't cut for the sign) on the bottom of the post.

When all the pieces are cut and ready, including the pole and sign pieces, paint everything white. Let the pieces dry completely and then sand some paint to give the whole piece an aged look.

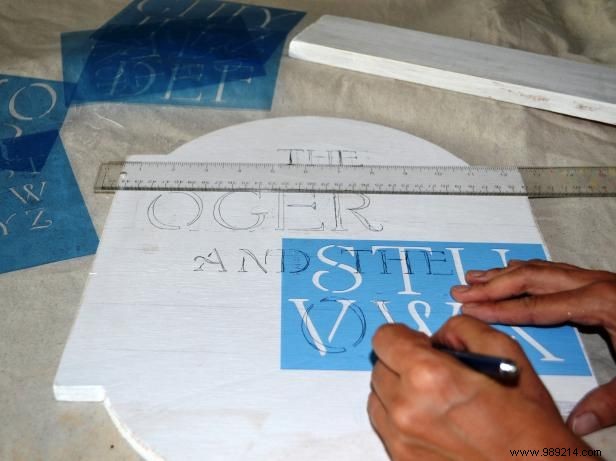
Use the letter templates and a ruler to trace the letters of your hotel or inn name onto the plywood sign. Try a fun but creepy name like "Bat Barn Inn," "Black Crow's Nest," or "Ogre and Owl Inn."

Use a small brush to paint the letters with black paint.

Pre-drill holes at the top of the "vacancy" sign and at the bottom of the main sign. Match up the holes so you can attach each piece of the sign. Insert the teacup hooks into each of the pre-drilled holes and hang the chain from the hooks. Do the same for the top of the main sign at the bottom of the bracket on the pole.

Joanne Palmisano and Susan Teare, Susan Teare
Decorate the poster with owls, ravens and bats. Enjoy your sign and have fun registering people.