Skill level: Beginner
Estimated time: Midday
Estimated cost: $130

Gary Payne
Gary Payne
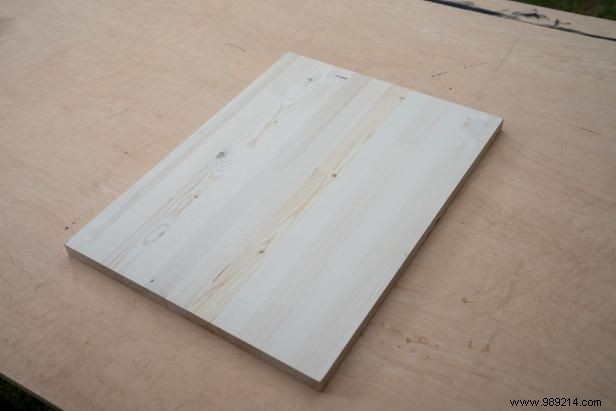
Cut 1" of plywood to 18" x 24". To make it easier, we used a ready-made craft board.

Gary payne
Gary payne

Gary payne
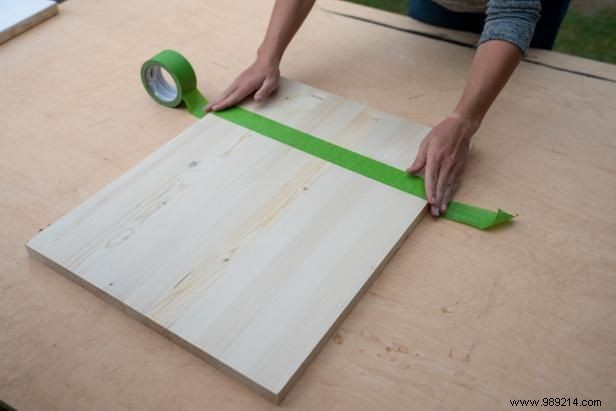
Measure about 8” from the bottom of the craft board and draw a horizontal line using a speed square or T-square. Run painter's tape along the line and paint the largest part of the board (the 16-inch section) with white paint.

Gary Payne
When the white paint is dry, move the painter's tape to the bottom of the white paint and fill in the bottom section with a black chalkboard paint. Remove the painter's tape when the paint is dry..
Gary Payne
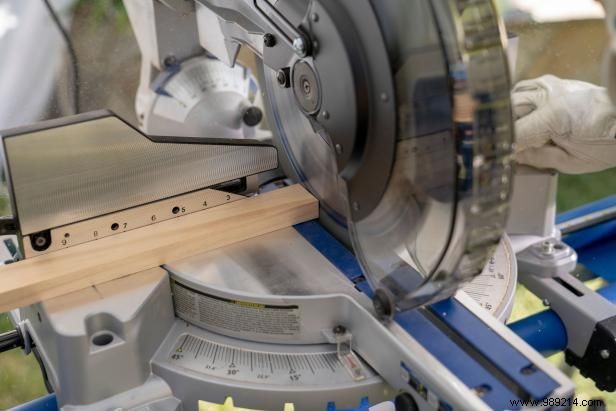
Use 1x3s to make the frame. Cut two boards to 23-1/4" (sides) and two boards to 18" (top and bottom).

Gary Payne
Use 1x2s to make the dividers and the bottom tray where the bottle caps will fall. Cut two pieces at 3-1/2” for the sides. Cut a board to 19-1/2” for the front of the pan. For the spacers, cut four boards to 8-1/2".

Gary Payne
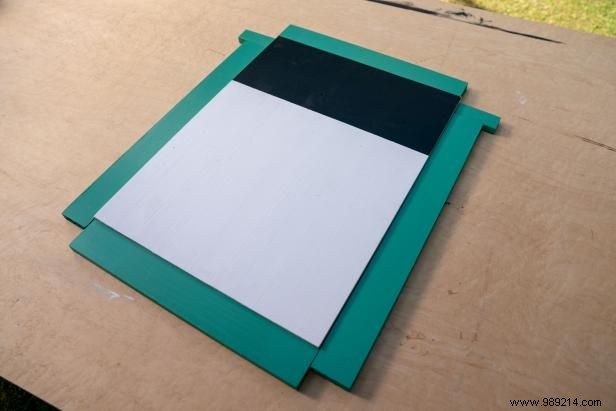
Paint the frame and tray pieces one color and the dividers a different color.
Gary payne

Gary payne
Gary payne

Gary payne

Gary payne
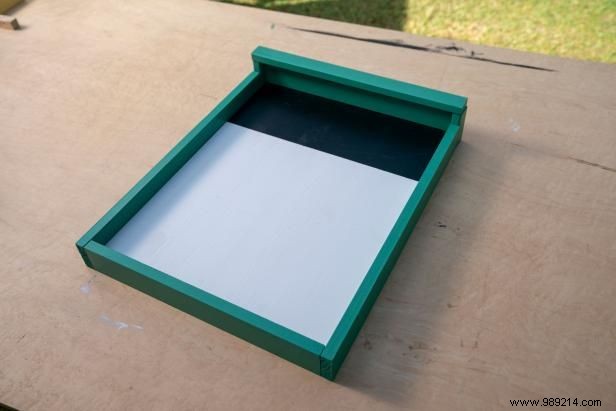
Attach the 1x3s to the side of the plywood leaving 3/4” excess at the bottom, this is where the side extensions for the tray will go. Pre-drill to prevent the wood from splitting and then fasten with exterior grade screws. Attach 3-1/2” side extensions to bottom. Attach the bottom piece of 1x3 to the face of the plywood and the side extensions. Lastly, place the 1x2 lip piece on top of the side extensions.
Gary payne
Gary payne
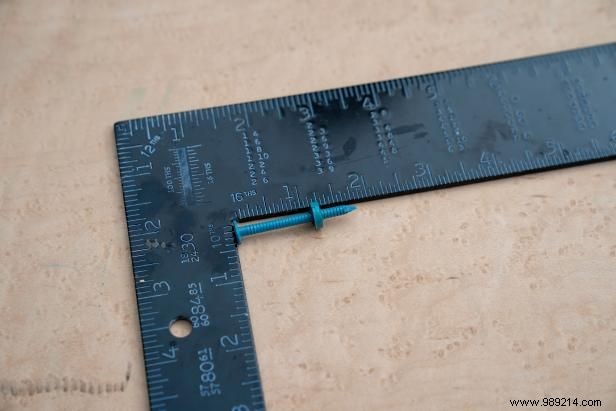
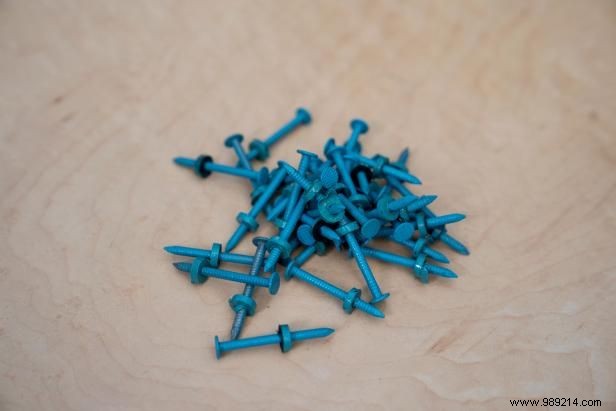
Move the rubber ring on the roofing nails 1-1/4” away from the nail head. This will ensure that all of the nails are level on the board when you put them in place. Optional:spray paint the nails and let dry..

Gary payne
Gary payne
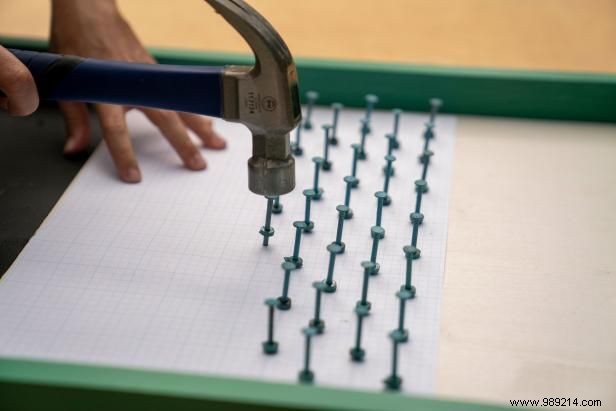
To make it easier, use a piece of graph paper as a guide for nail placement. Space the nails about an inch apart, enough so that a bottle cap can slide off. Then stagger the next line of nails 1/2” from the previous line. Hammer the nails into place until the rubber ring is flush against the plywood. Tear off the graph paper and throw it away.

Gary payne

Gary payne

Gary payne
Place the dividers equally on the lower rack. Use wood glue and screws to attach the standoffs to the board from the bottom or back.
Gary payne

Gary payne
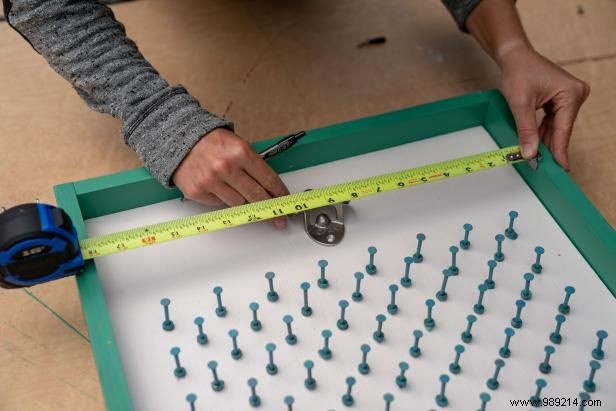
Center the opener over the nails and screw into place.

Gary Payne
Install a pre-cut piece of Plexiglas over the nails using screws. Be sure to pre-drill the holes to prevent the plexiglass from cracking.

Gary Payne
Use a chalk pencil to write fun phrases or indicate game points on each slot.

Gary Payne
Hang up and then drink.!
Continue reading