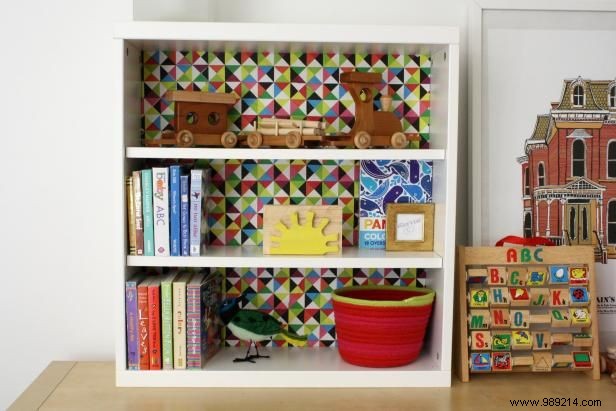
Personalize a bookcase by adding a colorful accent to the back panel.
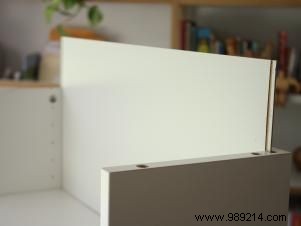
The easiest way to repaint the back panel of a freestanding bookcase is to remove it and repaint it while the panel is lying flat. Sometimes this back panel is simply clipped into place behind the shelf. Other times, you may need to remove the top of the shelving unit in order to slide the panel out. If your shelves are built-in or the back panel is not removable, you can follow this same tutorial trimming the tissue paper to fit your specific needs.
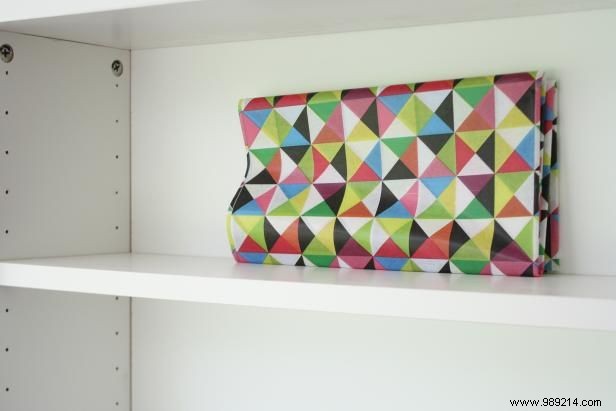
Tissue paper is cheap, lightweight, and easy to install. It comes in large sheets that are often 36" wide, which is large enough to span the width of many shelves. The choice of vibrant colors and patterns in decorative wrapping paper allows for a personalized look. Measure and cut Tailor your tissue paper, leaving a small overhang to allow for offset.Note how the sheets should overlap if there are patterns in the paper.
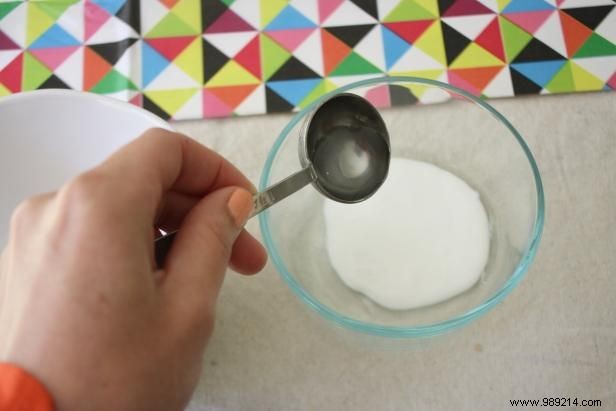
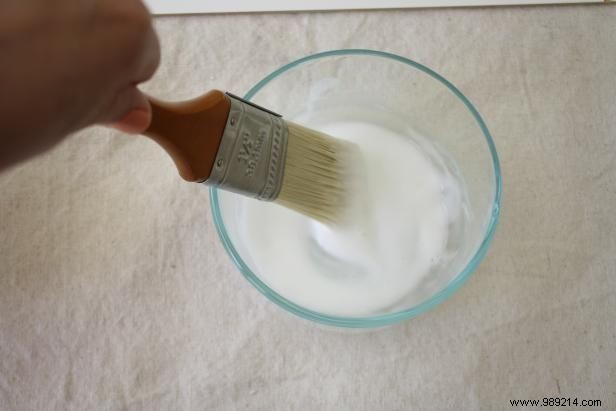
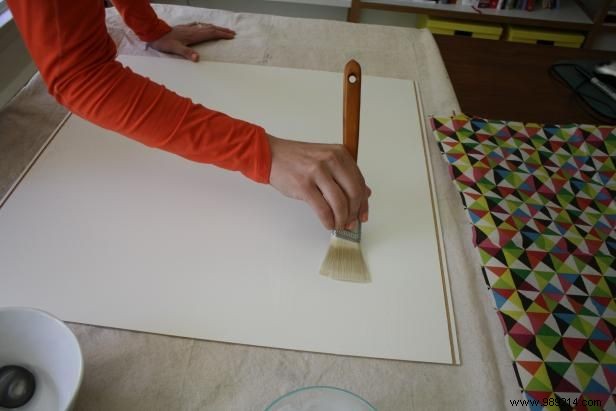
You can make decoupage paste by mixing equal parts white school glue and water. Mix them together with the tip of your brush, and use the brush to apply the mixture to the surface of the back panel. If you're looking for a less permanent approach, you can also wrap tissue paper over the back panel, using clear tape to hold it in place.
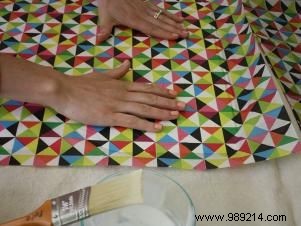
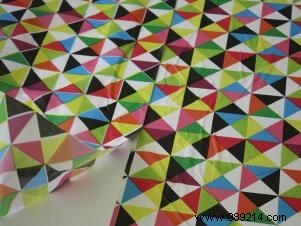
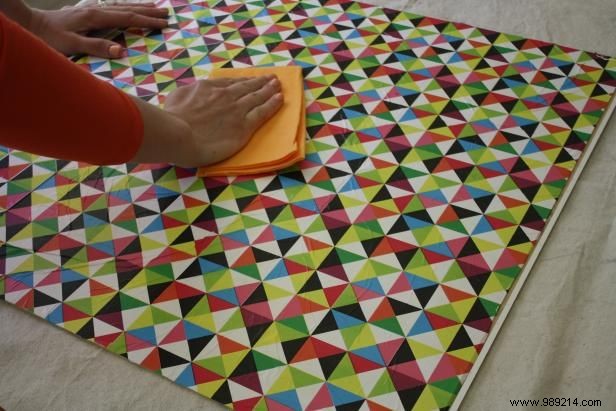
Align and place the tissue paper over the paste while it is still wet. Smooth out any wrinkles in the paper, if any, as you press the paper into place. Using a soft towel over tissue paper helps prevent tears.
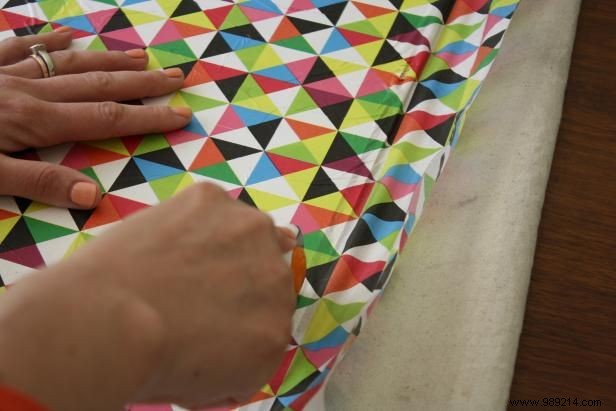
Allow the paste to dry before trying to trim the excess paper around the edges. A utility knife or roller blade is perfect for gently trimming excess paper from the edge of the panel.
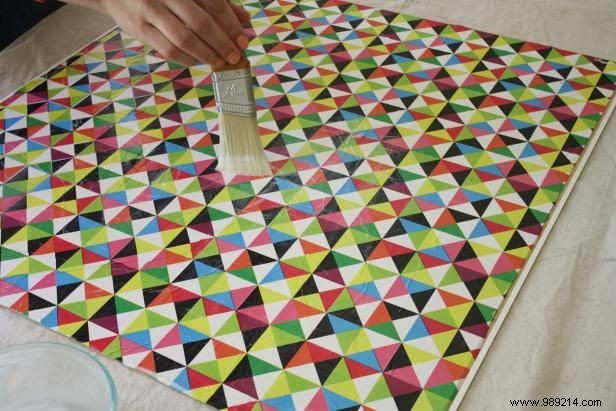
Mix up another batch of decoupage paste (equal parts water and white school glue) and use the brush to apply it evenly over the tissue paper to seal the surface. This will provide an extra clear coat for durability and shine.
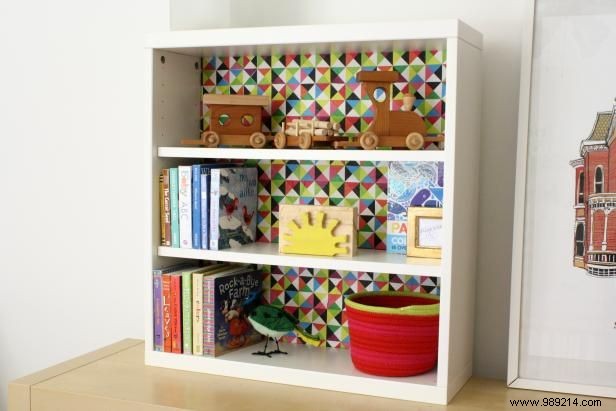
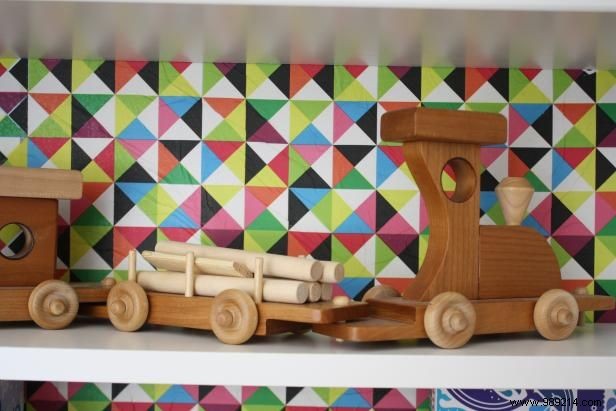
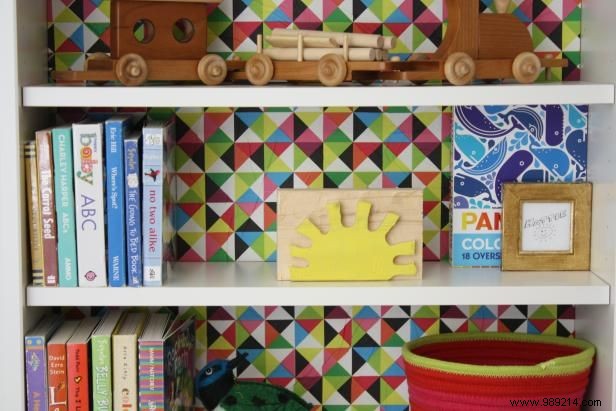
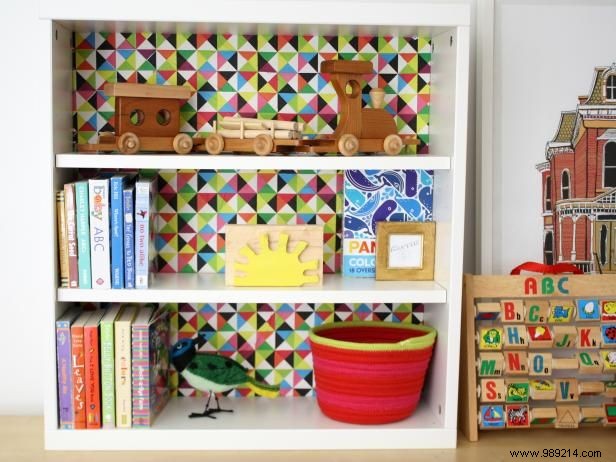
Once the top coat is dry, reinstall the shelf support on the shelf and decorate to taste!