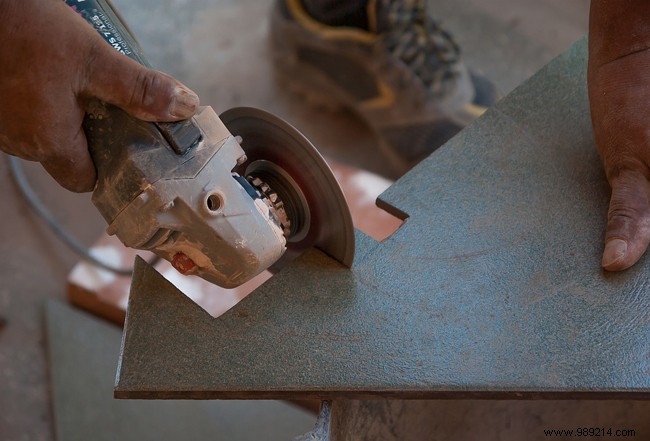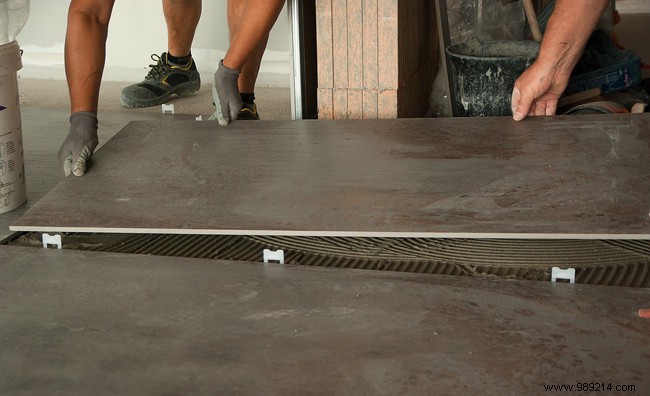
In addition to being outdated, your kitchen flooring has also lost a lot of aesthetics since since you moved into the house, you haven't renovated it yet. So maybe now is the time to do it. In addition, it is quite possible to lay tiles on existing tiles.
Laying tiles on top of another is now a very common practice that has many advantages. Indeed, apart from the savings you will make, you will also save time, especially if the task is taken care of by professional tilers. And many of you may not know it, but taking off and removing tiles is a real titanic job, not to mention the risk of surface degradation, especially in the case of wall coverings.
By opting for an installation on an existing tiling, you can very quickly take possession of the premises in the space of only two to three days. If you wish, you can even organize a small party to proudly show your friends the new look of your kitchen.
And of course, since you're good at DIY, you've probably seriously considered doing it yourself. Even if it's a good initiative, it might be best to call on a tiler, especially if your floor covering is a bit old, tiling cannot be improvised! Indeed, before proceeding with the actual installation, diagnoses must be made. Many preliminary questions will have to be answered, to name only the loss of height displayed by the room, particularly if the ceiling is low. The thickness of the tiles to buy will simply depend on this parameter. But the sturdiness of the old covering as well as its regularity and its perfectly flat side must also be checked. Is the floor strong enough to support the new tiles?

Now, if despite the average difficulty of this task, you are still determined to undertake it, do not hesitate to take advantage of the advice that follows by trying as much as possible to respect the different stages. You should always start with soil preparation. This is essential for the new coating to adhere perfectly to the old one.
And here, knowing that the kitchen is the room in the house that registers the most comings and goings, not to mention the splashes of grease, a simple cleaning with lukewarm soapy water will not be enough. You must downright degrease the surface, as well as the tile joints. To make your life easier, use a product essentially intended for this purpose that you will find in your DIY store or in specialized online stores.
Once the floor is neat and clean, you should easily spot broken tiles and those that are peeling off. It is not worth recovering them, get rid of them. On the other hand, you must fill the voids left with cement or smoothing mortar. Then, using a wooden or rubber mallet, carefully tap each tile. Identify those that sound hollow. Gently peel them off and reattach them.
Concoct your special tile mortar adhesive in a bucket. Add lukewarm water and do not stop until you have a compact, but still flexible dough. Before spreading the mixture, consider moistening the surface you are working on. The adhesion with the tiles will only be optimized. And don't forget to finish with the joint.