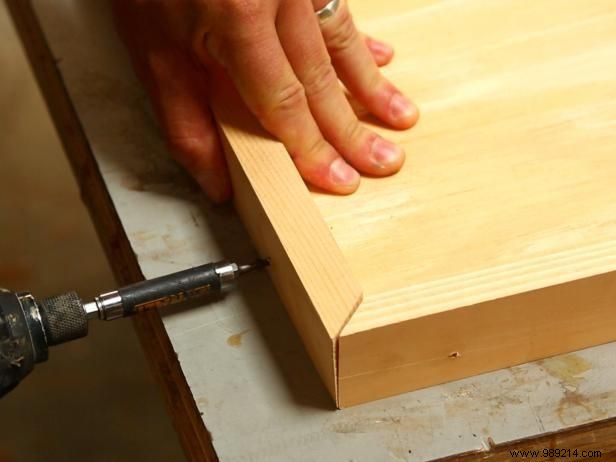
Cut a piece of 3/4" plywood to the size of your header. Miter cut the 1x2s to fit over the top and two sides of the plywood. Screw or nail the 1x2s to the sides of the plywood. If you don't have a saw, ask the hardware store to cut it for you.

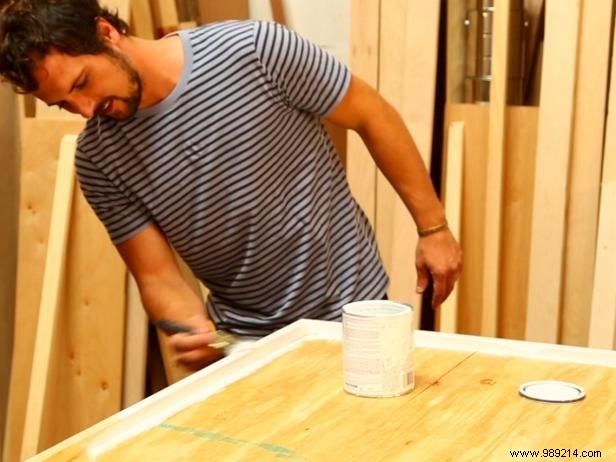
Paint the plywood and trim. We did ours in white..

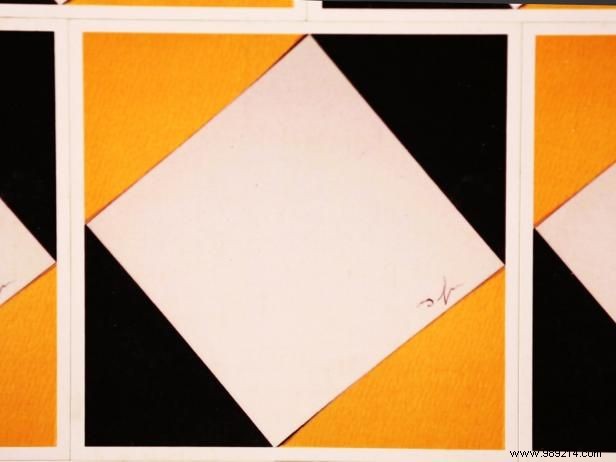
The initial pattern was created using colored construction paper. A photo of the pattern was then taken and printed on 4" x 4" cardstock.

Lay out the pattern to determine the space between each piece of card stock. Adhere poster board to header with double-sided flooring tape; it is available at most hardware stores. This tape is very durable and will prevent cards from shifting or bending. Lay the tape on the plywood in evenly spaced rows.

Working with double-sided tape makes the project easier. If you don't get the perfect placement the first time, you can reposition the cardstock and reposition it.

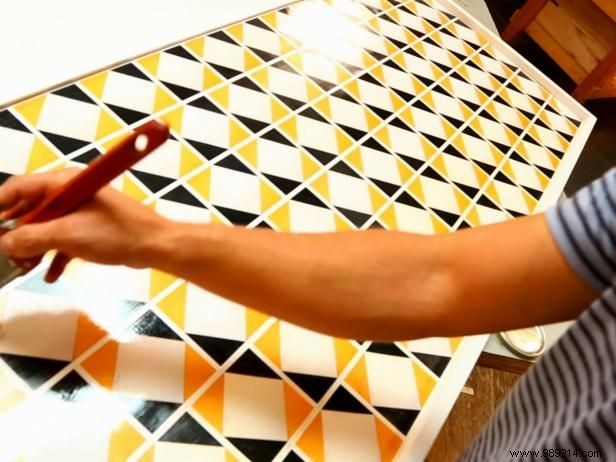
To protect your artwork and add a layer of shine, apply a coat of clear polyurethane. If one coat doesn't cover it completely, apply a second coat.