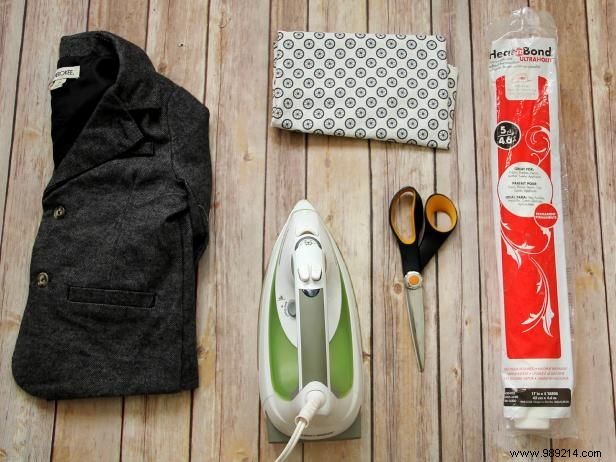
Follow our step-by-step tutorial to learn how to add a heart-shaped patch to any sweater, shirt, or pair of pants in under 10 minutes. Start by gathering materials, including a nice-looking piece of clothing with added heart-shaped patches.
Materials that should not be ironed on a hot setting will not be suitable for this particular patch application method.
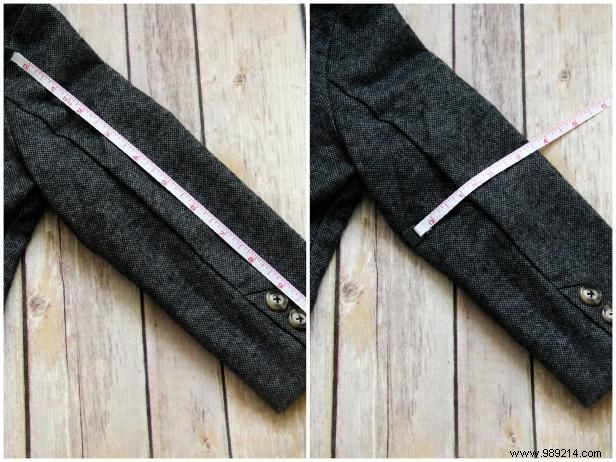
Using the tape measure or ruler, measure the sleeve or pant leg. You want to find out how big the heart patch needs to be (width vs. length). Your patch should be no larger than the back width of your sleeve and your own desired length. Write your desired measurements.
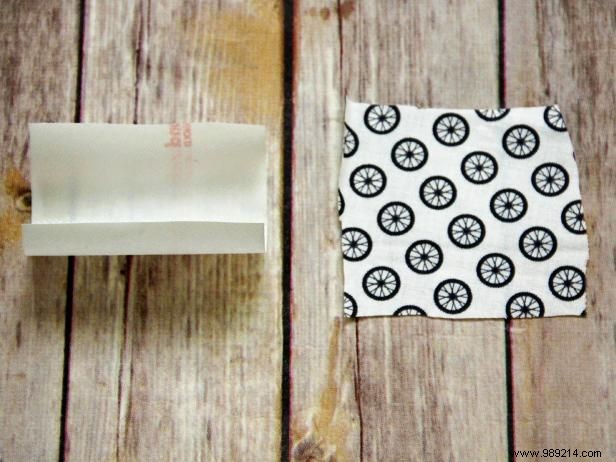
Cut out a piece of fabric and a piece of Heat'n Bond to those measurements.
Place the textured side of the Heat'n Bond directly on the wrong side of the fabric and press with an iron until it adheres to the fabric. Follow the Heat'n Bond instructions. Repeat for the second patch.
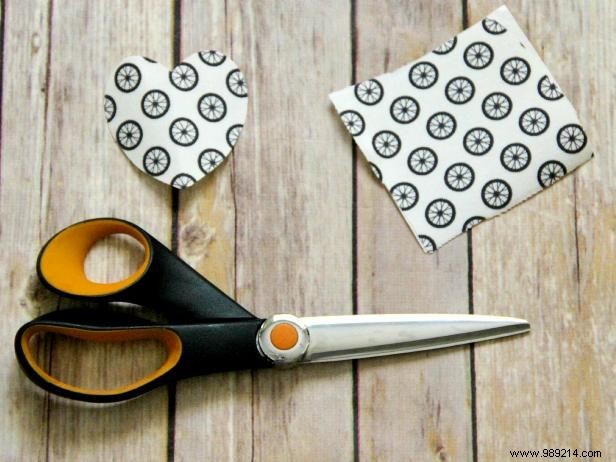
Using scissors, cut a heart shape out of your fabric.
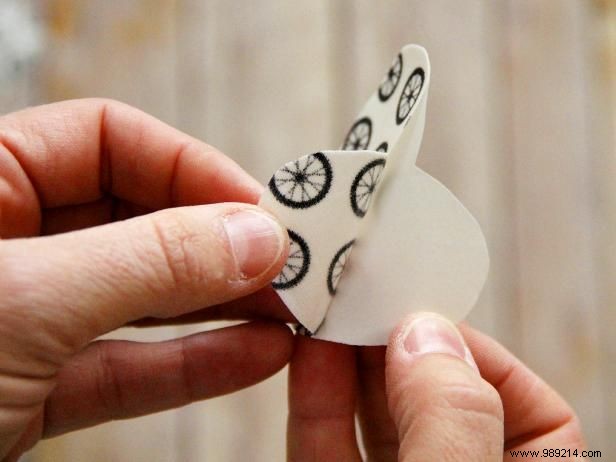
Carefully remove the smooth surface from the back of your Heat'n Bond. Place the wrong side down on the back of the sleeve, halfway from the top of the shoulder to the wrist (or for pants halfway from the leg seam to the ankle). If you are concerned about correct placement, put the garment on and mark the elbow or knee area.

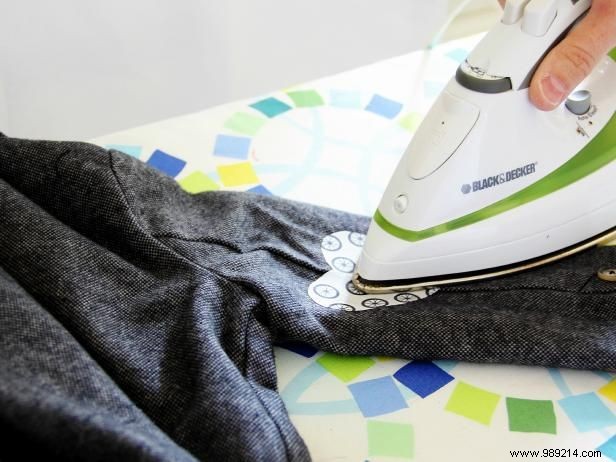
Iron the patch directly onto the garment, following the Heat'n bond instructions, until the patch adheres. Let cool. Repeat for the other elbow or knee, and you're done!
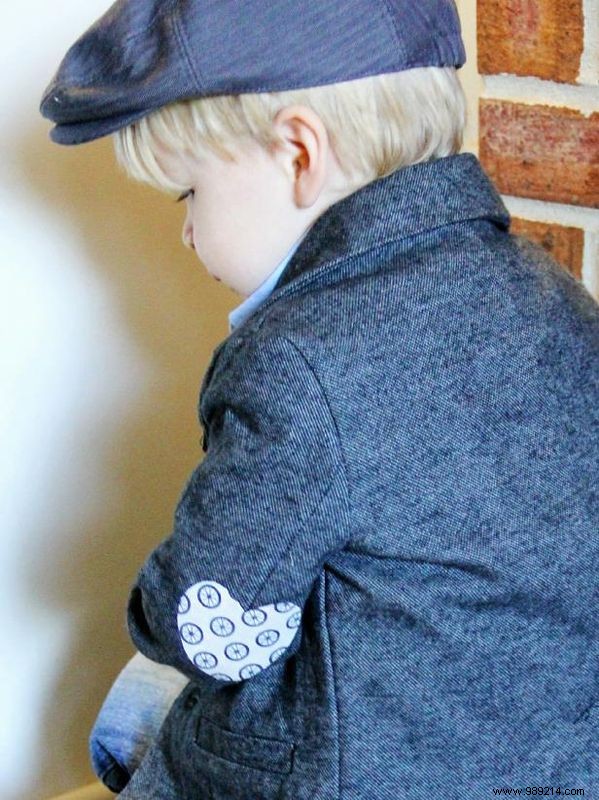
Optional: If you are adding the heart patch to an item of clothing that sees a lot of wear or is washed quite often, it is suggested that you sew around the patch to ensure long-lasting security. Simply use some embroidery floss and a needle to hand stitch around the edges of each patch!