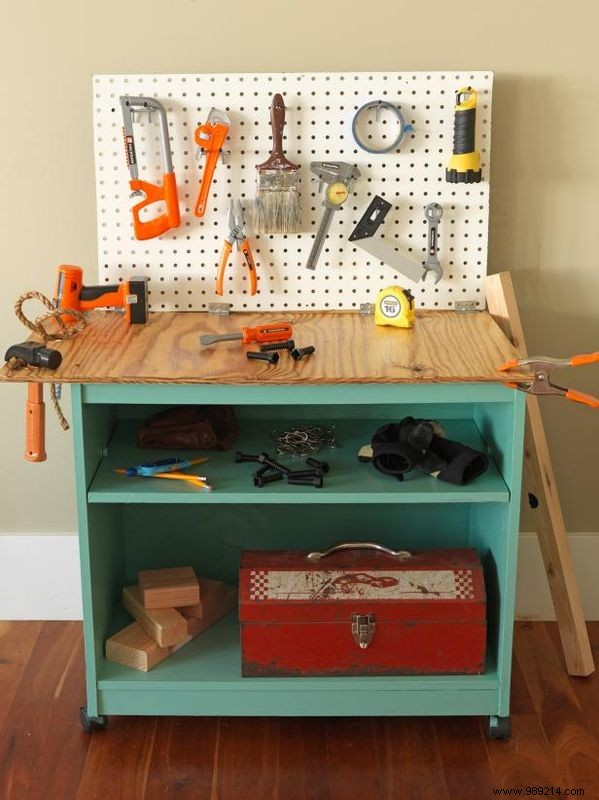
We use a computer/printer cart to make our artboard. You can also use a nightstand, a side table, or cut out a bookshelf. The key is to make sure the piece is the right height for your child.
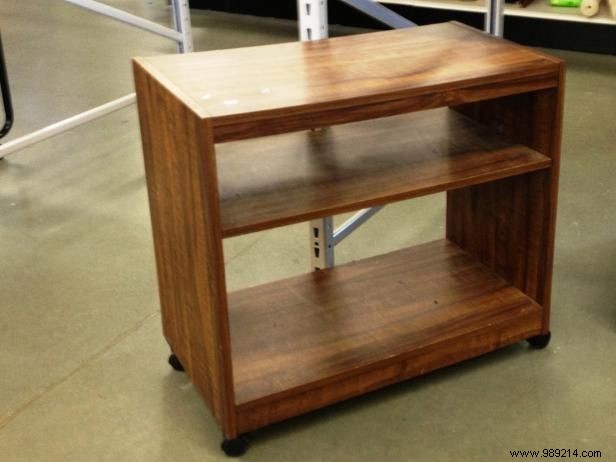
We found this piece at a thrift store for a few dollars..
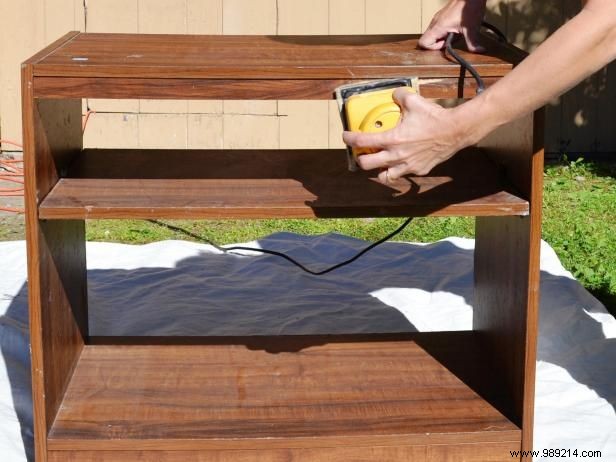
Paint adheres better to rough surfaces. Remove the existing top layer of the furniture piece by lightly sanding around it. We didn't sand the top because we're going to add a new work surface.

Apply a coat of paint in a fun color. Wait until dry before determining if you need a second coat.

If there is an open back to your cabinet, measure the opening and cut a piece of plywood to cover it. We made our plywood backrest about three inches higher than the table. The added inches will sit above the new work surface and be used to support the vertical board. Paint the back and let it dry..

If you are adding a new top, measure and then cut the plywood so there is a small overhang on the front and one side. We made a larger overhang on one side to allow for holes to hold tools. Attach the new work surface with wood screws.

The back of the work table has a vertical piece of pegboard for hanging tools and toys. Cut pegboard to size and sand smooth edges.
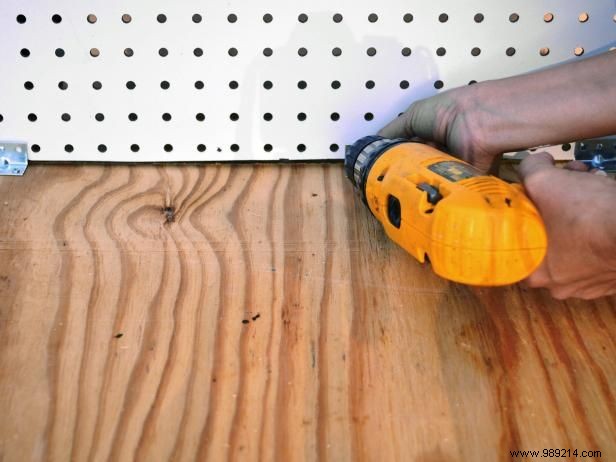
Attach backing to back of unit with wood screws. Remember that the backrest should be a few inches above the top of the work surface. Hold the pegboard against those few inches and attach the pegboard to the backrest and work surface with L-brackets.

Insert the store-bought pegs into the board.
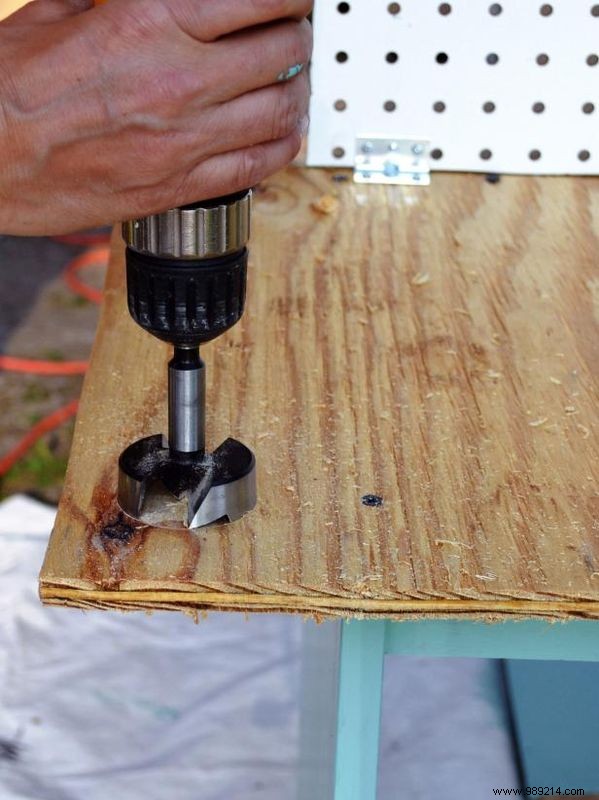
Use a drill bit to make holes in one side of the work surface top to store hammers, clamps, and drills.
Joanne Palmisano and Susan Teare
Sand the work surface smooth and rounding off the corners. Apply three coats of polyurethane allowing to dry between coats. Add toys and have fun..