We created a unique and inexpensive bathroom vanity by converting an old dresser found in a resale store. To save even more money, we used a second-hand sink and reclaimed marble tile to cover the top of the vanity.

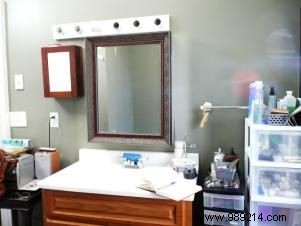
Scour thrift stores and estate sales to find an old dresser or cabinet to fit your bathroom. Take into account the width, height and length of the piece. If it is too high, you can shorten it. Typically, a minimum width of 18 inches is needed to fit a standard bathroom sink, but you're better off with a dresser that's 20 to 22 inches deep.

Remove top, doors, drawers and hardware, sand all wood carefully. We attached the top to our dresser, but you can always leave the wooden top as it is.
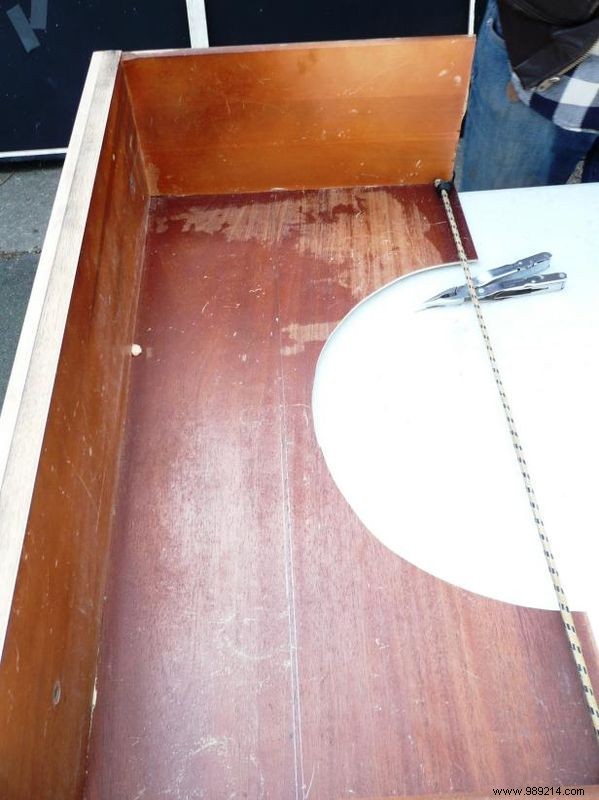
Cut out the center of the top drawer so you can install the sink tubing. Plan to reposition the drawer so that it is stationary. Secure it in place with wood glue and nails from the inside so the drawer cannot be opened.
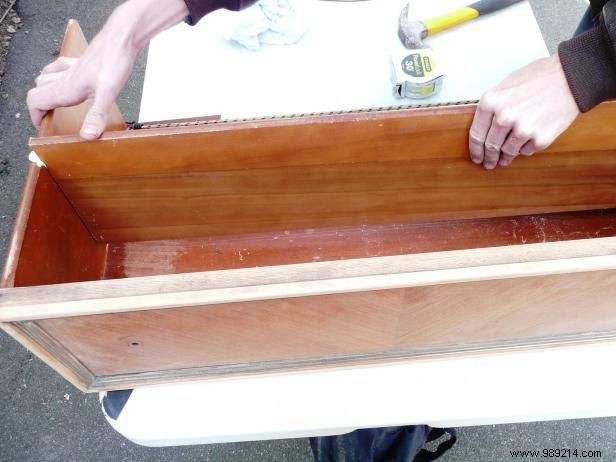
For the bottom drawer, cut it off and move it forward to shorten the width of the drawer. Nail the back or use L-brackets to secure it.
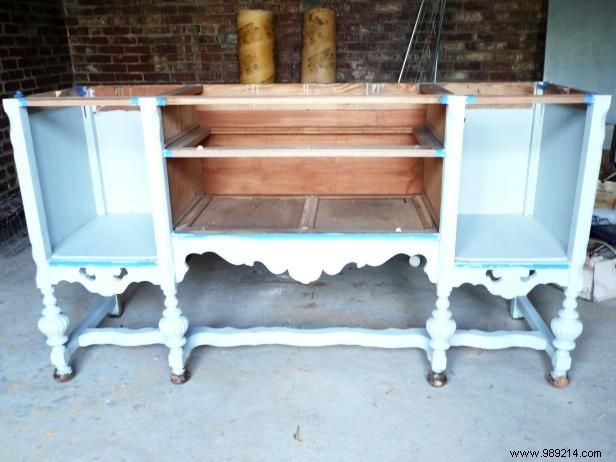
Paint or stain the dresser. To protect your dresser from moisture, apply a coat or two of marine grade varnish.
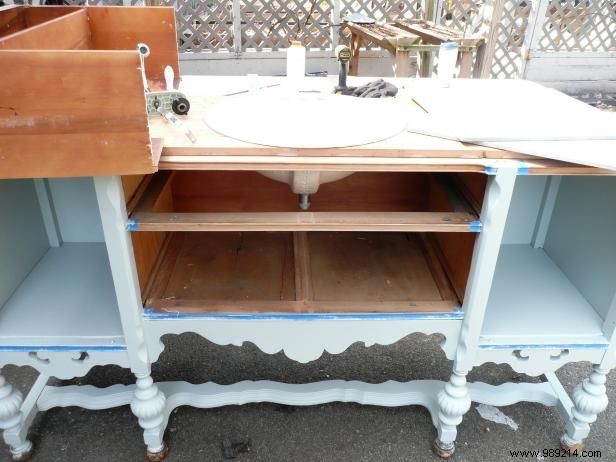
Determine sink placement. Be sure to leave enough room for the rim of the sink to sit on top of the dresser. Determine where the faucet will be placed. Draw circles where the sink and faucet will be.
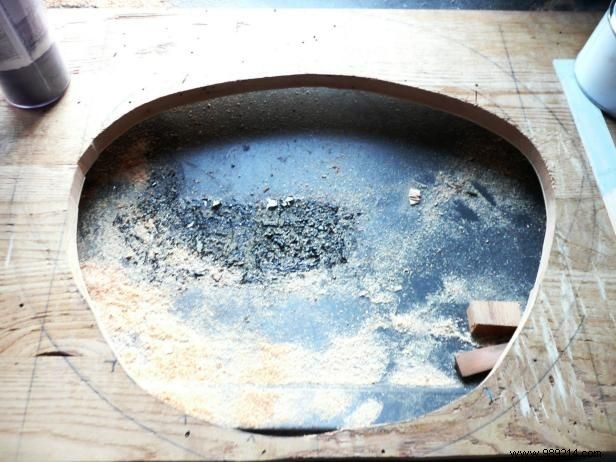
Use a drill with a bit attachment to start the sink circle and then finish cutting it out with a jigsaw. Place the sink in the cutout to make sure it fits (it's easier to cut more than too big a hole). Use a drill with a bit attachment to make the cutouts for the faucet.
If you're laying tile over the vanity like we did, use a wet saw to cut out the pieces. If you don't have the ability to drill the hole in the tile for the faucets (a tile core drill bit), cut crescent shapes instead.
Wipe dry all parts in place. Leave enough space around the edge for a cropped edge. Center all the pieces from the center line of the dresser. When all the mosaic pieces are in the correct location, label each mosaic to make it easier.
If you are leaving the wood dresser top as is, apply a marine grade varnish to the top of the wood to give it a protective seal.
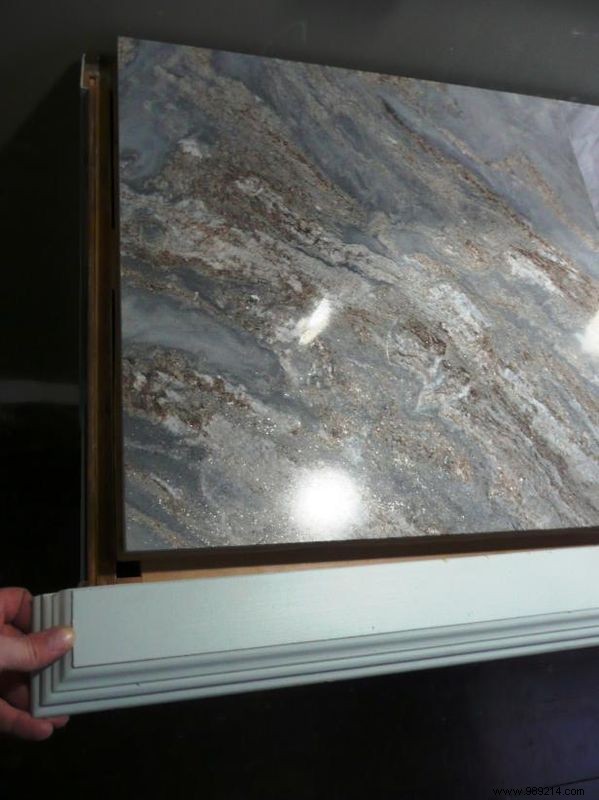
One at a time, starting from the center, working outwards, apply clear adhesive to the back of the tile and the top of the wood (in a zigzag pattern) and lay the tile on the wood. Move each tile around to make sure it's in the exact location you want. Then move on to the next tile, try not to hit the other spot, but make sure they are together at the seams (use some clear adhesive there too).
When the adhesive is dry, seal the top with lacquer. Apply three coats. Make sure there are no gaps in the tile for water to seep through.
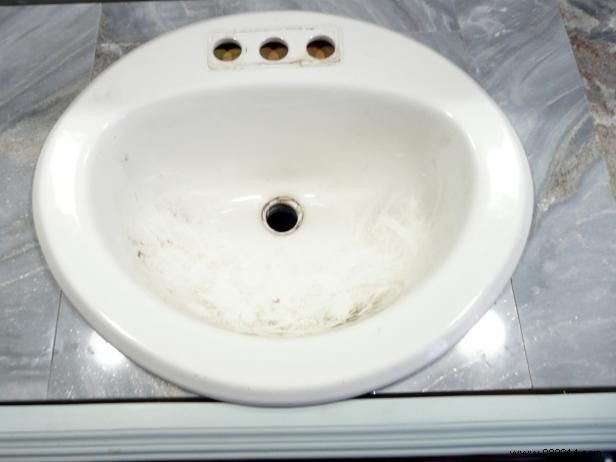
Put the sink in the hole, use clear adhesive to stick it in place, then seal it with bathroom caulking. Double check that there are no holes for water to seep through tiles, wood trim, and joints.
Put the vanity back in place and turn on the faucet (or call a plumber).