We used a Mid-Century Modern color scheme, though the design of the piece suggests another era. This gave us a more interesting and eclectic look.


This chair is in fact an antique made of oak, a very stable material, which looks beautiful when stained. This is the approach most used by most refiners and what we see most often when we visit antique stores. The thought of a painted antique usually makes us cringe. However, when it came to this chair, we wanted to paint it a solid color to open up the possibilities for something unique and interesting.
Always remember to not only follow all safety precautions and instructions found on the products you are using, but also have fun and allow yourself to be creative!


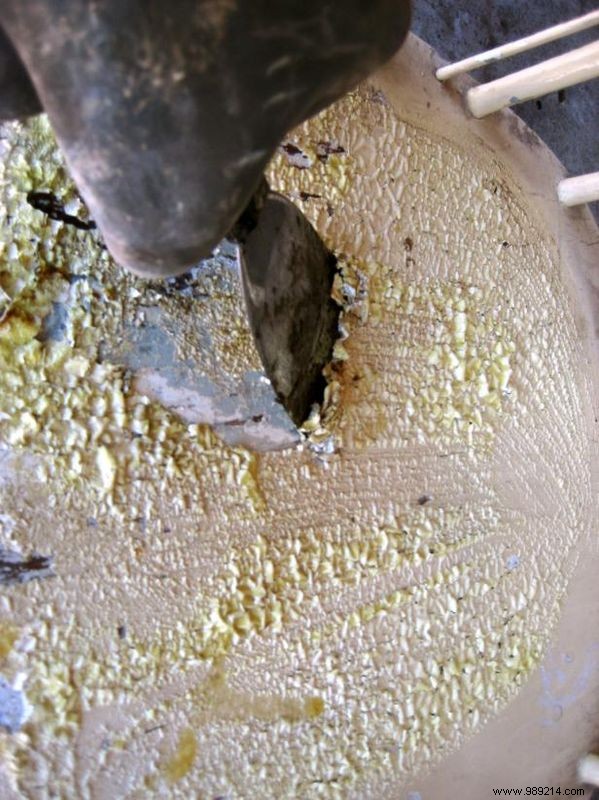
This chair has been painted many times throughout its life. The finish is cracking, peeling and unstable. Make sure to protect yourself with gloves, mask and glasses. Apply paint stripper to all painted surfaces with a chip brush; We use an old kitchen pot as a reservoir for the heat remover.
Wait 5-15 minutes, then use a putty knife to scrape up the paint as it bubbles. Be sure not to scrape too hard or you may scratch the wood. Work with the grain to avoid scratching the wood. Remove as much of the stripper as possible with the putty knife.
Hint: Another method is to apply the stripper to the chair and then quickly cover the entire chair with a large garbage bag. This traps the chemicals and allows the stripper to work more effectively.


Use a paint container with a liner to remove waste (fluid and paint). On this project we had to reapply the stripper 4-5 times. While the stripper is still wet, use the brush to remove paint in areas the putty knife can't reach and to give it an overall scrub. We use three different sizes of brushes:a large toothbrush-sized brass brush, a medium brush, and a larger brush (the size often used for scrubbing floors).
Once you've removed most of the paint, wipe down the chair with a damp rag and/or steel wool to remove any remaining remover and paint and prevent the remover from drying on the wood surface.

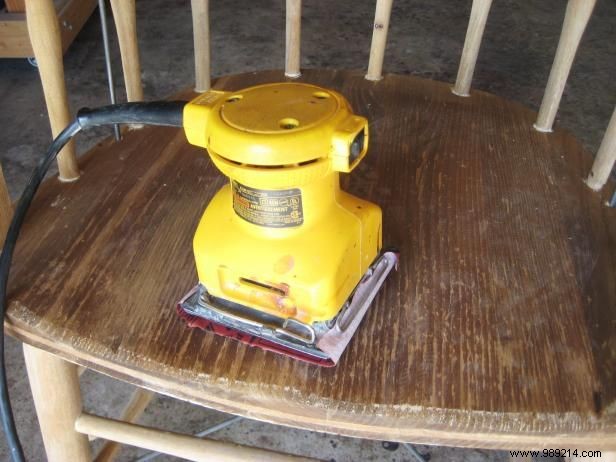
The surface of the chair is now ready to be prepared for the new finish. Start with the 150 grit paper on an electric palm sander to smooth out all the areas you can get to. Use a sheet of sandpaper on the areas that the sander will not reach. Always sand in the same direction as the grain of the wood to minimize sanding marks. Move up to the finest 220 grit sandpaper to further smooth surfaces.


For our project, we used the color of the primer for the finish. Often the primer color is used to create a uniform base color for the final color.
In this step, start adding your creativity and start outlining the direction for the final look. It can be helpful to use a piece of wood to test out different colors of paint. This can help you decide if you like what you see before committing to the final project.

Smooth out the primer by lightly sanding the entire chair evenly by hand with 220 grit sandpaper.
This next step is optional. We thought this vintage chair would look out of place if the finish looked perfect, so we decided to distress it. In areas that would normally show wear over time, we sanded down the primer with 150-grit sandpaper. Again, this step is another chance for you to get creative. Have fun with it!


We were going for a mid-century splash of color in an antique piece. Start by masking out the areas you don't want to be the new accent color. This step is time consuming and tedious, but it will be worth it. Be sure to TURN THE FUNCTION DOWN, and don't rush this step! Spray paint will find a way through any and all spaces if poorly concealed.
Carefully and evenly begin adding your accent color. Wear lots of light layers, not one thick layer or you'll regret it.
Let the accent dry overnight. Carefully remove the tape and paper. Use a razor blade to help if the tape starts to tear the finish.


The last step is to protect all of your hard work with a clear protective finish. Make sure there is no dust on the chair. Start with the chair upside down and begin applying light, even coats. Apply 3 to 5 coats of satin lacquer. Take your time here. This is the last step, and soon you'll see your project finally coming together.
If there are slightly rough areas, use painter's masking paper in the same way as sandpaper, as it acts like super-fine sandpaper and makes the surface slippery.
These types of projects always take 2-3 times longer than you may think, especially if the techniques are new to you. However, whatever you do, don't rush through each step. Have a good time being creative and expressing yourself. When you're done and you're getting compliments from your friends and family, you'll be glad you did.