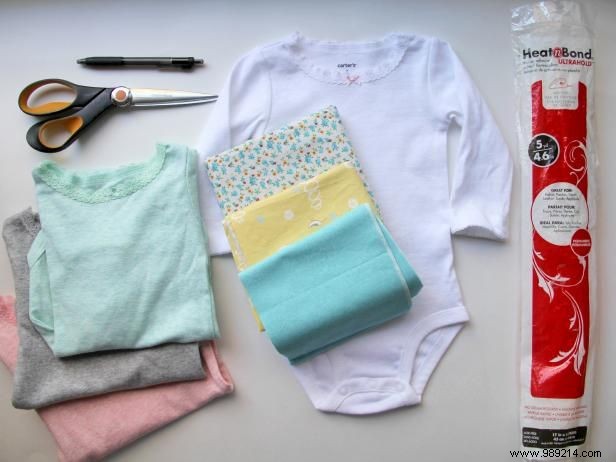
Make a clothesline present, string it or put it in different sized bags, then sit back and watch the joy on the expectant mother's face as month after month of fabulous personalized items rise up.
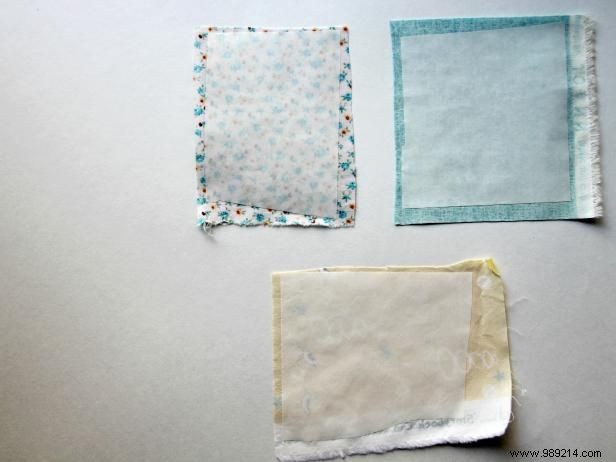
Cut out squares of Heat'n'Bond the same size as the fabric scraps. Following the Heat'n'Bond instructions, iron rough side down on the wrong side of the fabric.
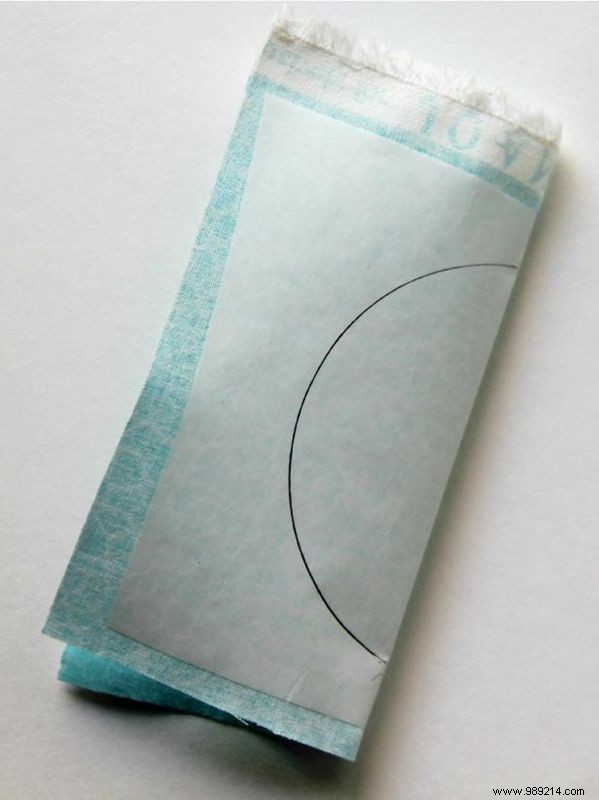
Use a pen to draw a circle, square, or other shape on a piece of fabric.
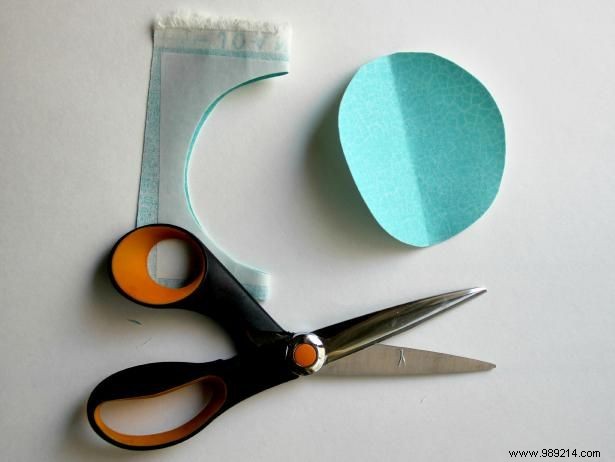
Cut the shape. This will be the base of your number of appliqués.
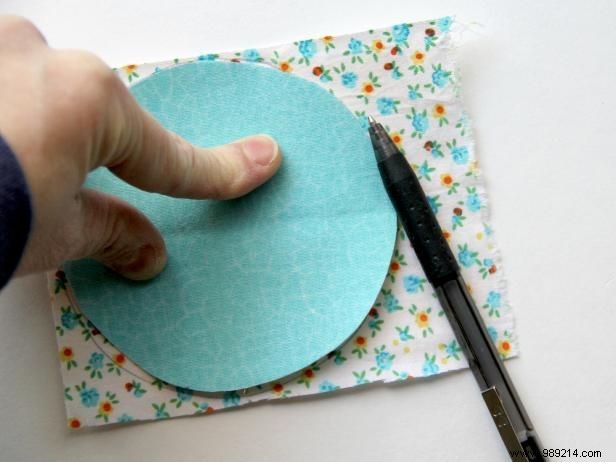
Use the cut shape above as a template to trace around the next piece of fabric.
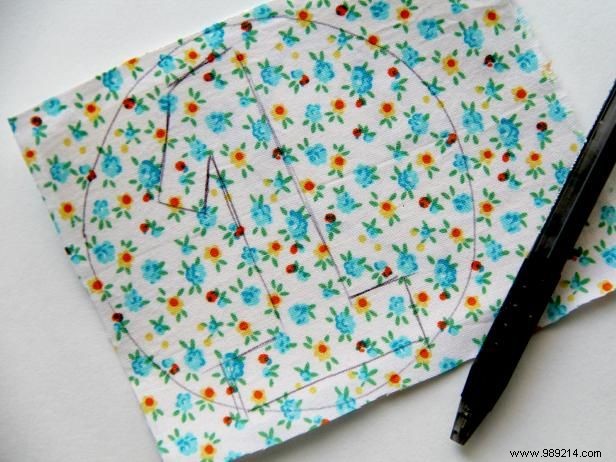
Draw the number. Be sure to sketch larger than you actually want the number to be, so you can cut inside the shape and not have the pencil marks on your fabric. An alternative to this is to use a fabric marker, which will wash out when cleaned.
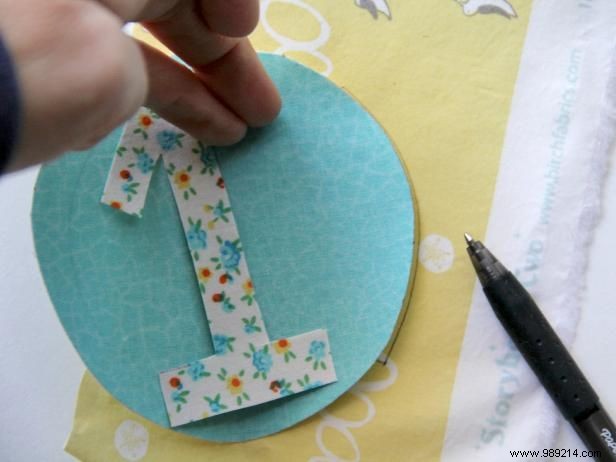
Cut out the number shape and place it where you want on the fabric shape. From this you should be able to determine the size of the letters for the "month". Once again, trace around the outside of the circle for your last fabric.
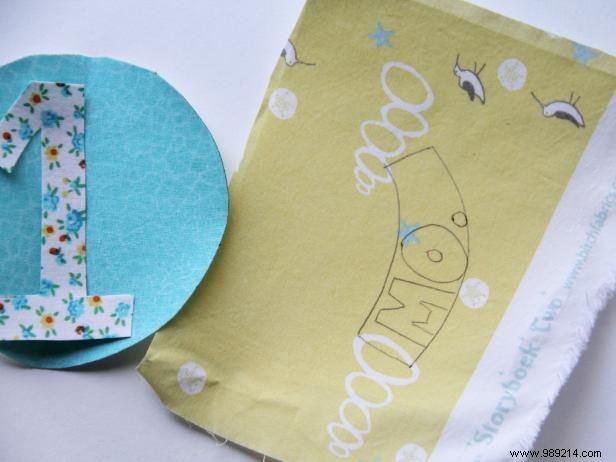
Draw and cut out the letters of the month.
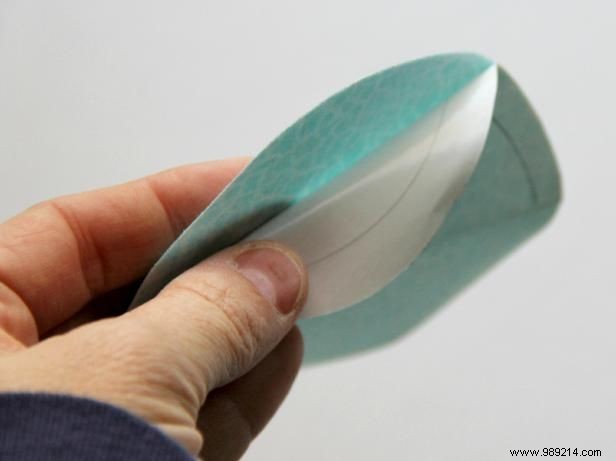
Remove the Heat'n'Bond paper on the wrong side of your form
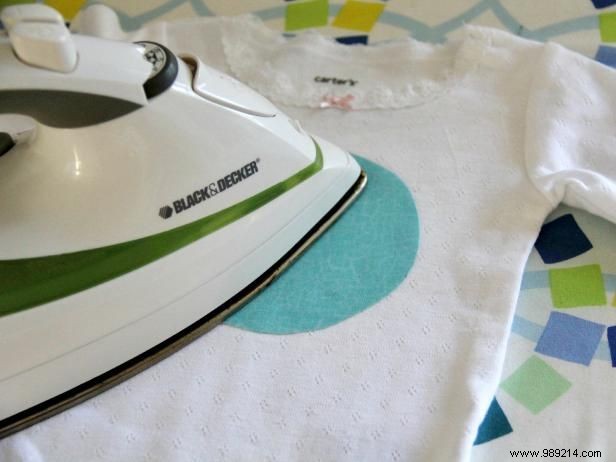
Place form on jumpsuit and iron to secure. Follow the Heat'n'Bond instructions.
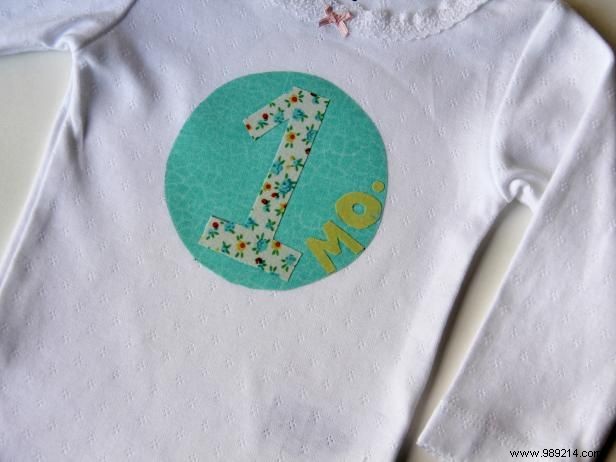
Iron on the number and letters of the month.
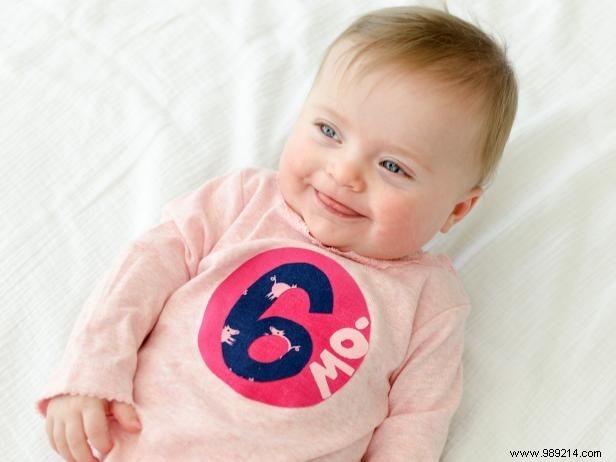
Jason Kisner, 2013, DIY Network / Scripps Networks, LLC. All rights reserved.
Baby clothes for the DIY network.
Repeat this process for as many months as you like. Makes the perfect baby gift for new moms to document their baby's life in photos as they grow month by month. Applications should hold up through numerous washes and will not fray. For added security, it is always recommended to sew around the outside edges of your fabric appliqué with a straight stitch to secure.