Start by cutting six of the 3/4-inch plywood to 36 by 8 inches. (For this project, we used formaldehyde-free plywood, which eliminates the use of toxins typically found in most regular forms of plywood.)
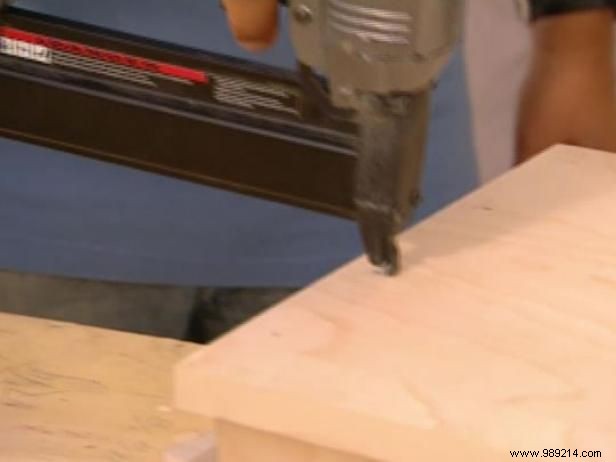
Cut out the center pieces for the shelves. Make a square frame at 34-1/4 by 6-1/4 inches. Place this frame between the two pieces of plywood, 7/8 inches from each edge. Attach with 1-1/4 inch snaps.
Apply adhesive stick edge banding over the edges of the shelves that will be exposed.
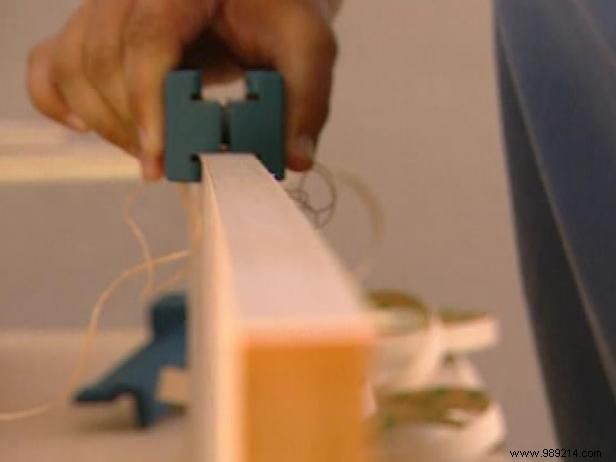
Use a roller to firmly press the bands down. Once the band is on, use a trimmer to remove any excess edges and cut off the end.
For the first tier of uprights, cut the plywood to 3 by 14-1/2 inches, then trim it with the frame so the total piece comes to 4 by 15-1/2 inches.
For the second level, cut the plywood to 5 by 20-1/2 inches, then frame around it to bring the overall size to 6 by 16-1/2 inches. Paint the pieces of the desired color..
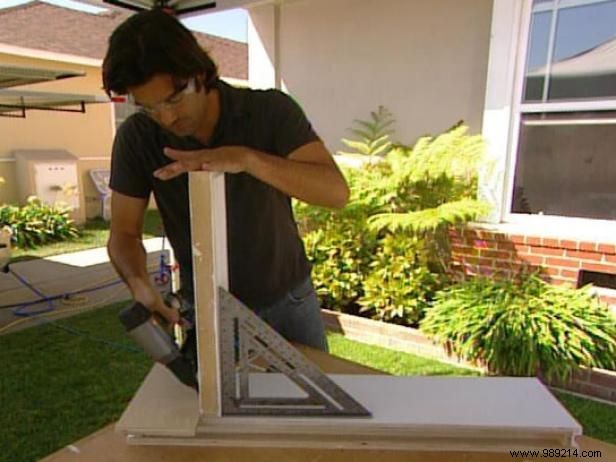
To join the pieces together, use a beam square to make sure everything lines up. Start with the bottom of the platform. Place the 6-inch-wide vertical pieces 6 inches from each side of the horizontal piece. Nail them together at an angle at the bottom.
Lay the second horizontal beam over the two vertical pieces, again nailing them together. Now, place the two 4-inch wide pieces 12 inches from each end. After attaching them to the second horizontal piece, place the top horizontal piece on top of the two vertical pieces and key.
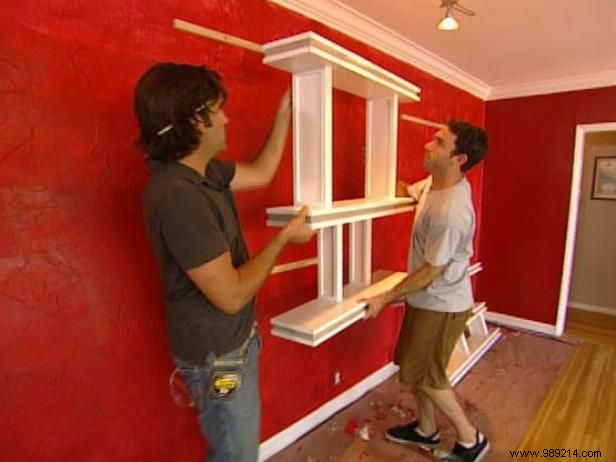
To attach the shelf to the wall, make ledgers that fit into the insert space of the top and bottom horizontal pieces. Measure the distance between the two and attach the ledgers the same distance from the wall. Use a laser level to make sure everything is level.
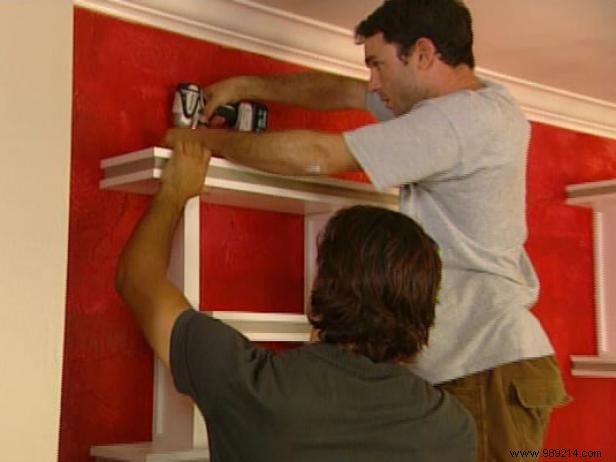
Screw the shelf into the ledger from the top edge and the bottom edge.