Use a circular saw to cut the cabinet pieces out of 3/4" plywood. Assemble the basic box shape with wood glue and nails.
Use wood glue and nails to attach the shelves and back to the basic box.
Use a finish nailer to attach a 3/4" wood trim to all exposed edges on the front of the unit. Prime and paint as desired.

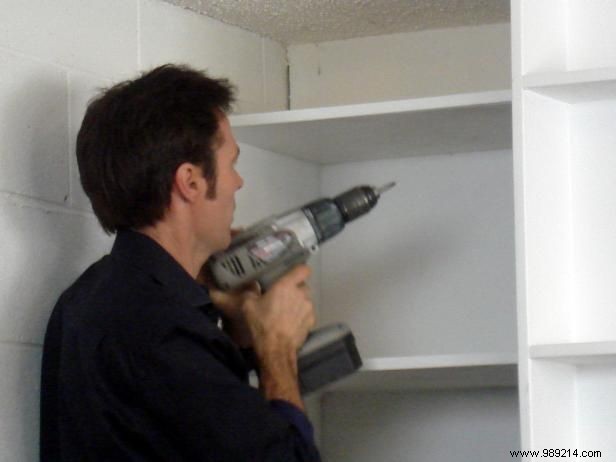
Locate and mark the position of the wall studs. Place the shelving unit on the wall, adjust level and plumb, and set the screws through the box into the studs.
This small rounded shelf will fit into the blank end of your kitchen cabinets. Located right next to the kitchen door, it will be a perfect place to put keys, cell phones and other small items on the go. Measure the depth and height of the cabinet to get the correct dimensions and draw a layout.
Use a circular saw to cut oak plywood to the correct dimensions for the shelves. The two flat "walls" of the unit will be the same height and width as the end panel of the kitchen cabinet.
Measure the thickness of the plywood and make one of the shelves narrower than the other by that measurement. This will make the unit properly square when assembled.
Use wood glue and nails to attach the two side panels at a 90 degree angle. The slightly narrower panel should butt up against the width so that the final frame is the same width on both sides.
Measure the inside width on the inside of the unit from the seam to the rim. Cut a piece of plywood into a circle with this radius, then cut the circle into four quarter circles. This produces four potential shelves for the unit.
Use wood glue and nails to attach the shelves to the sides. Make sure the shelves are straight and level before nailing.
Cut lengths of iron-on oak veneer to size and apply according to manufacturer's instructions. Once the veneer is in place, trim it with a utility knife.
Wearing plastic gloves, stain the wood to match the surrounding cabinets.
Mount the shelves by driving the screws through the existing cabinet on the side of the unit. Level and apply the shelves before securing them. Be sure to use screws that are the correct length to go into, but not through, the side of the shelving unit.