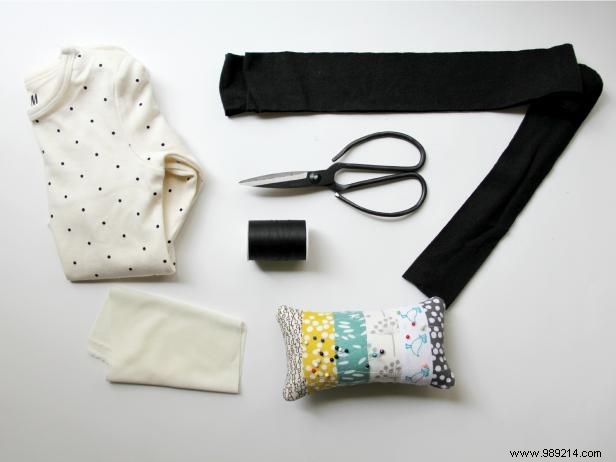
A ruffled jumpsuit makes for fabulous baby photos and dress-up while keeping baby comfortable and warm. This simple project takes about an hour to complete and makes a great handmade baby shower gift.
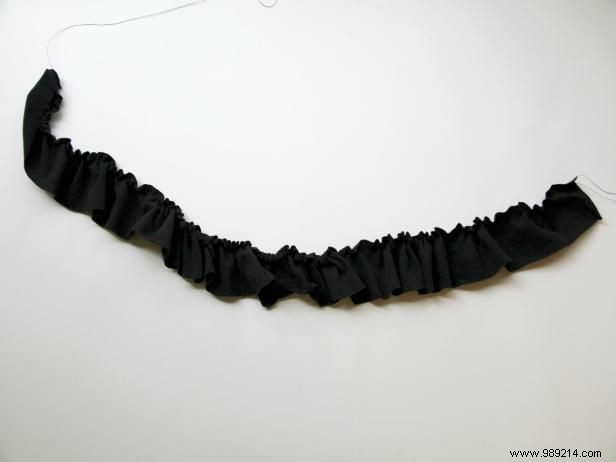
Sew a gathering stitch along the top edge of the 2" woven fabric strip. To make a gathering stitch, change the stitch length on your machine to the longest stitch possible (usually a 5). Sew a basting stitch all the way around the top edge, with no seams at the ends, then gently pull the bobbin thread on both sides so that the fabric meets in the middle.
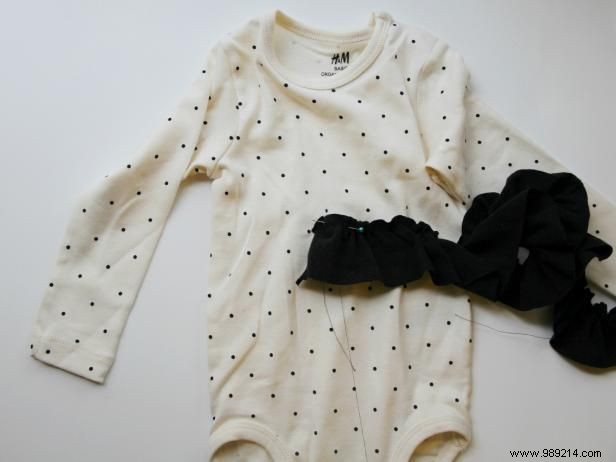
Place one end of the ruffle at the front mid center of the jumpsuit. (Make sure you don't poke through the back of the jumpsuit as well, just put the front of the shirt on.)
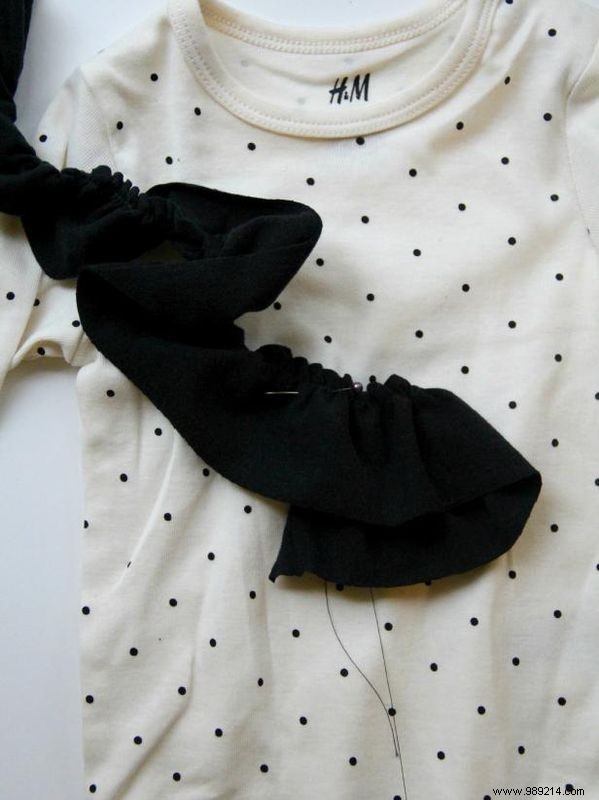
Overlap the ruffle by simply folding it over on itself and lifting it up at an angle. Allow the bottom edge of the next ruffle line to cover the top edge of the previous ruffle line. Pin in place. Repeat so the wavy lines gradually get larger with each line as you go up the neck.
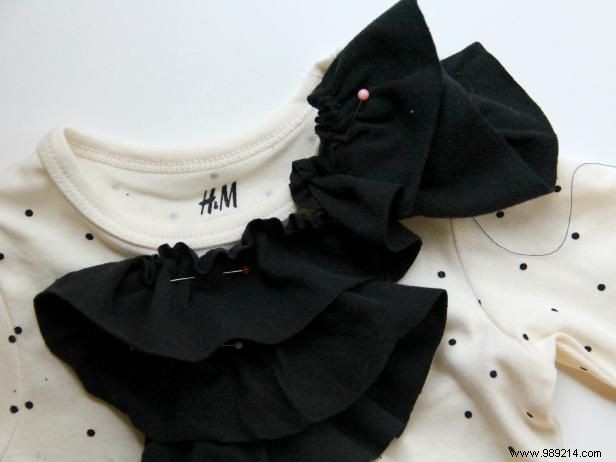
If you still have a ruffle to spare, like I did, bring the ruffle to one of your shoulders. Pin around the neckline, until you reach the shoulder seam. Then repeat the folding process backwards, making the ruffles smaller and smaller until you reach the sleeve. Cut off any remaining ruffles.
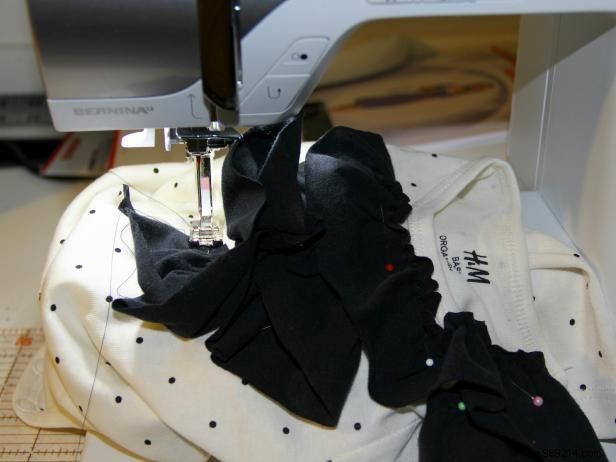
Use thread the same color as the ruffled knit to carefully sew a zigzag stitch along the top edge of each ruffled layer. Make sure you only sew the ruffle to the front of the jumpsuit, not the back. Starting from the very bottom, smallest, line of ruffles, pick up the next line of ruffles so you don't catch them in your stitches, and sew the gathered top edge. When you reach the edge of the ruffle line where you turned the knit fabric, stop sewing. Bring the next ruffle down and start sewing the top edge of that line with a zigzag stitch. Repeat for the entire ruffle around your shirt, stopping and starting at each new line.
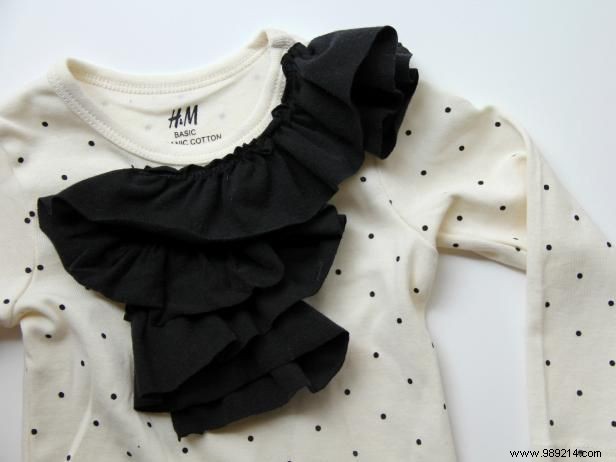
You can finish now if you like, or continue to add a nice bow.
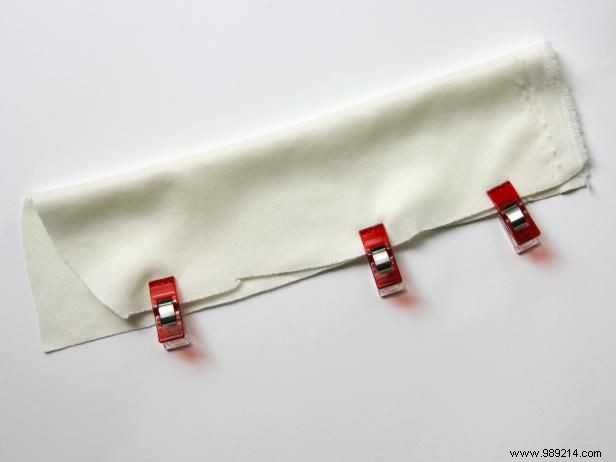
Cut 2” off the end of the scrap fabric and set it aside, this will be the center of your bow. (Alternatively, you can use a 2" piece of coordinating color scrap fabric for this.) Fold the 8” piece of fabric in half to the right, pin and stitch along the outside edge. Turn the pipe to the right.
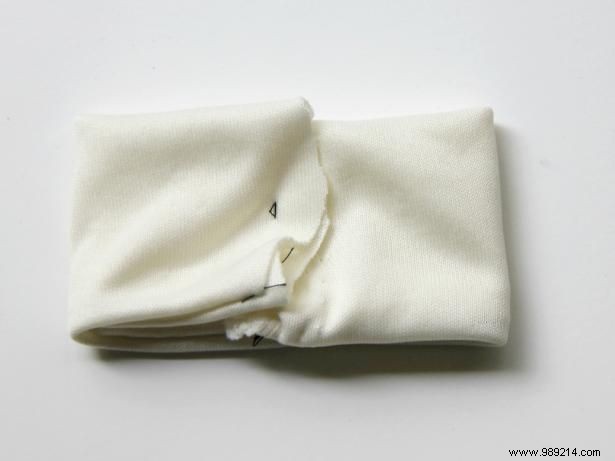
Take each blunt end of the tube and bring it together in the center. Sew a couple of stitches back and forth in the middle to secure in place. This is your main bow piece.
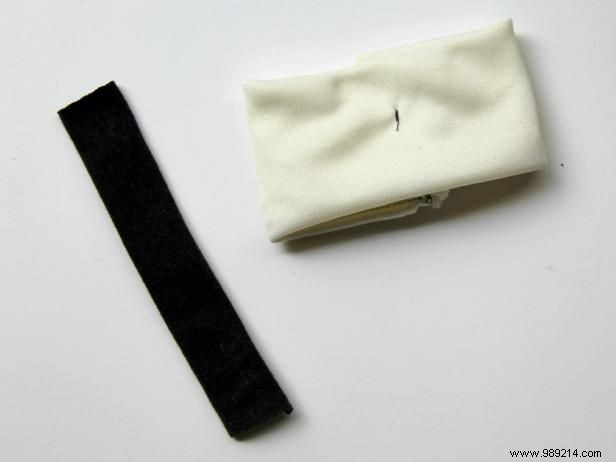
Take the 2" strip of fabric for the center of the bow and fold it in half so both sides meet at the center of the back, or cut to size to be only 3/4" wide
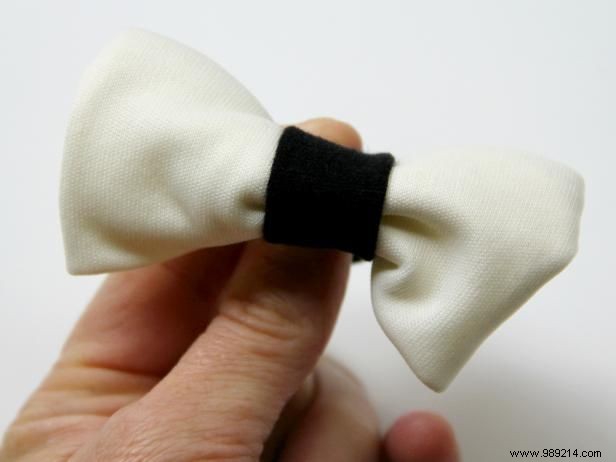
Wrap the center of the bow around the main bow piece, pulling tight in the center. Pinch the center back ends of the bow together, and sew a line to secure them. Cut remaining center back fabric, leaving a 1/2" seam.
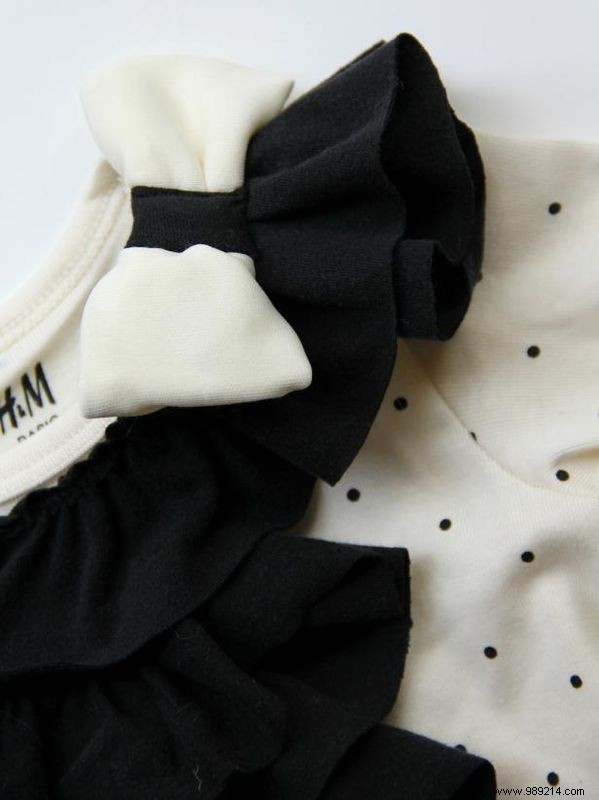
Sew the bow on both sides of its center, directly over the shoulder of the jumpsuit.
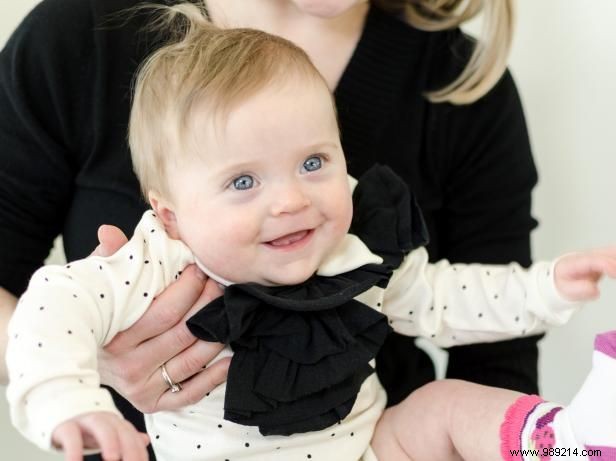
Jason Kisner, 2013, DIY Network / Scripps Networks, LLC. All rights reserved.
Baby clothes for the DIY network.
Continue to embellish the way you want – add buttons, lace and more.