Lay the hickory slab on top of a couple of sawhorses. One side will be intact and used for the table, while the other will be divided into four sections for the legs. Keep a small extra piece for later use.

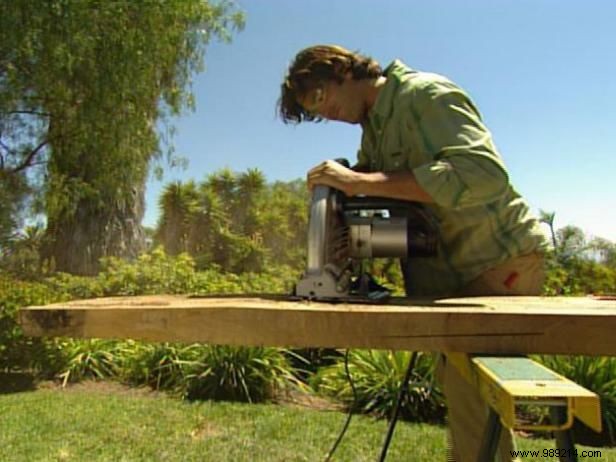
Mark four evenly spaced 14-inch lengths on the nut to cut the legs. Crosscut the marks with a 17-inch circular saw since the wood is thick and requires a large blade.

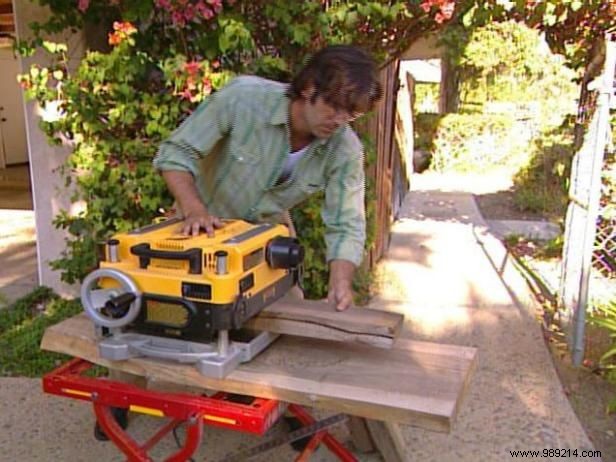
Cut the legs as square as possible, then send the legs through a planer to trim them to a uniform size and finish. Cut about five degrees at one end of each leg to prevent the naturally uneven table top from wobbling.
Measure and mark the lines on the top and bottom of the table for the mounting points for the legs. For a sleek look and added stability, angle the legs toward the center.
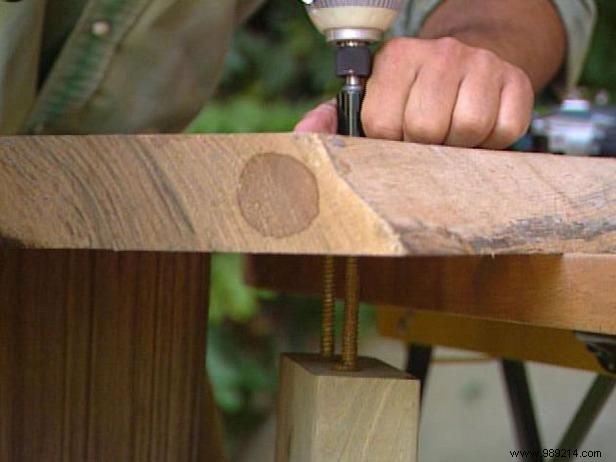
Use the Forstner bit and drill to create two large holes through the nut where each leg will mount. The drill bit creates large holes so the screws sink deep and are not visible. Switch to a drill bit and create pilot holes in the legs where they will attach to the table through the holes. Wrap a piece of tape 6 inches from the bottom of the bit to mark the correct depth.
Put a small amount of wax around the 6-inch screws so they thread easily into the hard maple. Hold the legs in place under the table so the pilot holes and Forstner holes line up.

Using the hex attachment on the drill, carefully drive the screws into place through the table. The screw will sink completely with the screw head sitting below the surface. Tighten each set of two screws gradually so that the leg fits snugly against the bottom of the coffee table.
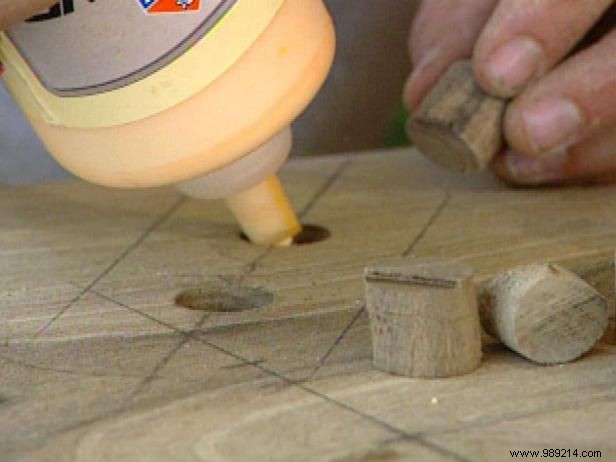
Attach a plug cutter attachment to the drill and drill directly into a small piece of hickory to hollow out the plugs to cover each lag screw. Finish cutting them on the back with a hacksaw.

Put wood glue on the plugs and place them into each of the eight leg holes through the table. Put them in place if necessary. Wipe off excess glue with a damp towel and cut the plugs flush against the top.
Sand the table for a smooth finish.