With just a little prep, paint, and some new shelf supports, old floorboards have been turned into stylish storage.
Measure the area of the shelves, find where the wall studs are, and measure three inches from there. Shelf supports should go to studs to be structurally sound, and shelves should be no more than 3 feet long to handle weight. Use a tape measure, stud finder, and level to mark the location of the studs and the location of the shelves.

Clean wood boards with a wire brush and scraper. Fill nail holes with wood filler. Let dry and sand the boards..

Attach the shelf brackets to the wall, on the studs. The width of the top of the bracket will determine the width of your table. Our shelf supports are 8 inches, so we cut our boards to 9 inches.

Cut boards to exact length (do not miter corners yet). Then use a circular saw to cut the back side of the boards to the exact width.


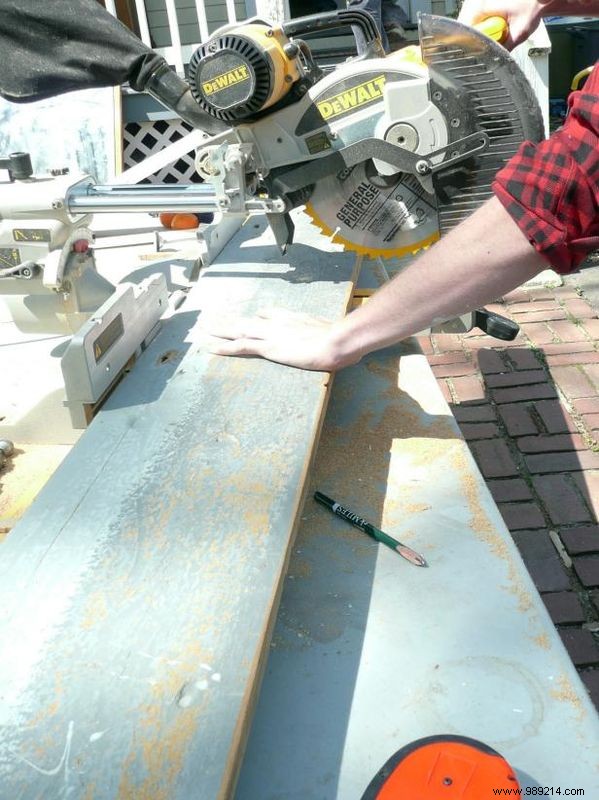
Place the first board on the shelf supports. Place it at the corner of the walls to determine where the miter cut will start. Use a miter saw to cut the board at the exact angle. Repeat this for the top and bottom shelves.
For the second side of the wall, place the boards on the shelf supports. Then lay the already mitered boards on top of the straight cut boards and draw a line from the mitered board onto the straight board for an exact match.
Paint or stain the boards as desired. Let them dry completely. For additional stabilization, place shelves together at mitered corners, use 4-inch flat brackets, and screw into place at bottom of shelves.
Put the finished boards on the shelf supports and fix them from the bottom of the boards.