Creating a bed of perennials requires a number of actions to be done in order. This is how I organized my day.
Preparing the soil is the most...least "fun" part of it. Raking gravel and removing stones the largest present on the surface; the number of "fossilized mole eggs" hints at the use of the pickaxe. After a few minutes, the fact is proven, under there is a nest of stones; in well-packed soil!
The use of the pickaxe it's like a surgeon's scalpel, only heavier. There are the pipes to avoid, the roots of the trees not to hurt, a handle not to break... and the back of the gardener to preserve. The strike is clean, frank and flawless. With sometimes a resonance in the wrists, even the shoulders when the peak meets harder than him.

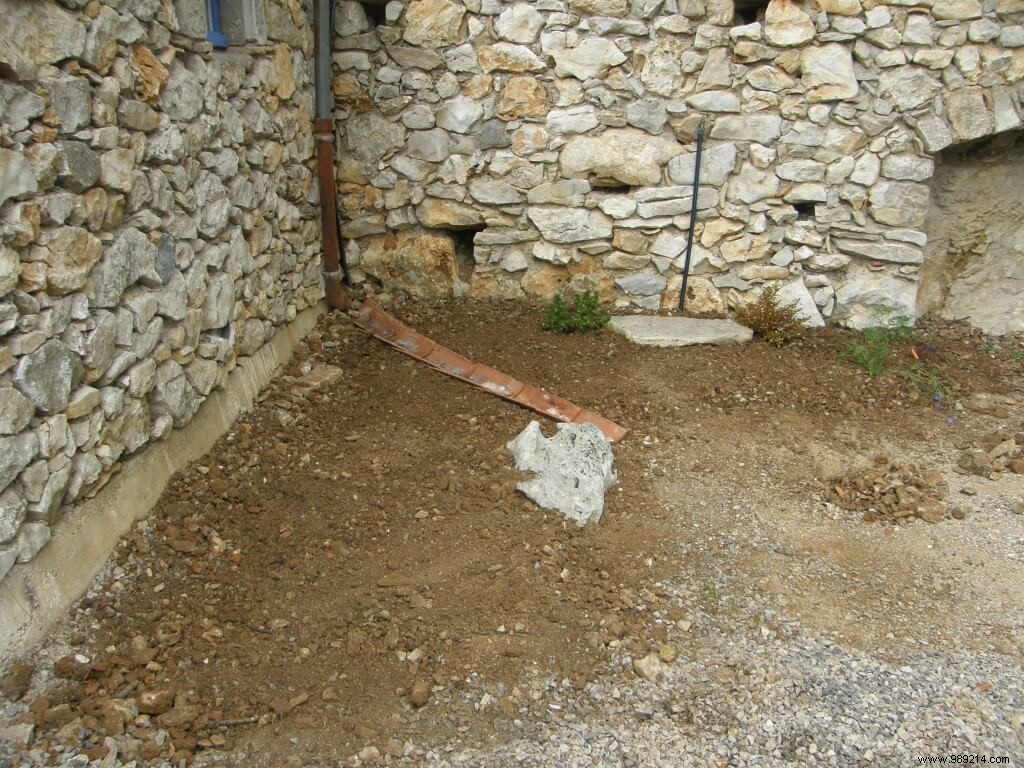
Anyway, half a day later, the ground is smashed about 30, no, uh... about 20 cm.
Again, the claw and the rake officiate in order to make the planting bed more flexible, less mineral. 2 wheelbarrows of stones will go to fill the holes in the path. The pebbles will not imagine themselves continuing to doze without doing anything. Recycling.
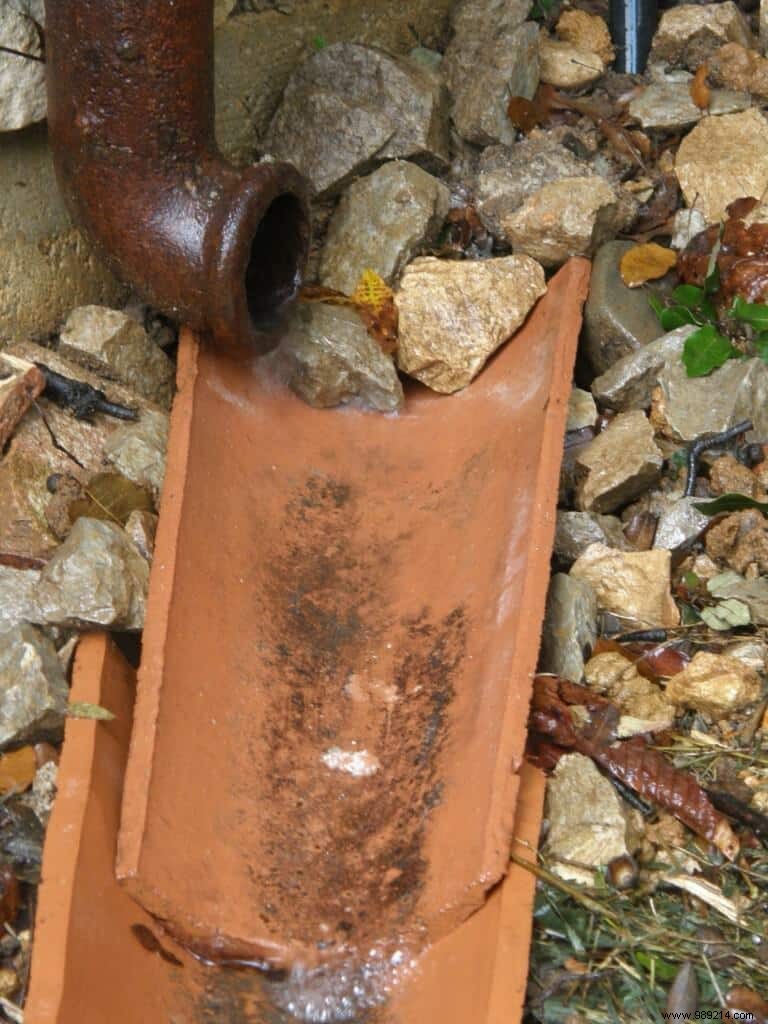
You have to deal with the constants; a faucet in the wall, a gutter which pours out its torrent at the slightest downpour.
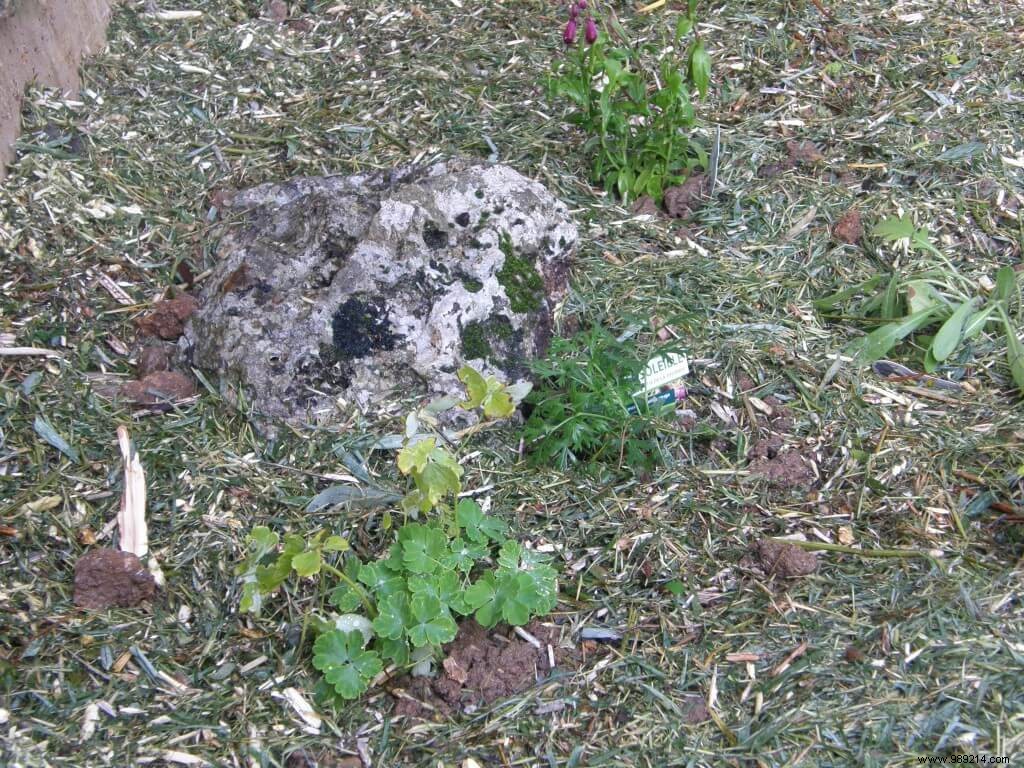
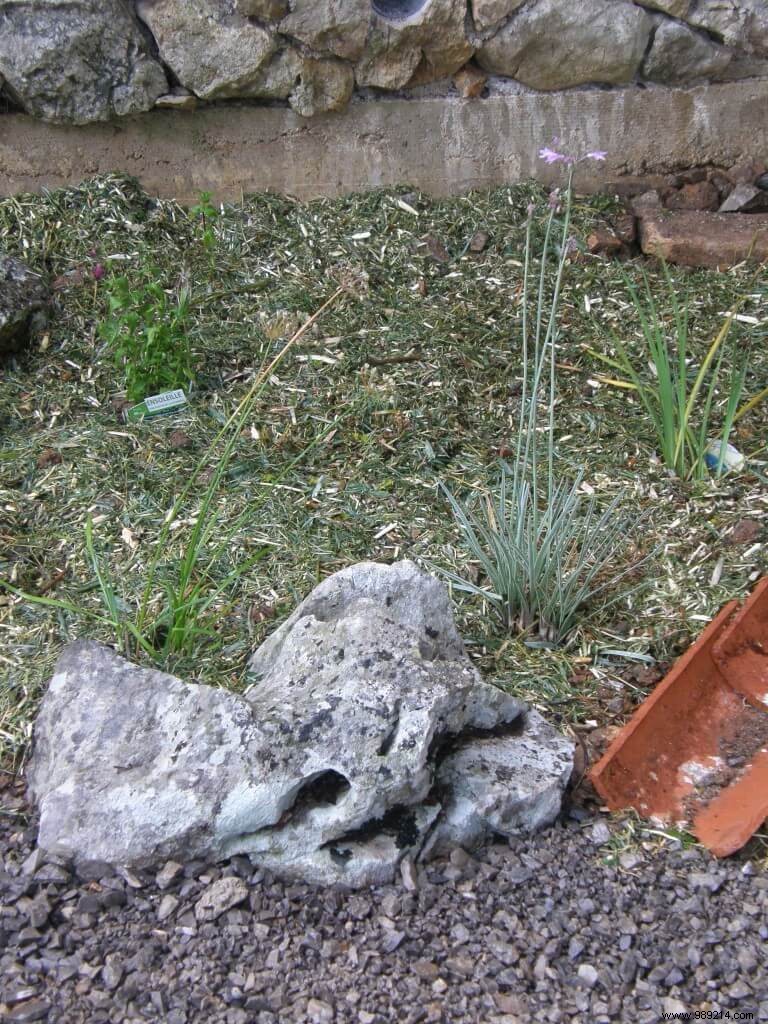
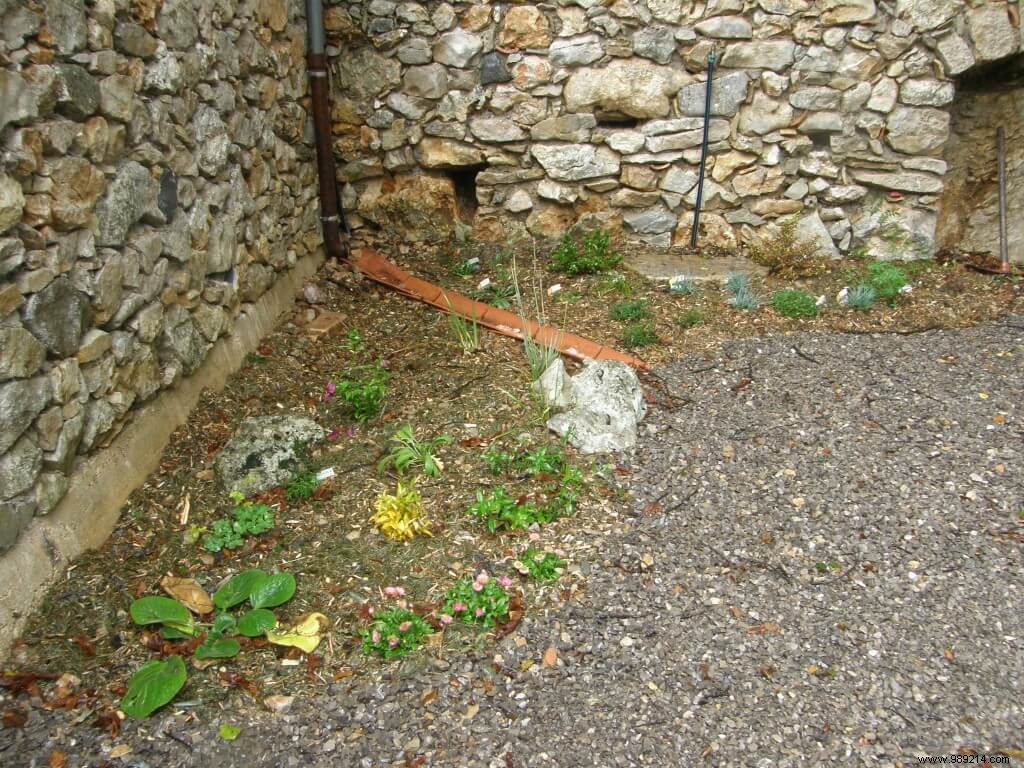
A flat stone will accommodate the feet of the sprinkler, in this case mine. A path ofoverturned tiles guide the water out of the clump; the ground being sloping, the water will continue to flow between the gravels. At the end of the tile path, I placed a small rock. We must combine decoration and functionality. The stone – which I nicknamed Gasper, seen the ghost head – protects the edge of the last tile, in order to avoid an unwelcome kick.
creation of the perennial bed
Comes the time of planting . Then spreading compost , organic fertilizer (a bag bottom), and surfacing with shredded branches of holm oak. The plants are a little tight but they will serve as mother plants during a future splitting, for the other beds.
Here it is:before and after;
creation of the perennial bed
creation of the perennial bed