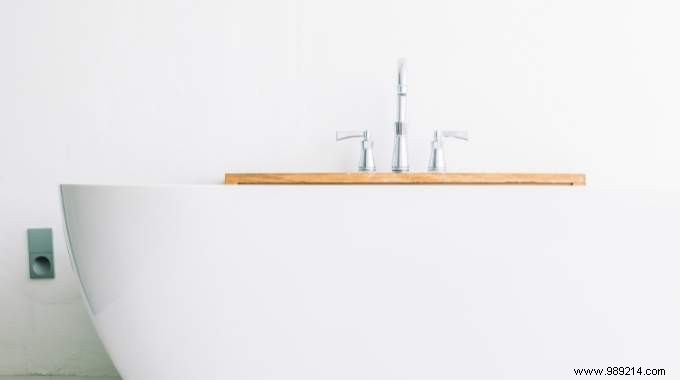
Designing and building your own bathing bridge is possible with a little material. Something to decorate and allow you to relax a little more in your bath.
Lover of reading AND bathing on occasion, my books sometimes find themselves in perilous situations and/or in pitiful states. To put down your tea, your books, your candles, the DIY bath bridge is ideal.
- 1 meter .
- 1 beautiful board of beautiful wood which will be our bathing bridge. Oak, pine, bamboo, make your choice according to your tastes. The length must be equal to the width of the bathtub .
-2 wedges of the same wood (visible in the photo), their length must beequivalent or slightly less to the width of the bathing bridge . Possibility:choose the first board that is a few cm too long to then saw off the two wedges.
- 4 screws of good length.
- 1 screwdriver to get from a handyman neighbor, to rent for example on Zilok, or a screwdriver and a lot of elbow grease
- Something to treat the wood; a good DIY store will easily inform you about this, I used what I had left of linseed oil .
Here are the few steps needed to design my DIY bath bridge.
1. I brand first the location of the two wedges . These should ideally be in contact at both ends of our bath bridge with the inside walls of the bathtub .
They will prevent the bathing bridge from slipping or rotating and ending up in the water.
2. I then fix the two wedges using the screwdriver or screwdriver; pre-drill if necessary. Put 2 screws for each hold. It is then possible to sand them by hand to give them a nice roundness.
Warning :the screws should not come out from the top, so choose them at the right length, more information here.
3. I test the bathing bridge.
4. I treat it with a special varnish, linseed oil or even resin... All treatments require a certain drying time or absorption to be respected scrupulously.
Finished ! All you have to do is enjoy your bathtub a little more without forgetting to keep an eye on your water bill.
If you liked this trick, tell me in a comment.