
Candle making is a skill that has been around for centuries.
It is an art that has survived the test of time...
And this, despite the advent of light bulbs!
Today, making your own candles has become a very popular DIY project.
But before you make your first candle, you need to know the basics, including the different types of candles, wax, and materials to use.
Fortunately, we have prepared this easy tutorial for you to make your own homemade candles quickly .
Don't worry, the recipe is quick and easy! Watch:

The first thing to do is to choose the shape of your candle. Indeed, be aware that there are three main types of candles:
1. Pillar candles which are made with hard wax. They are self-supporting , that is to say, they are consumed as they are, without the aid of a container to hold them.
2. Container candles which are the easiest to make for beginners and by far the most widespread. They burn in the container where the wax was poured.
3. Votive candles which are small candles intended to be burned in containers. They are very popular at weddings and in places of worship.

Don't rush to the craft store just yet to rob their stock of beeswax :-)
Indeed, you must first choose the wax the most suitable for creating your homemade candles!
You have several choices of wax to make your own candles. Some waxes are more popular than others.
Depending on their composition, waxes have different melting points.
And you also have to think about factors like price, allergies and also the burning time.
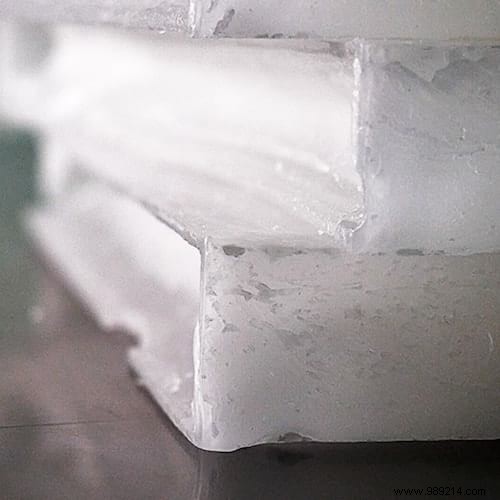
Paraffin is the cheapest of all waxes. But, it is used less and less, because it is producedfrom crude oil.
In addition, today there are several natural and more environmentally friendly alternatives.
If paraffin candles are less popular, it is also because they tend to produce smoke and soot when burned.
However, paraffin is ideal for making small size candles , such as votive candles.
However, it is not suitable for making large candles, such as pillar candles.
Paraffin melts quickly, but its big advantage is that it is easy to color and flavor it.
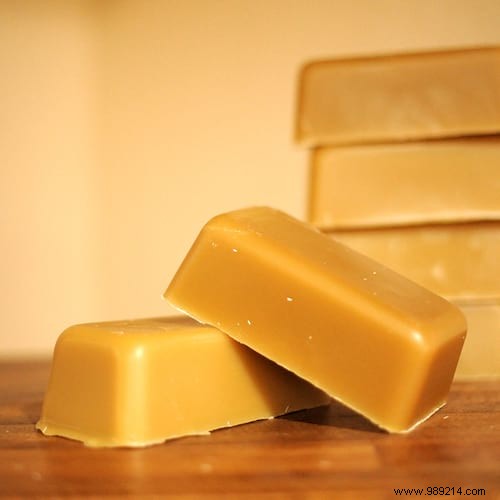
Beeswax is all natural and chemical free !
It is a residue of the honey manufacturing process, which gives it a subtle sweet aroma.
More expensive than paraffin, beeswax can be found in two forms:in blocks or in pellets.
Pellets are easier to handle as they are easier to measure.
This is because block wax has to be cut or grated to get the right amount, which can be tricky and messy.
The beeswax melts without making big drips.
And because it is 100% natural, it is very popular with people who suffer from allergies, sinus problems or asthma.
Beeswax does have a downside, however, and that is that it doesn't hold color or scents very well.
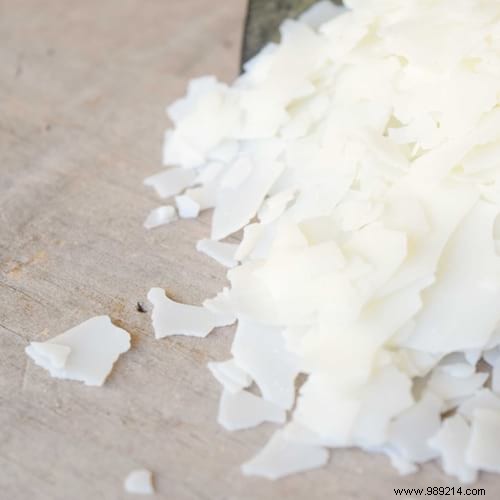
There are other natural alternatives to making your own candles:
- Natural palm wax burns longer and smokeless, but it is the most expensive wax. It is perfect for making pillar candles.
- Soy wax is made from soybeans. It also burns for a long time and without making smoke. You can find some here for around €20 for 2 kg.
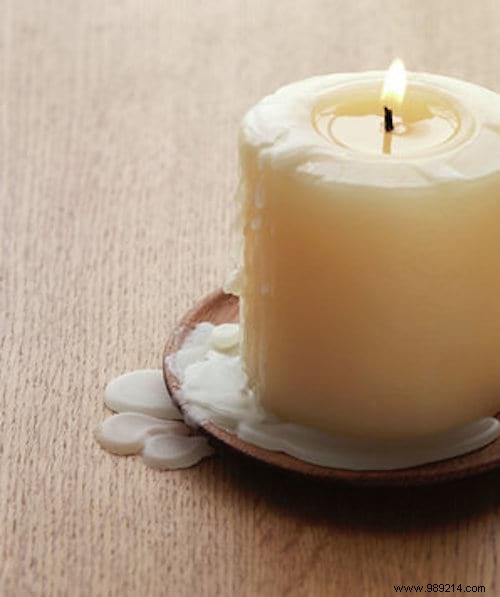
And finally, the recycling tip:you can also reuse the remains of your old candles !
Just use the residue from your old candles to give life to a new 100% recycled candle.
Making a candle with recycled wax is a great way to reduce your waste, and upcycle it into something useful.
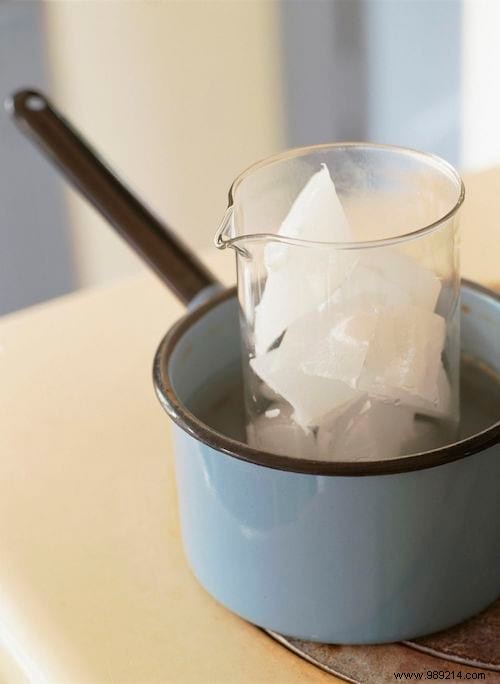
- stove
- large saucepan
- measuring jug or large glass container
- newsprint
- towel
- pencil
- paraffin wax, beeswax, palm wax or soy wax
- candle wicks
- candle molds or other heat resistant container
- essential oils for perfuming
- oil-based dyes
- to make pillar candles , I advise you to reuse an old waxed container, such as a carton of milk or fruit juice.

1. Choose your type of wax:paraffin wax, beeswax, palm wax or soy wax.
2. Break the wax into small pieces, or grate it into shavings.
3. To help you melt the exact amount of wax you will need, grab your empty mold or container.
Then place it on the scale, tare it and fill it with water. The weight in grams of the water will tell you how much wax to melt.
4. Use newspaper to protect your work surface. In case of spilled wax, keep a damp towel handy.
5. Fill the pan with about 5cm of water , and make sure your measuring jug fits well in the pan.
6. Put the wax shavings in the glass measuring jug, then put the measuring jug in the saucepan.
7. Heat the wateron high heat, and the wax will melt slowly.
8. Add essential oils to scent the candle (optional).
9. Add a few drops of dye, until you get the desired color.
1. To mold the candle, you can use any type of metal, glass or porcelain container, as long as it is heat resistant.
Recovery tip: reuse old containers, such as a glass jar, a mug or an old teacup.
2. Put the wick in the center of the mold or container.
3. Run a small drop of melted wax to stick the wick to the bottom of the container.
4. Wrap the end of the wick around the pencil.

5. Place the pencil on the edge of your container, so as to hold the wick in place.
6. Put your container on a flat surface and pour the liquid wax inside, holding the pencil firmly.
7. Allow the wax to cool and solidify for several hours or even overnight.
8. If you are using a carton of milk or fruit juice to make a pillar candle, carefully tear the cardboard to unmold.
9. Last step, cut the wick to about 4 to 5 cm in length.

To easily print this guide in PDF, click here.
There you go, you know how to make homemade candles !
And you can even make your own scented candles, according to your preferences.
DIY candles spread a sweet fragrance and bring a pleasant touch of warmth and comfort to the home.
Once you've made your candle, try sprucing it up with a beautiful label, like these reusable slate effect labels.
Add a beautiful ribbon, and you have a wonderful homemade gift to give for any party or occasion.