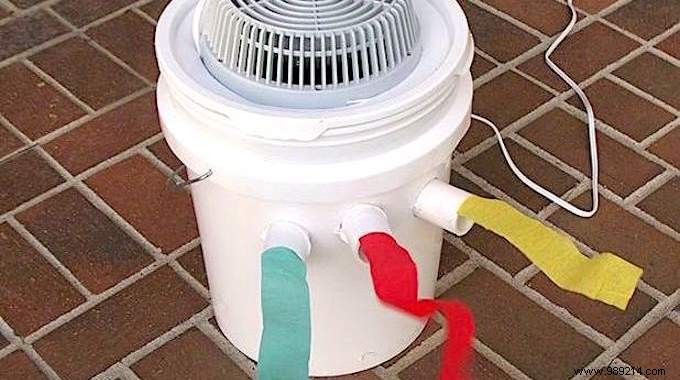
The mercury keeps rising...and we choke!
There's nothing more unpleasant than staying locked in the house during a very hot day...
This is where we think that an air conditioning would be very practical to stay cool.
But the problem is that an air conditioner is really expensive!
Of course, a fan helps a little. But during periods of heat wave, it only serves to blow hot air.
Luckily, here's how to make your own air conditioner to cool yourself easily at home .
All you need is a fan and some plastic bottles.
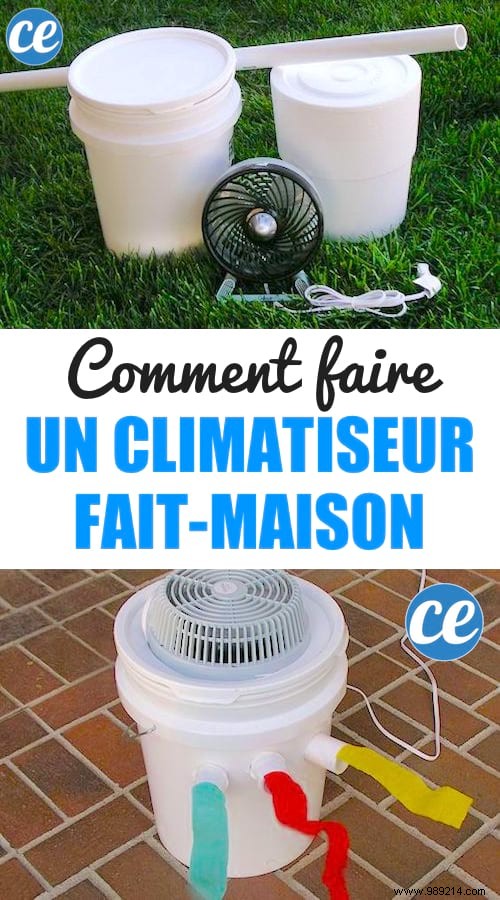
And don't worry, this DIY air conditioner is super easy to make and won't cost you an arm and a leg.
In addition, this home air conditioning is portable. Practical, because you can easily put it in the bedroom and sleep well cool.
So, ready to stay cool and make life a little more comfortable on those hot summer days? Watch the tutorial:
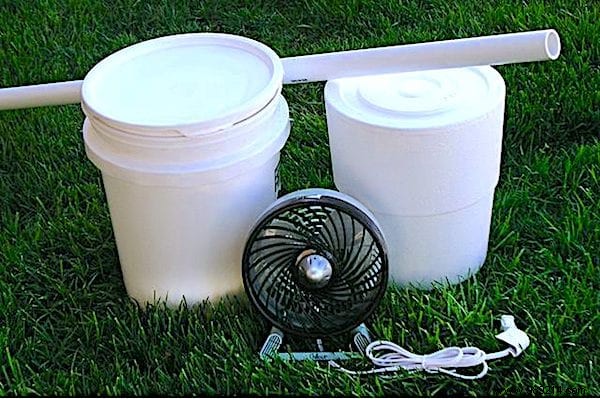
- table fan
- plastic bucket with lid
- drill with hole saw
- polystyrene bucket or other insulated material
- pencil
- cutter
- 30 cm of PVC pipe (same diameter as the hole saw)
- saw
- plastic bottles filled with frozen water
1. Lay the face side of the fan down on the plastic bucket lid.
2. With a pencil, trace the outline of the fan to make a cutting line.
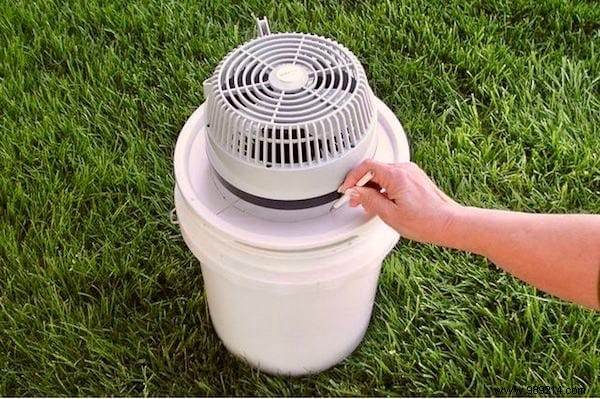
3. Using the cutter and being careful , cut along the line, slightly inside the line. Cut slowly, using the same motion as with a saw. If necessary, widen the diameter, so that the fan fits snugly in the hole.
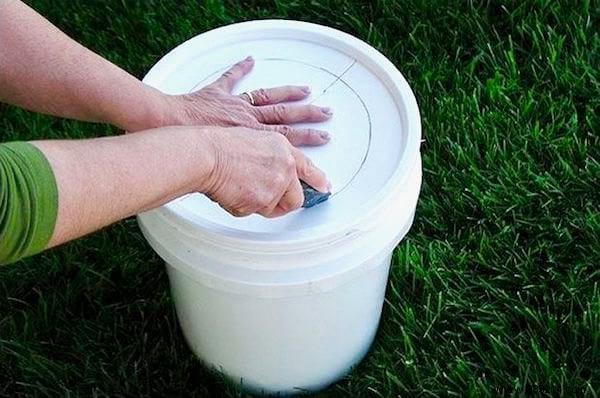
Note: If your bucket lid is too stiff and thick, you may have trouble cutting it with a craft knife. If so, the easiest method is to cut out the hole with a fine-tooth saw or a jigsaw fitted with a fine-tooth blade. Use your drill with a bit of about 5mm to drill a starting hole. Then insert your saw blade into this hole to make the cut.
4. Depending on the type of your fan, it may be necessary to use the hacksaw to cut the feet or the plastic support, as in the image below.
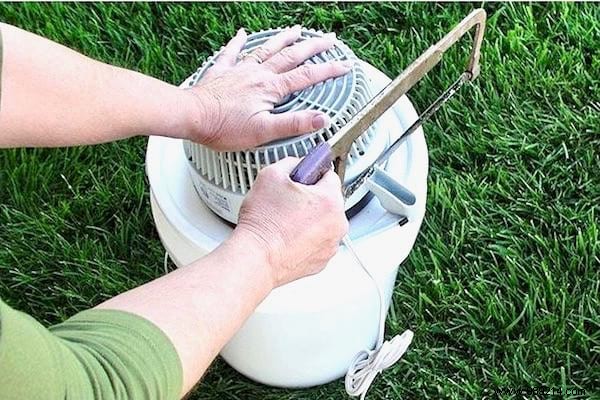
5. Then insert the fan into the hole in the cover and set it aside.
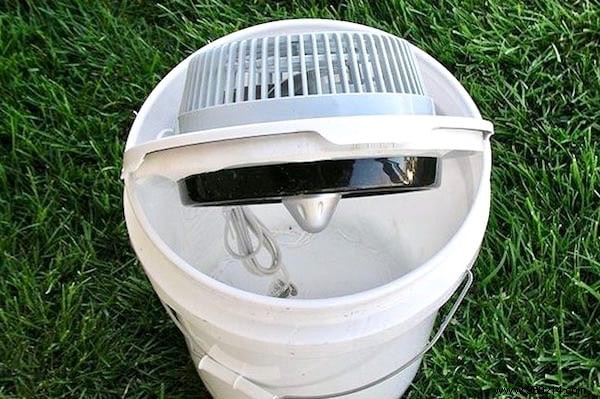
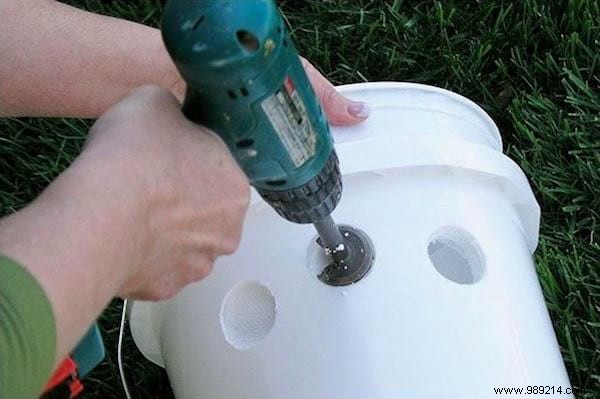
6. Drill three holes in the side of the bucket, holding it firmly in place. Use the drill with the hole saw or a bit of the same diameter as the PVC pipe.
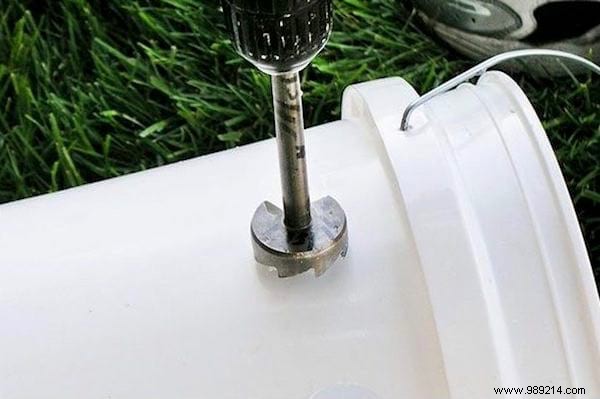
7. Put the polystyrene insulated bucket in the plastic bucket. Drill it using the holes in the side of the bucket as guides.
Note: if you don't have a polystyrene insulated bucket on hand, you can simply stick another insulated material like this on the inside walls of the plastic bucket.
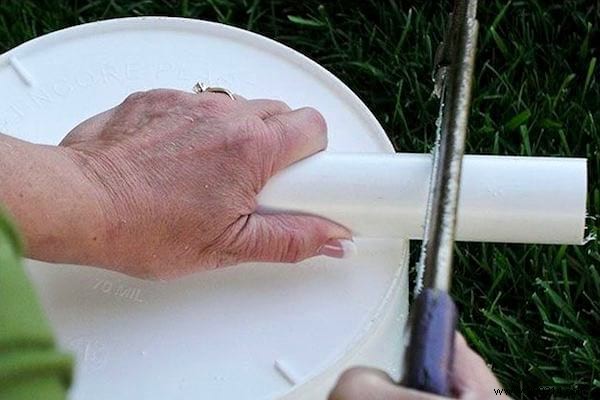
8. With the hacksaw, cut the PVC pipe into three pieces, about 7 to 10 cm each.
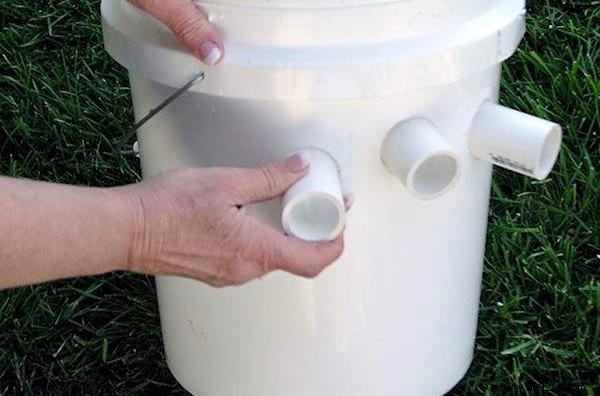
9. Insert the three pieces of PVC pipe into the holes. Normally the pipe will fit snugly to the holes. If not, use expanding foam to caulk the holes inside the bucket.
10. Now cut out the lid of the polystyrene bucket, so that you can fit the fan in it, just like you did for the plastic lid.
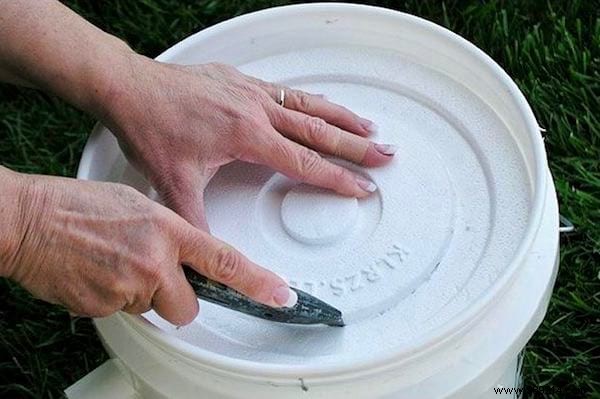
Note: this step is not essential. But with an insulating material under the cover, your homemade air conditioner will have greater autonomy (about 6 hours).
10. All you have to do is put your frozen bottles inside the bucket.
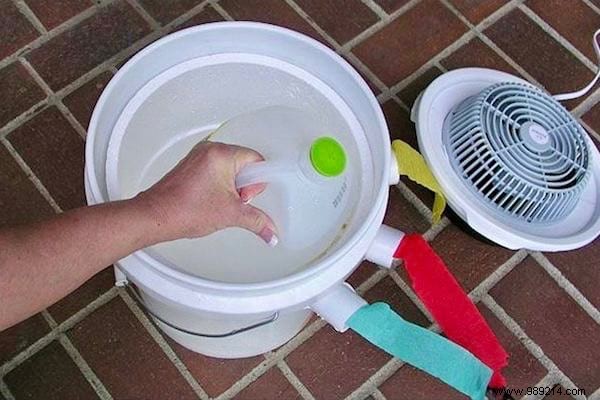
11. Place the fan on the bucket lid.
12. Turn on the fan to enjoy your home air conditioning.
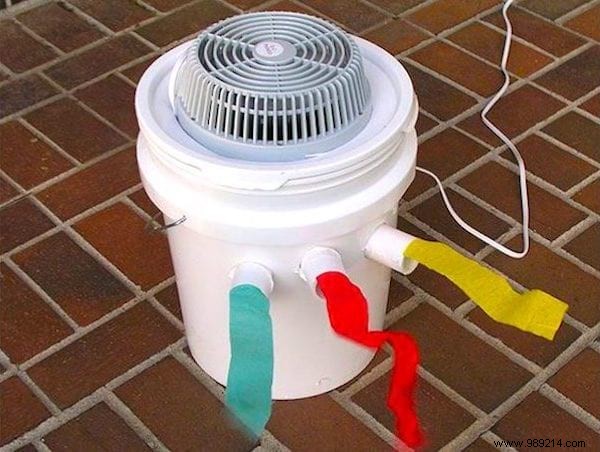
There you go, you have made your own homemade air conditioner :-)
Easy, fast and cheap, right?
It's still cheaper than buying an air conditioner!
Now you can enjoy fresh air all day at home.
And because this air conditioner is portable, you can easily place it in any room of the house!
A very practical trick during periods of high heat, and which will allow you to save a good amount of money!
Once the bottles are thawed, you will feel that the air will no longer be fresh. So consider preparing some ahead of time.
All the materials for this project are readily available and for a reasonable price.
Be aware that builders and painters often have plastic buckets to give away, so don't hesitate to ask them.
And why not make several of these portable air conditioners?
That way you could do a good deed and give them to those in need during the hot summer months.
Indeed, some people are extremely vulnerable to high heat, especially the elderly.