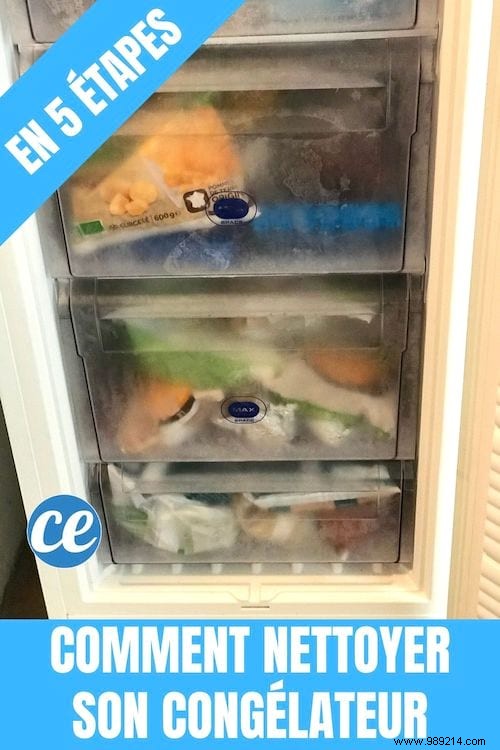
For many people, cleaning the freezer means removing all the food what's inside...
...and then let the appliance defrost on its own.
Certainly, defrosting the device is essential to clean it, but it is not the only thing to do.
For your freezer to be as efficient as the first day, it must be cleaned from top to bottom .
This deep cleaning first helps to lower your electricity bills ...
... but also to avoid cross-contamination and freezing conditions that could make you sick.

But don't worry, with a minimum of regular maintenance and cleaning, your freezer will remain efficient for many years to come!
Here is how to clean your freezer in just 5 quick and easy steps . Watch:

Even if your appliance has a switch, it is recommended to completely unplug the freezer before starting to clean it.
This is the best way to avoid the risk of electrocution that could occur when defrosting and cleaning the freezer.
Then make sure your freezer is located where cleaning it won't damage the floor or the appliance.
If necessary, place old newspapers or towels under the device to avoid getting them everywhere.

Chances are you have a lot of food stored in your freezer.
And it is possible that you have forgotten some of these foods for many months.
Now is the time to sort through the contents in your freezer.
When you remove your frozen foods from the freezer, make a list with the name of the food and the dates that appear on the labels and packages.
Examine the food and smell it. Then discard all expired frozen food.
Here's how to recognize spoiled frozen food:
- if you see any abnormal or strange discoloration on the product
- if you smell unpleasant and nauseating odors
- if you see a layer of frost or ice on the food, inside the container
- if the recommended storage date for frozen food has simply passed
Then place all frozen food in plastic storage bins or large boxes with lids.
By storing all food in large, airtight containers, you will prevent premature thawing of your food while cleaning the freezer.
You can then put them in plastic bags to make cleaning easier, once the food is put back in the freezer.
Here are some examples of foods with their shelf life in the freezer:
- Bacon and sausages: 2 months
- Cooked leftovers: 3 to 4 months
- Soups, stews and broths: 2 months
- Raw minced steak: 4 months
- Raw chicken: 9 months
- Cooked beef and poultry: 4 months
- Fruits and vegetables: 12 to 18 months
To discover: How Long Can You Keep Food in the Freezer? The ESSENTIAL Practical Guide.

Once all the food has been removed, inventoried and placed in storage bins, it's time to defrost the freezer.
By simply leaving the door open, defrosting can take several hours.
Defrosting removes all the accumulated frost that covers the walls and storage bins.
If you are pressed for time, you can speed up the defrosting process in two ways:
1. Place a large container of hot water (such as a large salad bowl) in the freezer. Close the lid and let the diffusion of heat and steam melt the ice inside your freezer. Find out how here.
Depending on the amount of frost and ice, as well as the size of your freezer, you may need to change the water container several times when the water is no longer hot enough.
2. Take an old hair dryer and set it to the low heat setting. Direct the warm air everywhere on the interior walls of your device.
Be careful that the thawed water does not come into contact with the hair dryer to avoid the risk of electrical short circuit or the risk of electrocution. Check out the trick here.

Once all the ice and frost has melted, it's time to open your freezer's drain or drainpipe.
But before that, remember to put a basin to collect the water! Once the drain is open, let all the water flow into the basin.
Now take a mild cleanser, such as dishwashing liquid or even better, baking soda or white vinegar.
Put a small amount of washing-up liquid, vinegar or baking soda in a bowl and add lukewarm water.
Dip a towel or cloth in this mixture and wash the inside of your freezer.
Remove shelves or bins and wash them in the sink or shower to remove stubborn dirt and stains and disinfect them.
Rinse the inside of the device to wash it and remove any residue that may become encrusted.
Finally, let the freezer air dry or use a cotton cloth to dry it faster.
Are there still bad odors escaping from the freezer?
To eliminate any lingering odors in the freezer, place a box of baking soda inside and close the freezer for several hours. This trick also works for fridge odors.
If you want to eliminate stubborn odors, you can also place a small bowl of activated carbon inside the freezer.
Then close the freezer and let the appliance run for 2-4 hours.
To avoid odors in the future, remember to leave an open container of baking soda in the freezer, next to the food.
Replace this box of baking soda every 3 months.
To discover: White Vinegar To Thoroughly Clean Your Fridge.

Now you can put all your frozen food back in the freezer.
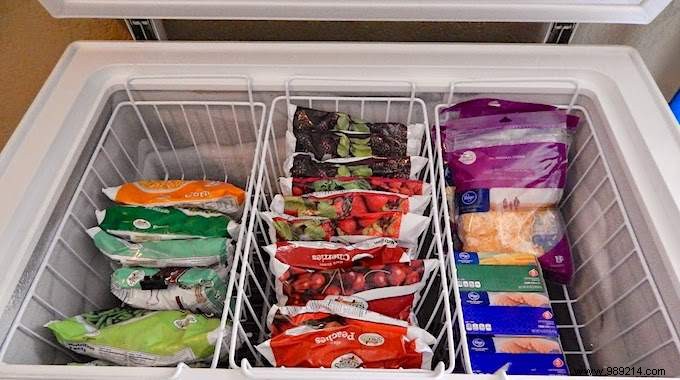
To prevent food from getting contaminated and forgotten at the bottom of the freezer, organize it as you put it in your freezer.
Place all frozen foods that have a long shelf life at the bottom.
Store meats by category, in a space at the back. Place other types of food in another area. Put the bags of food you use the most on top.
Organizing food strategically in the freezer will help you save space easily.
All you have to do is take the list of foods you made during your inventory and stick it above the freezer.
And don't forget to put a pen or pencil nearby. So you can scratch the food you take every time you open the freezer.
Convenient to know what's left in the freezer, without having to open it!
It saves energy and in addition, you avoid forgetting food inside or buying duplicates. Cheap, right?

If you want to make cleaning your chest or cabinet freezer even quicker and easier, it is best to clean it regularly, 2-3 times a year .
There you go, you know how to clean a freezer quickly :-)