It's almost Mardi Gras.
And you are looking for an original disguise to make?
A mask is much more original when you make it yourself.
If, in addition, you don't lose money, then on to the scissors and the do-it-yourself.
Host of summer camps, I am passionate about doing it yourself.
Creation of disguises, making of masks, the children love it and so do we;-)
Here are 3 ideas for masks that are very quick to make. A nice idea to occupy your children intelligently and to amuse young and old.

- If, like me, you carefully keep all the scraps of cardboard or cardstock, you are well on your way. Paper plate, face of a cereal package, any flat cardboard source will do for a mask.
- I then requisition all my imagination to draw a mask or a wolf. I will sometimes take inspiration from photos on the Internet or I use patterns.
- And now it's no more complicated than that, I cut and I customize! Felt pens, stickers, feathers, sequins, scraps of fabric or colored paper, felt. A tube of glue and presto!
- For children, what is often funny is to add an inverted pot of yoghurt for the nose, a bottle cap or a roll of toilet paper. "Nothing is lost, everything is recovered", right?
- I tie the mask around the head by punching a hole in the center of each side and I hang an elastic thread or a ribbon.

No, I will not suggest that you cut out your pretty silk scarf. But we all have, at the bottom of a drawer, scraps of beautiful fabrics or old scarves torn, with holes or just out of fashion and ready to be recycled.
- If so, in 2 min your mask is ready. As with the blind man's game, I blindfold myself with my scarf.
- Once the scarf is well attached, I pinch two small plastic clips at my eye level. I take off my scarf and I cut two holes in it at the level of my barrettes (and therefore for my eyes).
- Taking a little more time and for a little more finesse, I sew the outline of the holes with a very black thread to bring out my eyes. It's the eyeliner of the mask!
- Similarly, it is possible to further customize your mask by sewing shapes on it just with thread or with feathers, beads, and whatever else you can think of.

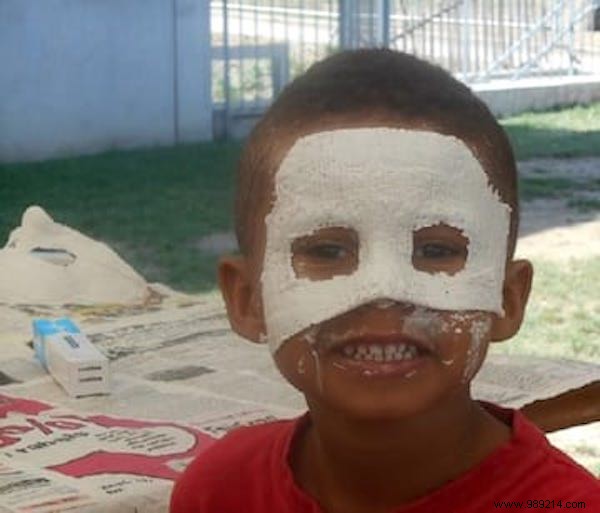
Good there, an investment is essential:the plasterboards. But this activity amazes children. Arm yourself with a partner, a roll of toilet paper, a basin of water and towels. Here we go!
- I dip strips of toilet paper (or Sopalin) in the basin and I spread the strips over my guinea pig's face, avoiding the small nostrils.
- Once the face is well covered and protected, I move on to plaster strips. A dip and hop, I place them over the layer of paper, being careful to follow the curves and contours of the pretty face in front of me. And we don't forget to leave a hole for the nostrils!
- To finish, I moisten slightly and smooth the outside of the future mask with my finger.
- I make my toddler wait without moving for 10 min, until the mask solidifies a little.
- And now, I finally remove the mask (gently), I cut the edges so that it is as beautiful and as perfect as possible. I remove the paper inside. All that remains is to wait until it is completely dry (a good half-day at least).
- The next day, we go to the decoration. Painting, collages, whatever you want.
Do you like to dress up? I adore. Come and talk about your most beautiful disguises in the comments. We can't wait to read you!