What if I told you how to make magic sand yourself?
It's a great activity to do with the kids.
And don't worry, it's very easy!
All you need is 3 ingredients and some accessories, and you're done.
In less than 5 min, your homemade magic sand is ready.
Here is the easy and 100% natural recipe for homemade magic sand. Watch:

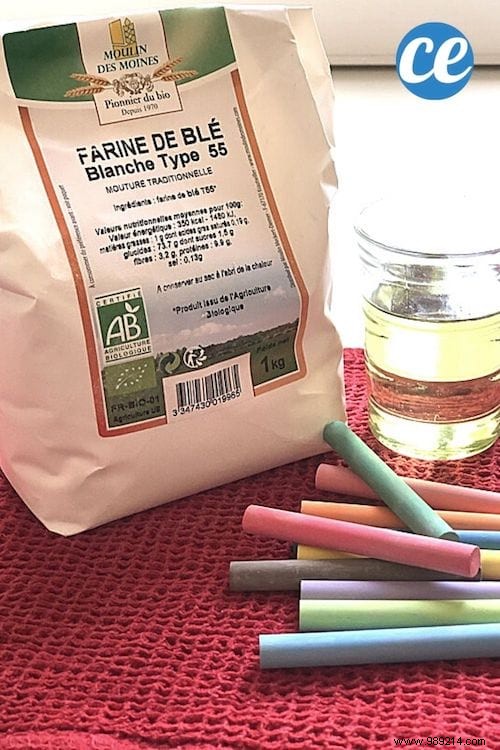
- 7 measures of flour
- 1 measure of edible oil
- colored chalks
- salad bowl
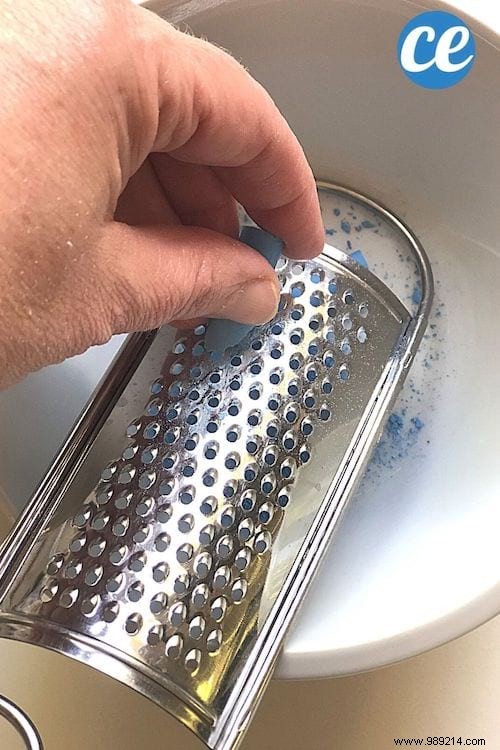
- grater
- small freezer bags
- cookie cutters
- tray
- small pots

1. Pour the flour into the bowl.
2. Add the oil.

3. Mix well with your fingers as if you were making a shortcrust pastry.

4. Grate the different colored chalks over the small jars. Use one pot per color.

5. Divide the sand into the freezer bags. Make as many bags as you want to have colors.
6. Now pour in the chalk powder. Adjust the amount according to the amount of sand.
Note: the more bright and dark colors you want, the more chalk powder you need to put on.

7. Close the bags and shake them to mix.

There you go, your homemade magic sand is already ready :-)
Easy, fast and efficient, right?
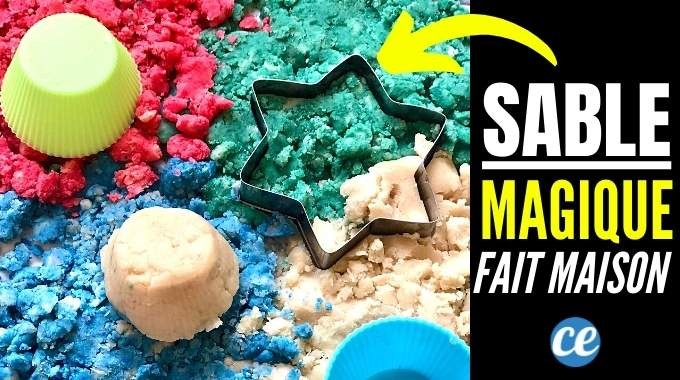
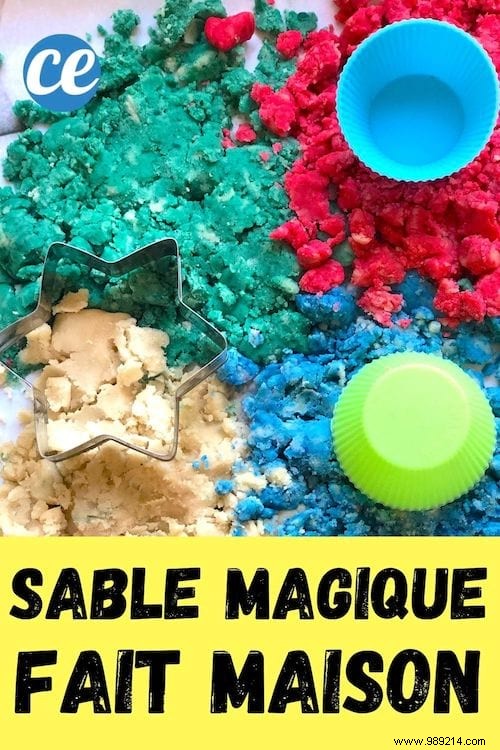
Now all you have to do is play with the children thanks to the different shapes.
No need to go to Gifi or Action or even on Amazon to buy moon sand.
And you don't need Thermomix!
It's so quick and easy to make that it's not worth depriving yourself of.
In addition, just doing it is already quite an adventure with the children! It's a great activity that will keep them busy for a while.
And since this sand is made with natural ingredients, you can make it with children aged 1-2 years.
They'll love to roam around!
On the other hand, be careful that they do not put it in their mouths.
Indeed, it is not 100% edible because of the chalk present in the composition.

You can use any edible oil (olive oil, sunflower oil, etc.) or even baby oil.
To measure the ingredients, you can use a glass, a cup, a measuring cup... It doesn't matter.
What matters is to respect the proportions between each ingredient.
You can grate different colors of chalks. It all depends on what colors you want.
We can make pink, blue, green, white...
And why not mix the colors together to make new ones? Like purple for example...
If you want shiny sand, add glitter!
You can mix the paste with the chalk by shaking the sand. But you can also mix it with your fingers. It's faster... But dirtier!
To avoid having to pick up sand for days in your home, consider putting it in a bin or tray with edges.
When the kids are done playing with it, store it in the little freezer bags color by color.
Obviously some will be a bit mixed up. But it's not very serious. Considering the price ... we can easily redo.
You can keep this sand for several weeks.

The texture is pleasant to the touch. It really reminds you of what you can buy on the market.
But it's not quite the same thing anyway.
It is less compact and holds a little less well. Looks more like wet sand.
To have sand that holds better, you can add a little more oil. This gives a slightly more pasty texture.
But in the end, what matters is that children can make pretty shapes with it... Just like at the beach!
In any case, they love to play there. But what they also like is making their own magic sand and choosing the colors.
Have you tried this simple trick to make magic sand? Let us know in the comments if it worked for you. We can't wait to read you!